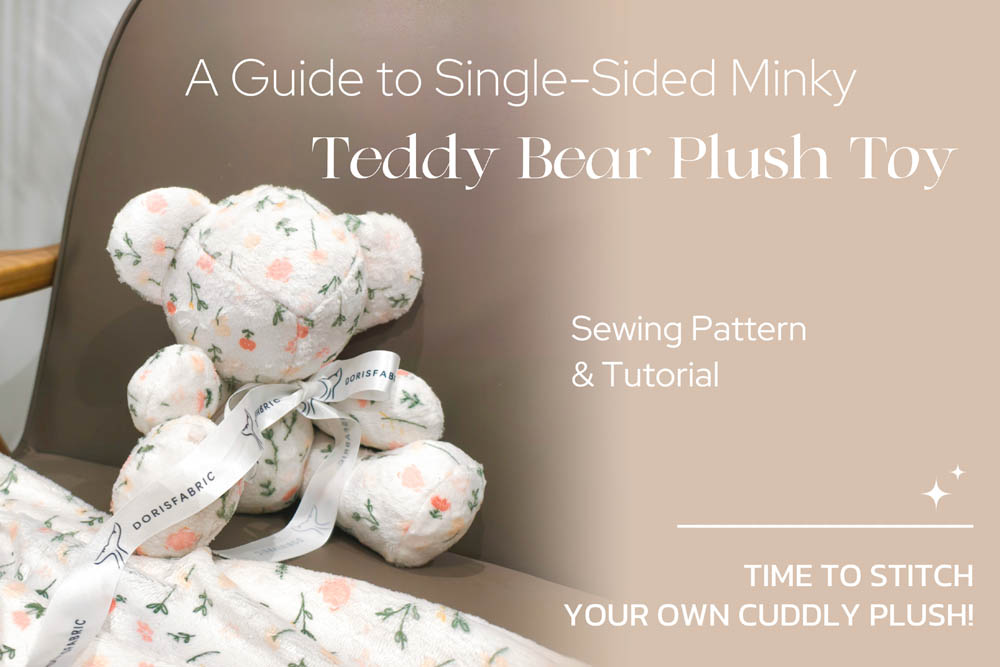
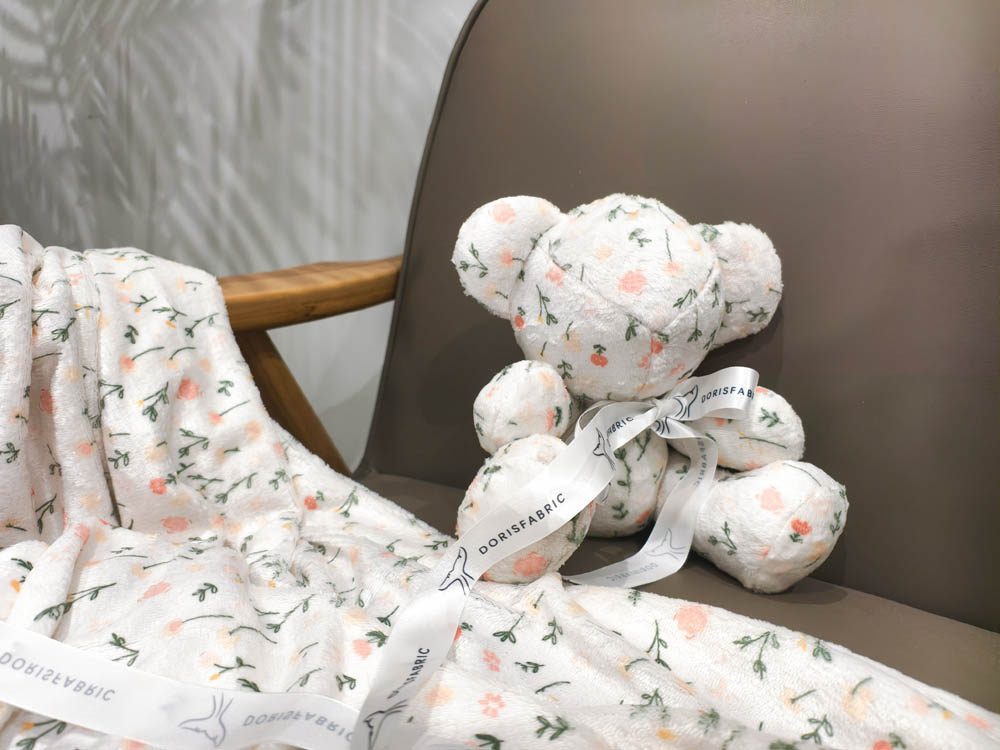
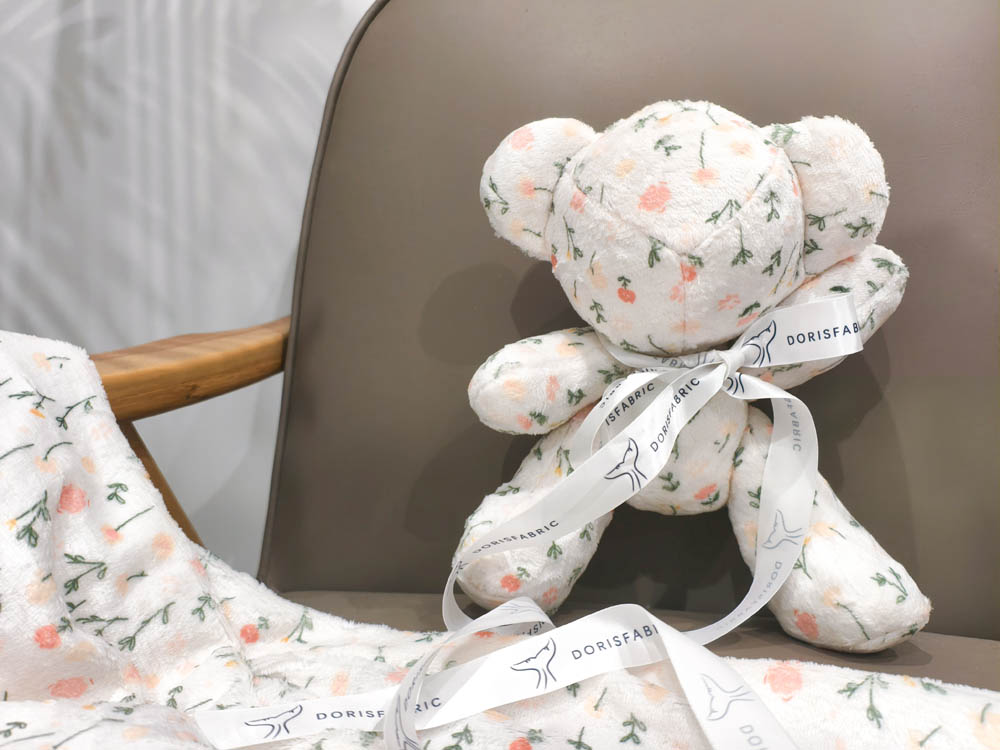
I wanted to make a little teddy bear, and I already had a floral print in mind.
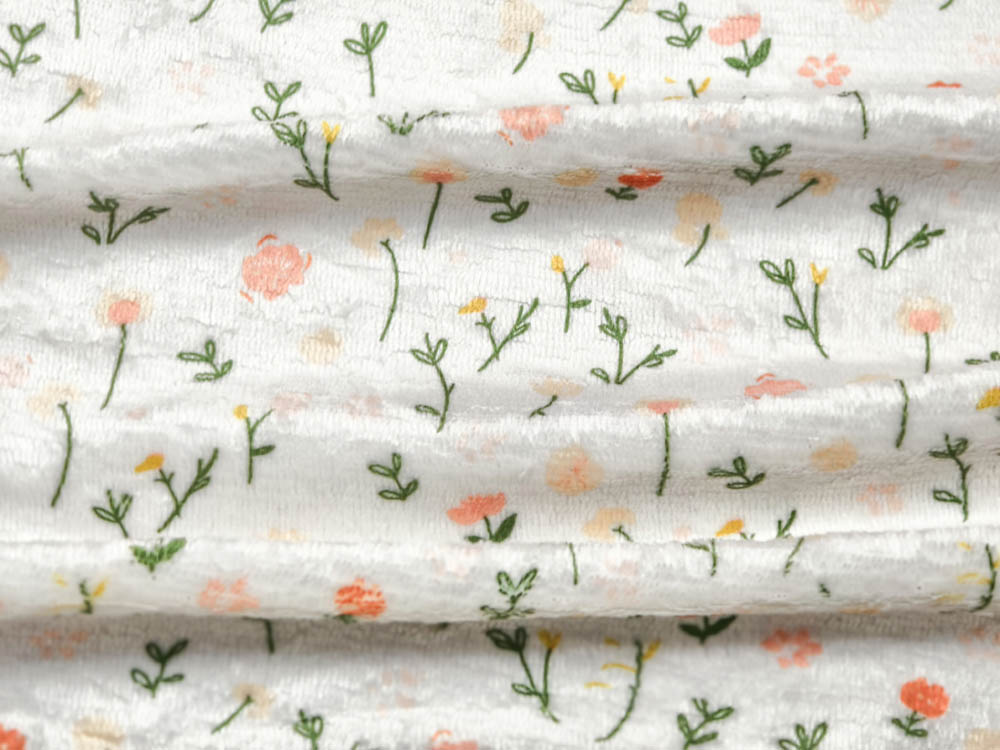
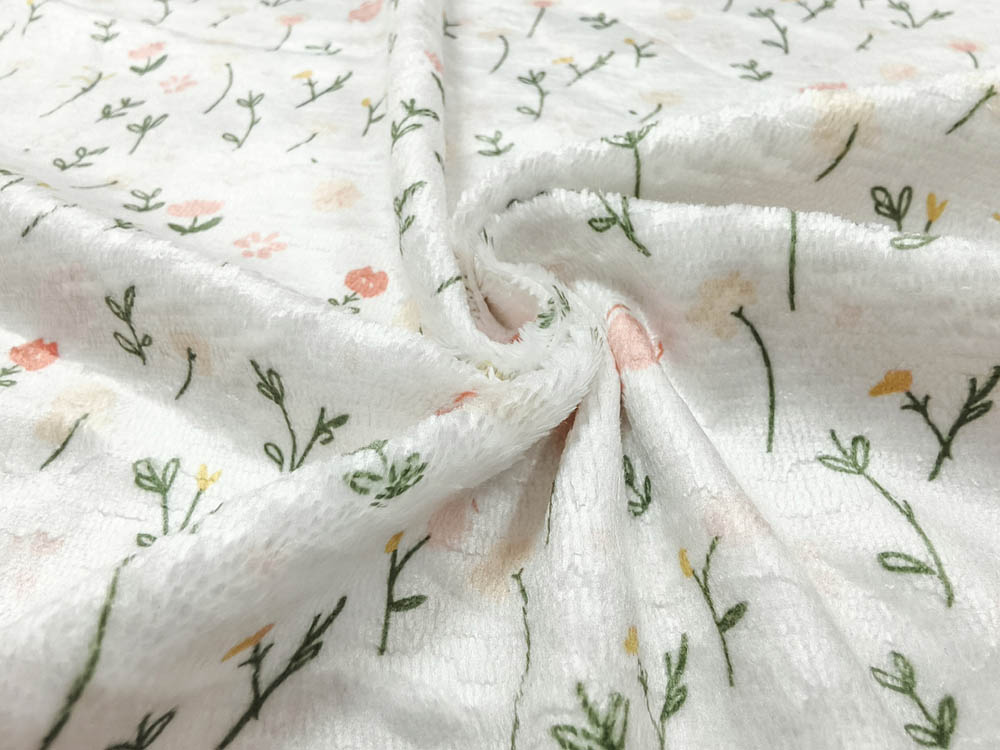
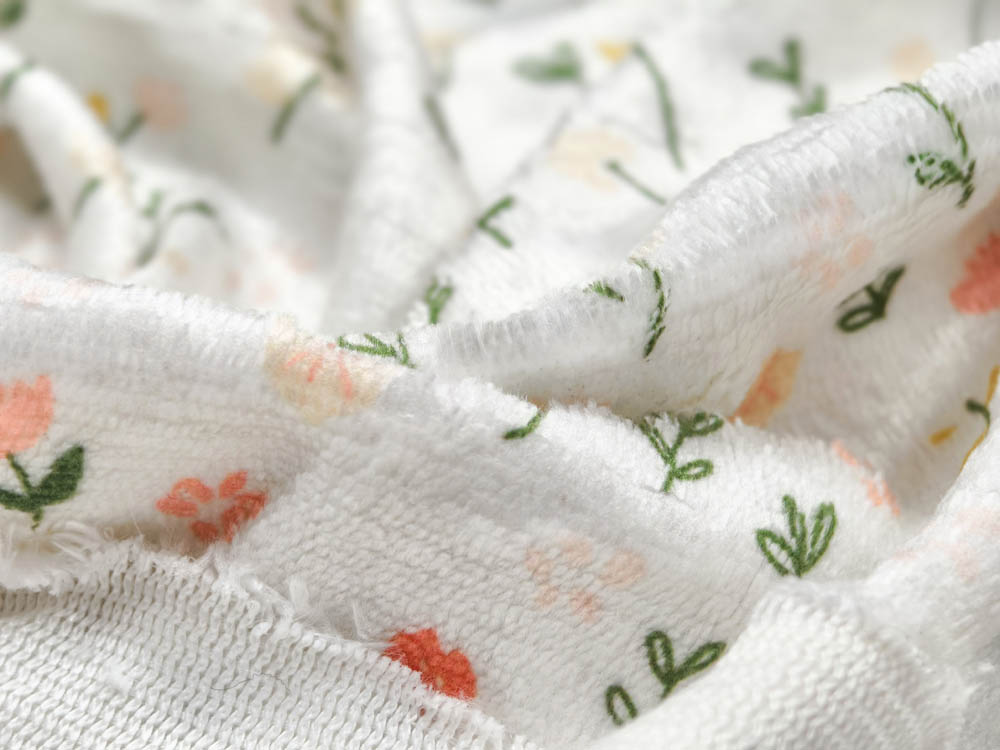
I chose the print myself and had it printed on 280gsm Single-Sided Minky Fabric. The flowers were small enough for the bear, and I liked how they looked on the soft pile.
Before cutting, I was mostly curious about one thing: how would the print look once the fabric was cut into all those small pieces?
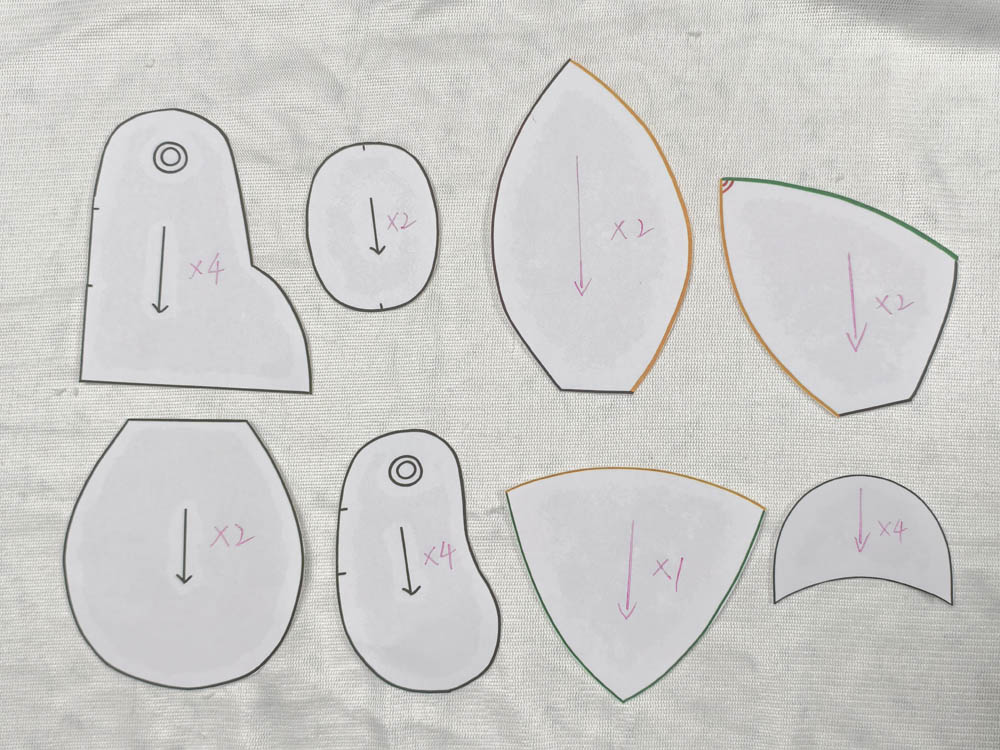
So I printed the pattern and got started.
Watch the Teddy Bear Come Together
I also filmed the whole sewing process, from cutting the pattern to attaching the arms and legs. If you’d like to see how I put the bear together, you can watch the video below.
Before You Start
Materials and tools I used:
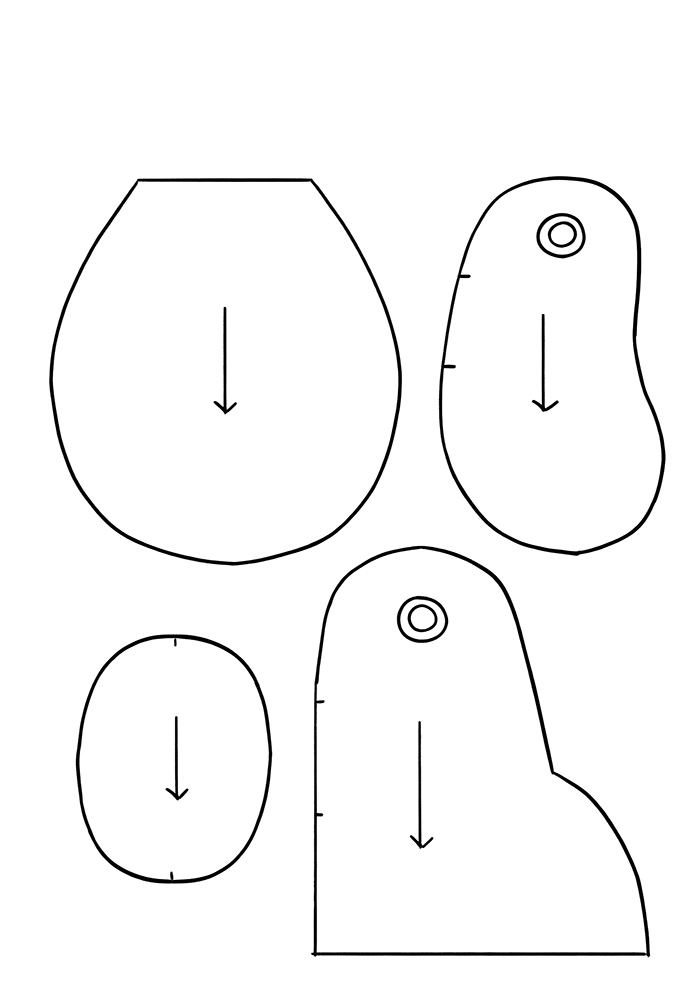
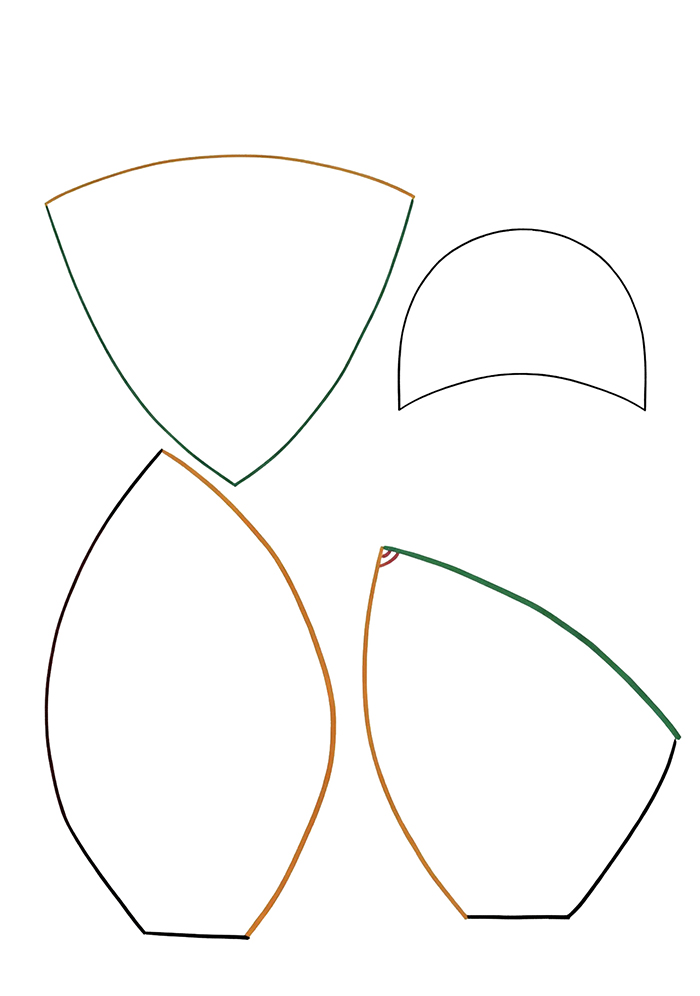
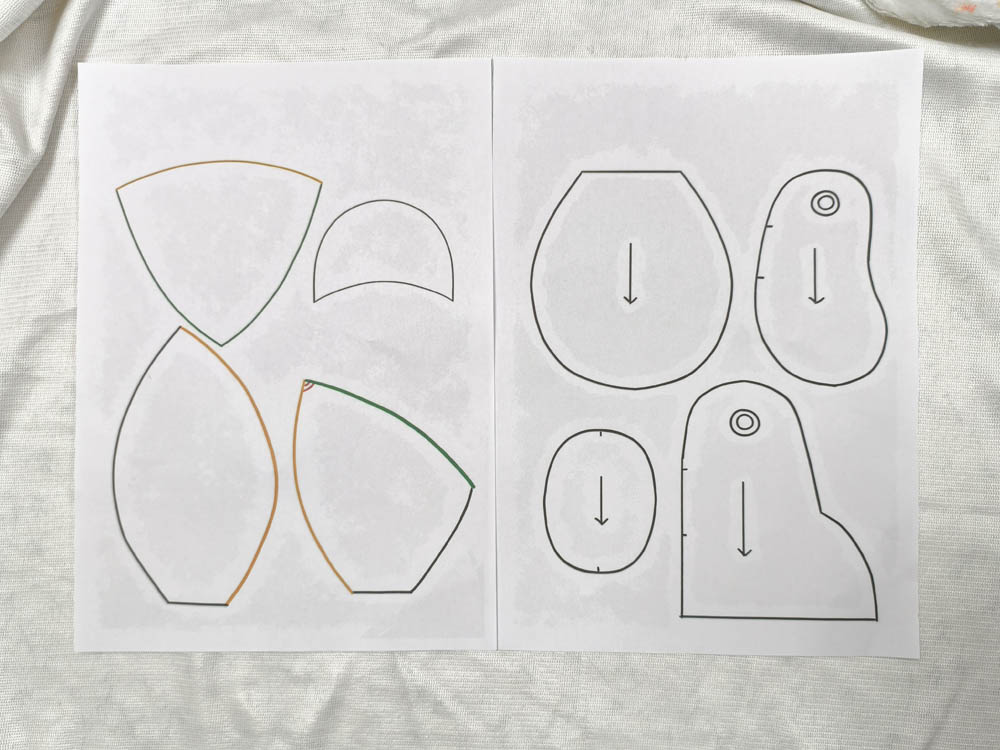
- Teddy bear pattern printed on two A4 pages
- 280gsm single-sided Minky fabric, custom-printed with a floral design
- Sewing machine and a suitable sewing needle
- Matching thread
- Scissors, pins or clips
- Stuffing
- Hand-sewing needle for the ladder stitch
- A stronger needle for attaching the arms and legs
Safety note: If you add eyes, a nose, or any small parts, embroider them or secure them firmly. Small parts can be a choking hazard if the bear is for a child.
Cutting the Pattern
I printed the teddy bear pattern on two A4 pages. You can change the finished size by printing the pattern at a different scale. I used the A4 version for this bear.
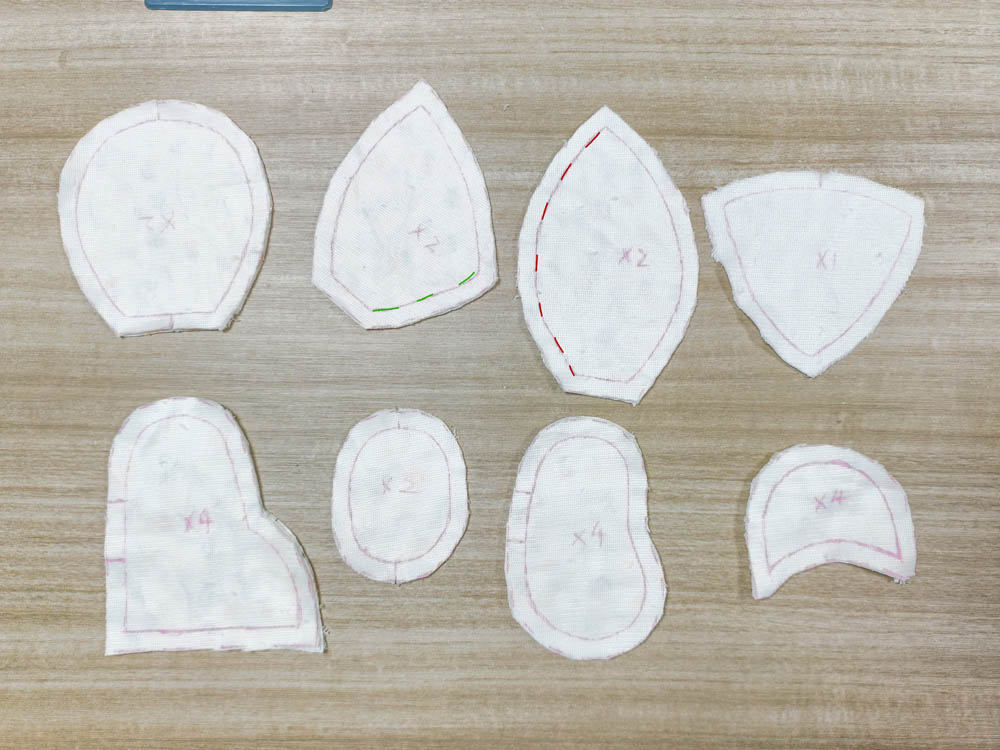
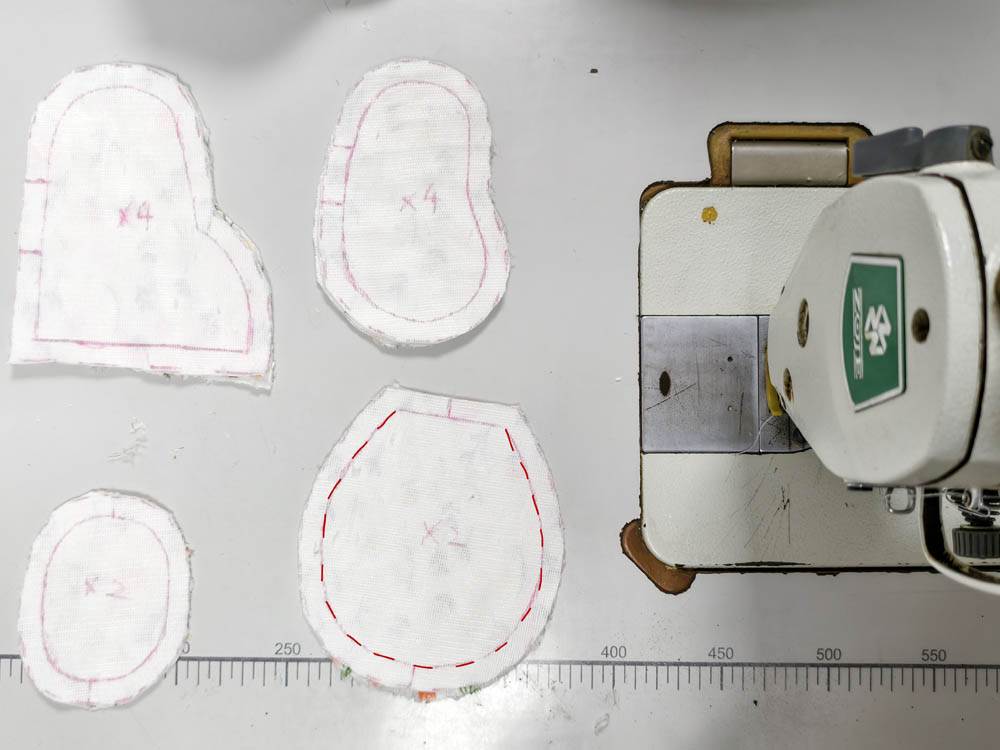
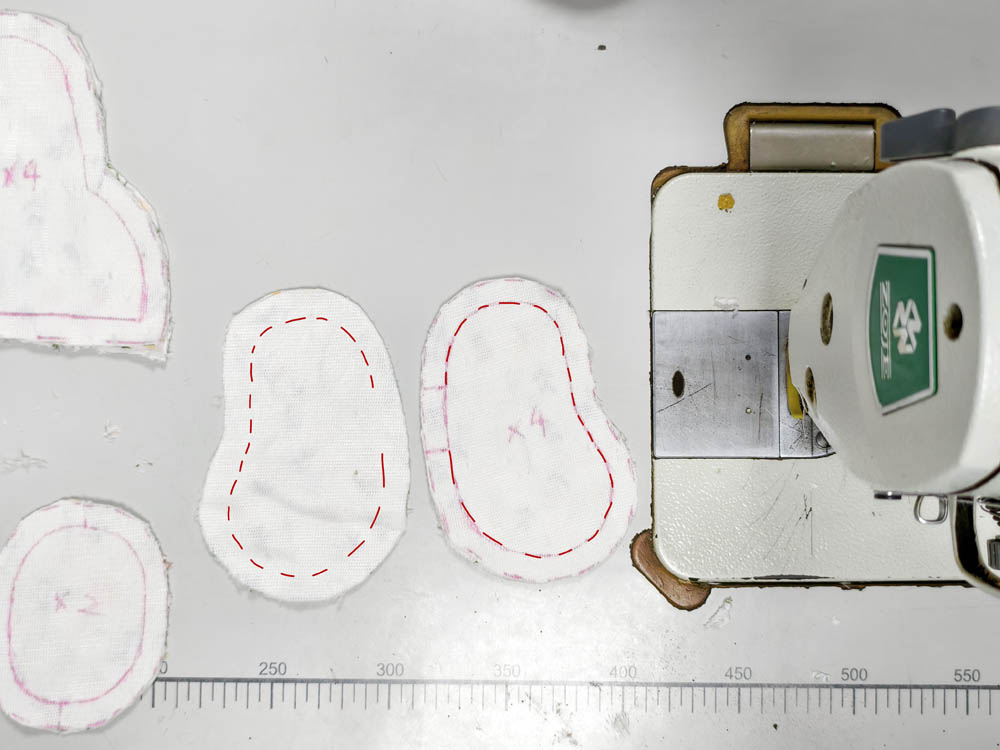
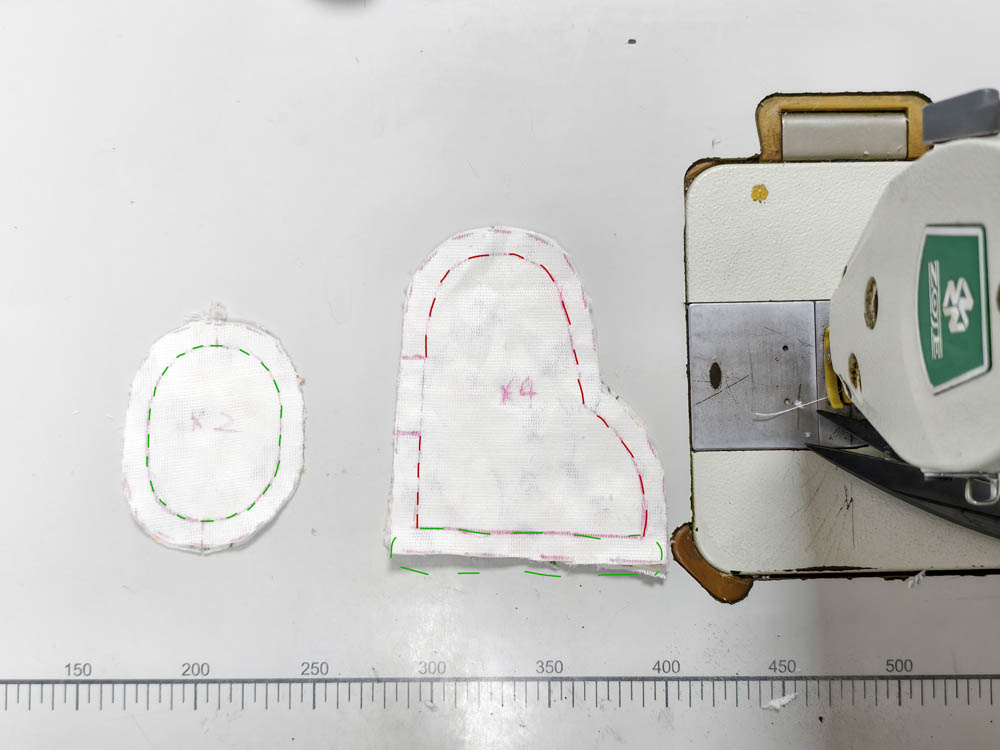
Some pieces need to be cut twice. For those, I folded the fabric, traced the pattern once, and cut through both layers.
I added a 1cm seam allowance around the pieces.
Before cutting, I also had a look at the flowers. I wasn’t trying to match every flower to a specific part of the bear, but I didn’t want to accidentally cut through the main part of the design either.
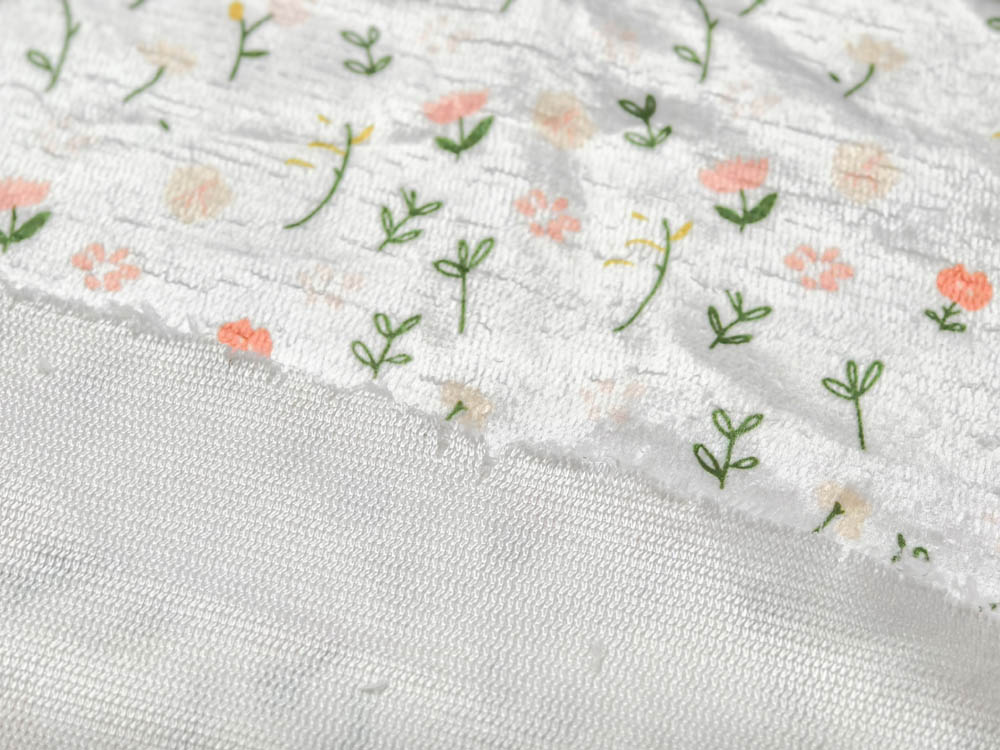
The fabric is single-sided, so I kept an eye on the right side while cutting. The printed side has the soft pile, while the back has a visible knitted texture.
Once everything was cut, I started with the head.
Making the Ears and Head Pieces
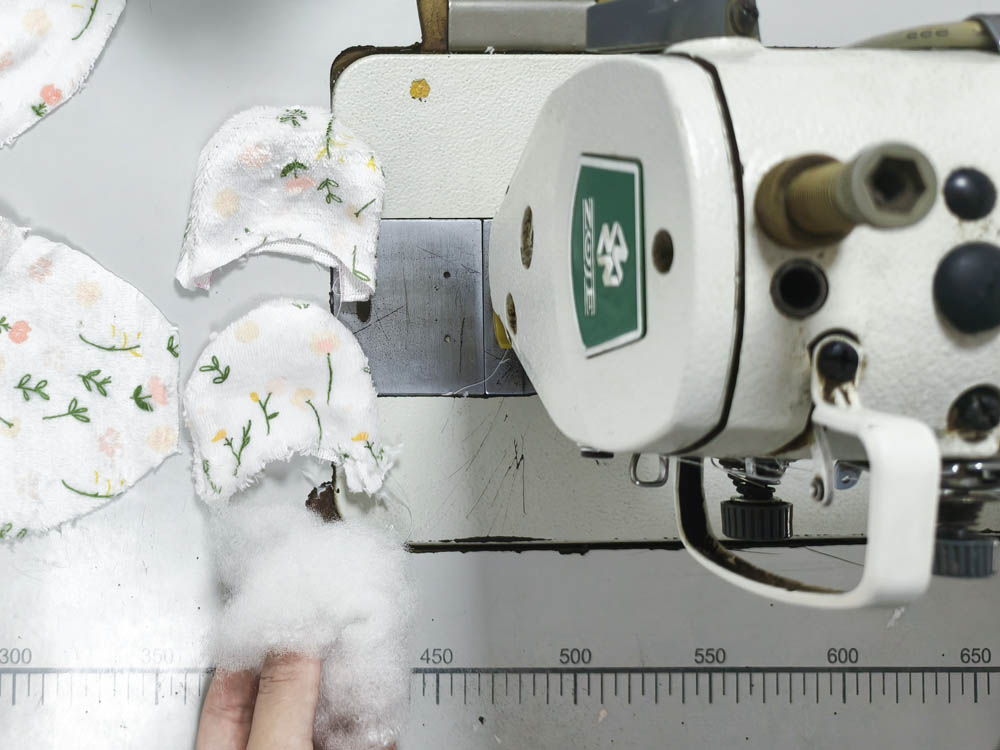
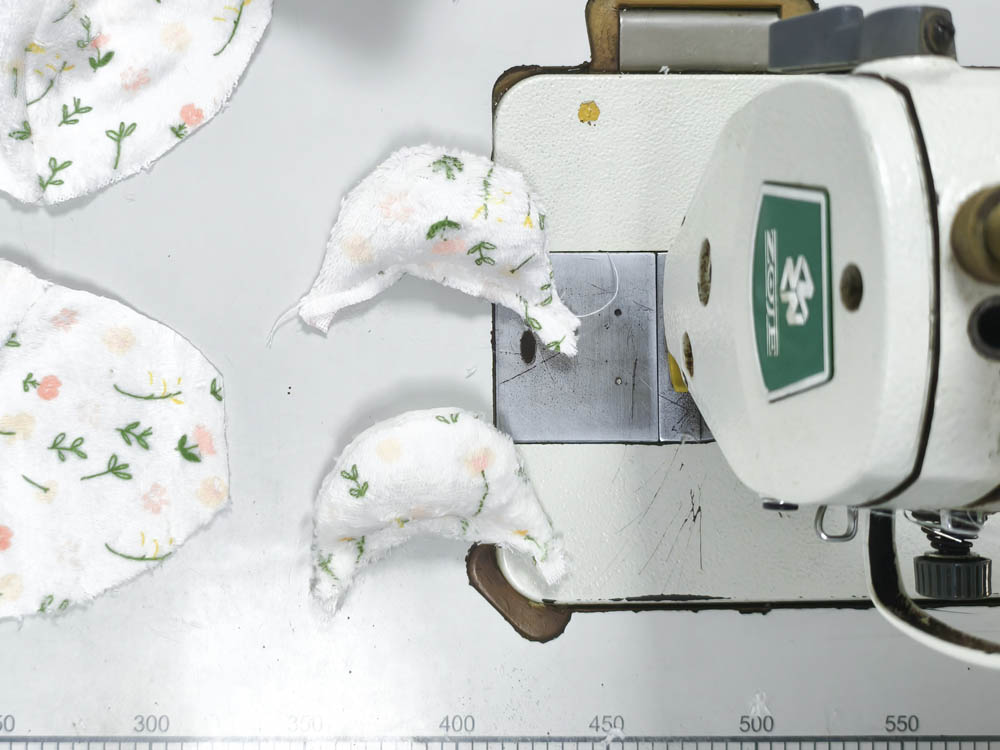
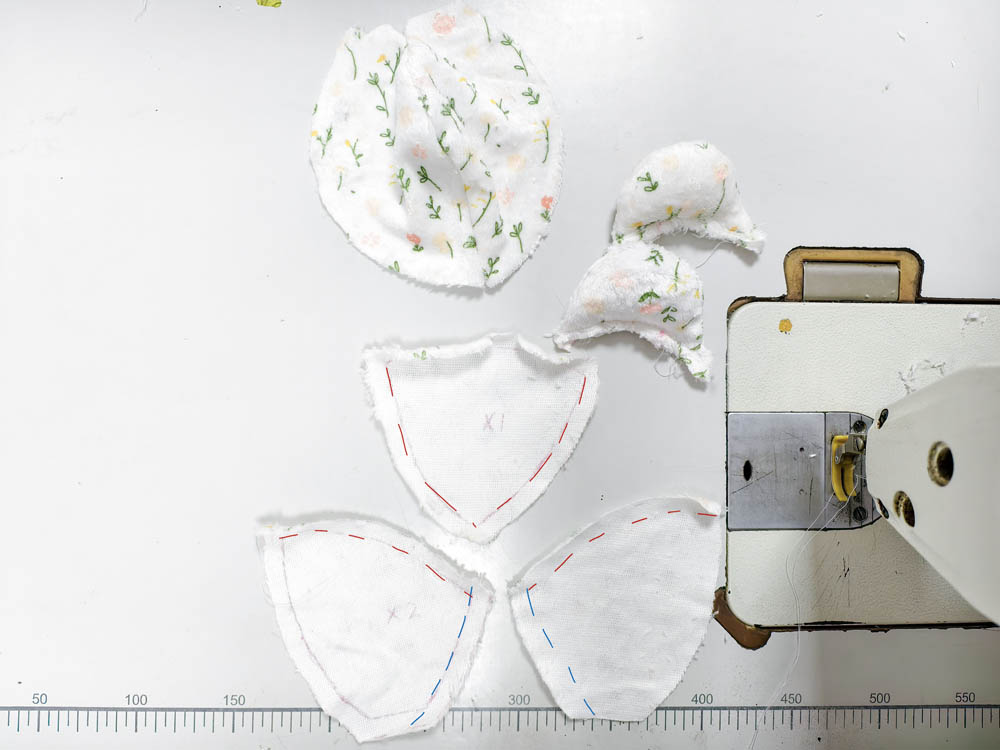
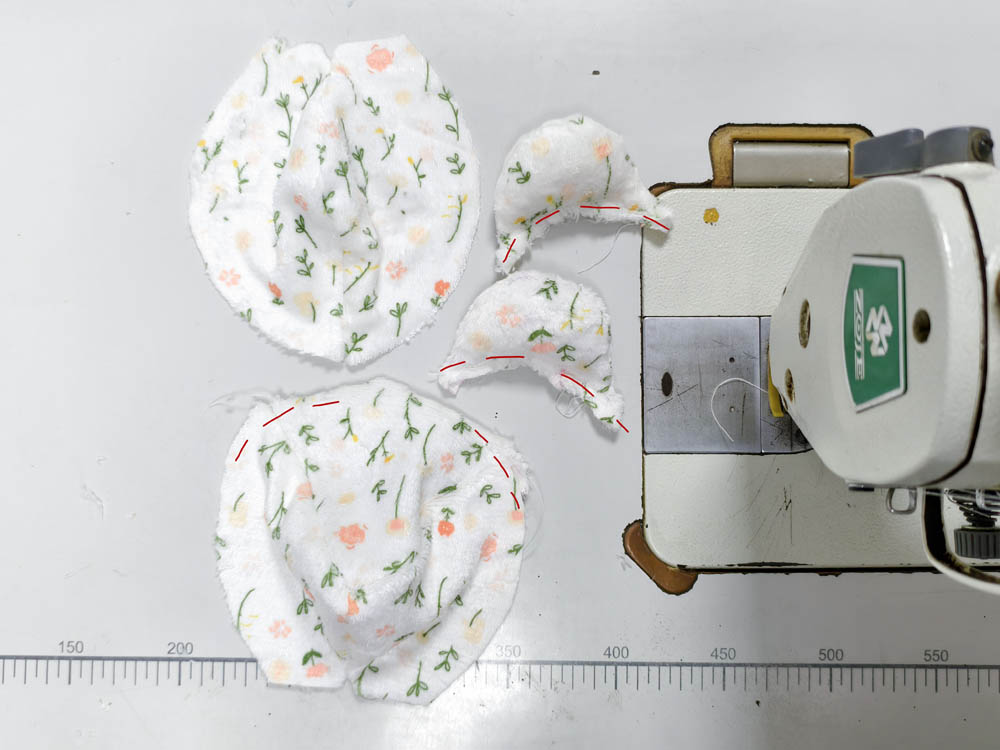
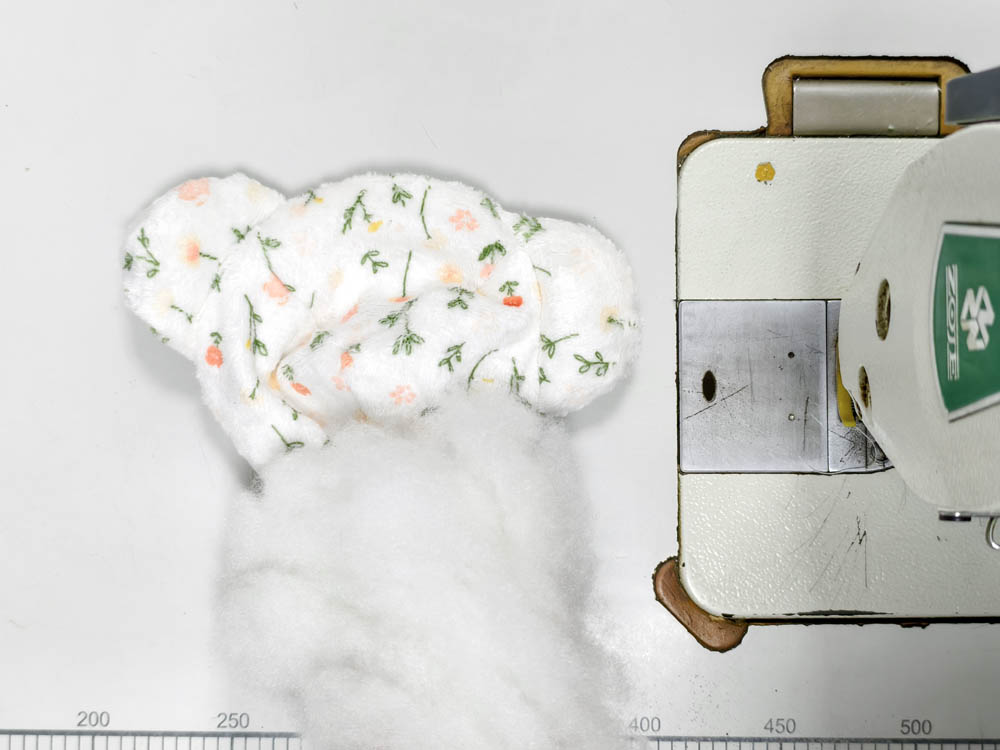
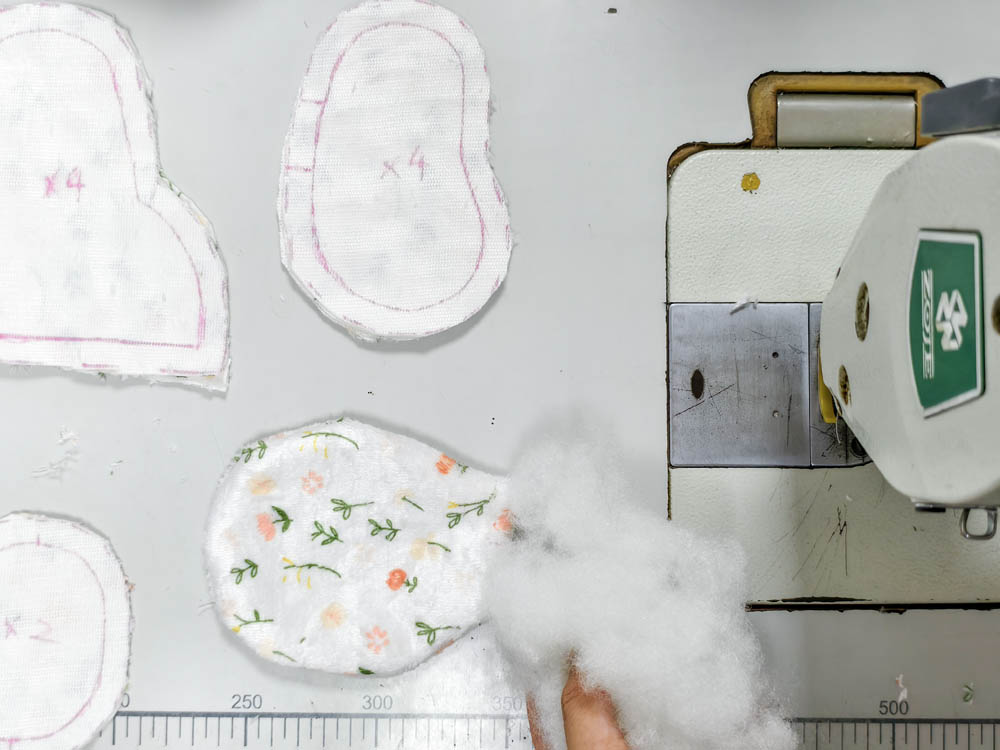
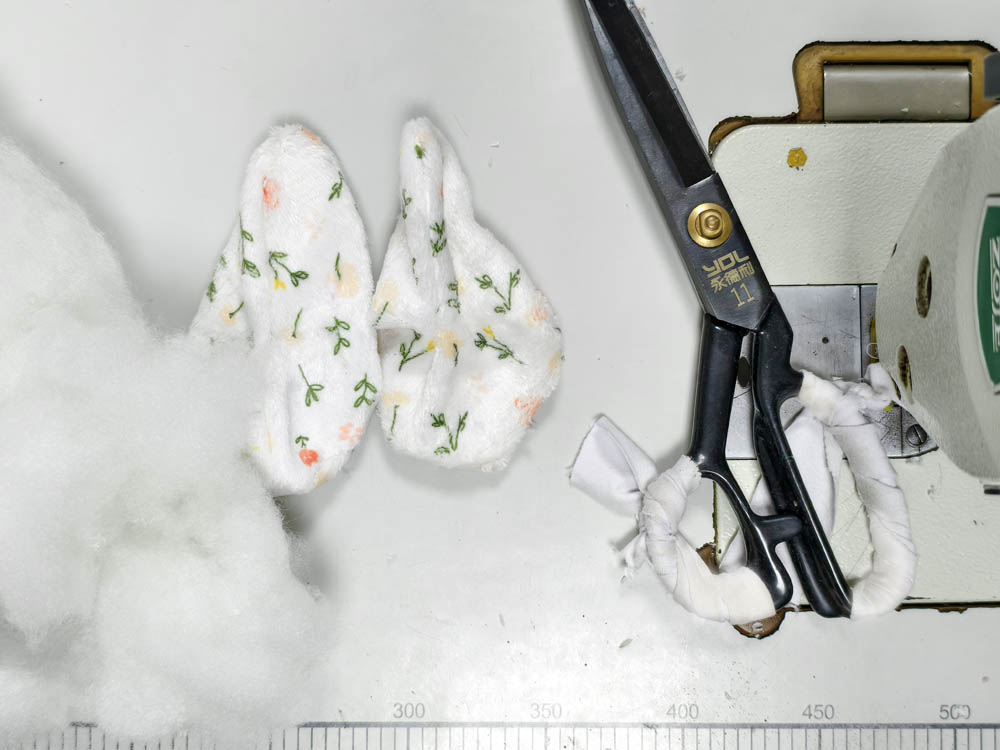
I placed the two ear pieces right sides together and sewed around the curve, leaving the bottom open. After turning the ear, I added the stuffing and closed the opening.
I made the second ear the same way and set both aside.
For the back of the head, I placed the two pieces right sides together and sewed the center-back seam.
The front of the head has a few more pieces to put together. I joined the center-front pieces first, then added the forehead.
The point of the forehead needs to line up with the center-front line. I matched those two points before sewing the curved seam.
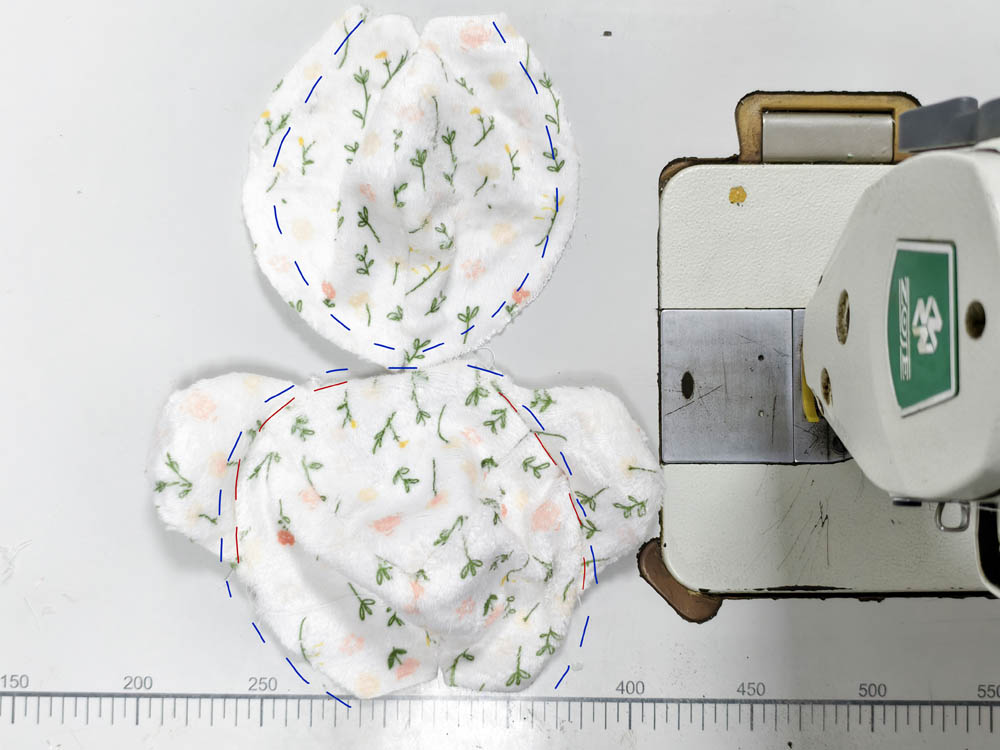
Once the front was together, I positioned the ears along the sewing lines.
Putting the Head Together
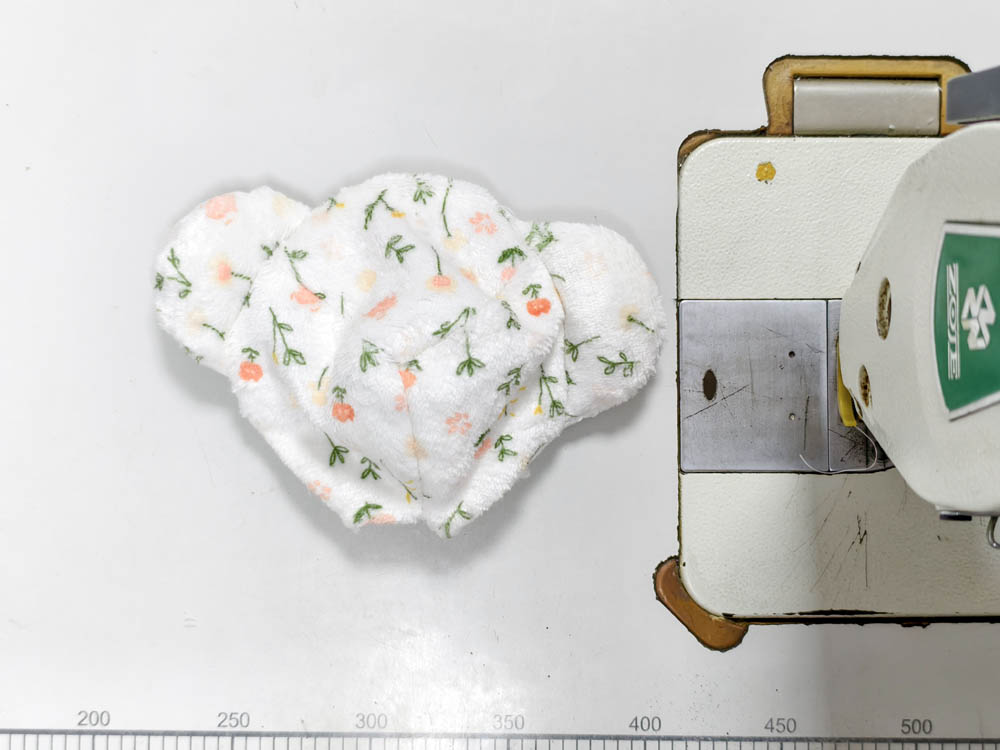
After turning the head right side out, I started adding the stuffing.
I added the stuffing a little at a time. It was easier to shape the face that way, especially around the smaller curved areas.
Sewing the Body
The body was much more straightforward.
I placed the two body pieces right sides together and sewed around them, leaving an opening for turning.
After turning the body right side out, I added the stuffing through the opening.
The 280gsm fabric was easy enough to handle here. The body pieces were small, but the fabric had enough substance that they were not difficult to turn or work with.
Making the Arms
The arms followed the same basic process.
I placed the two arm pieces right sides together and sewed around them, leaving an opening for turning.
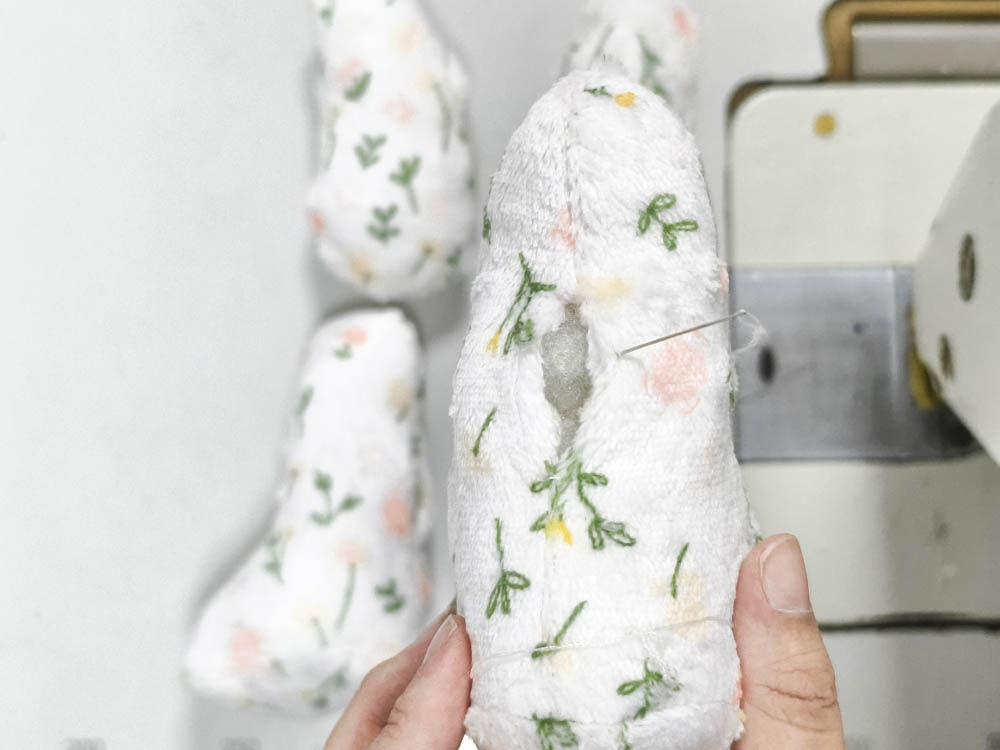
After turning them right side out, I added the stuffing and closed the openings with a ladder stitch.
I repeated the process for the second arm.
At this stage, I also checked that the two arms had a similar amount of stuffing before setting them aside.
Making the Legs
The legs were made in much the same way.
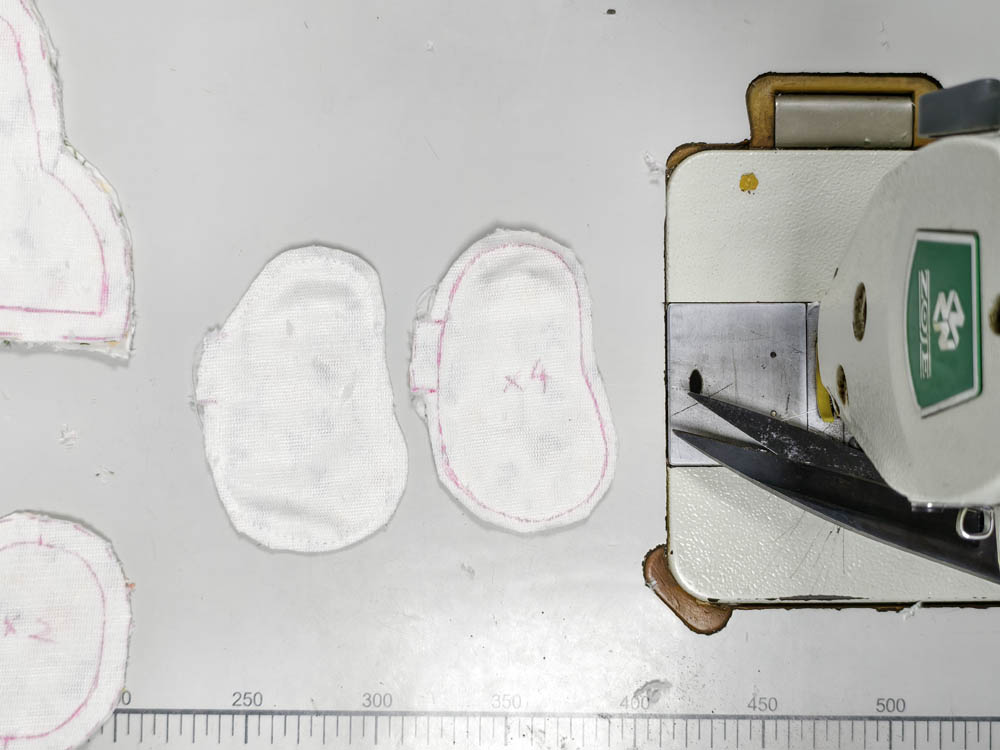
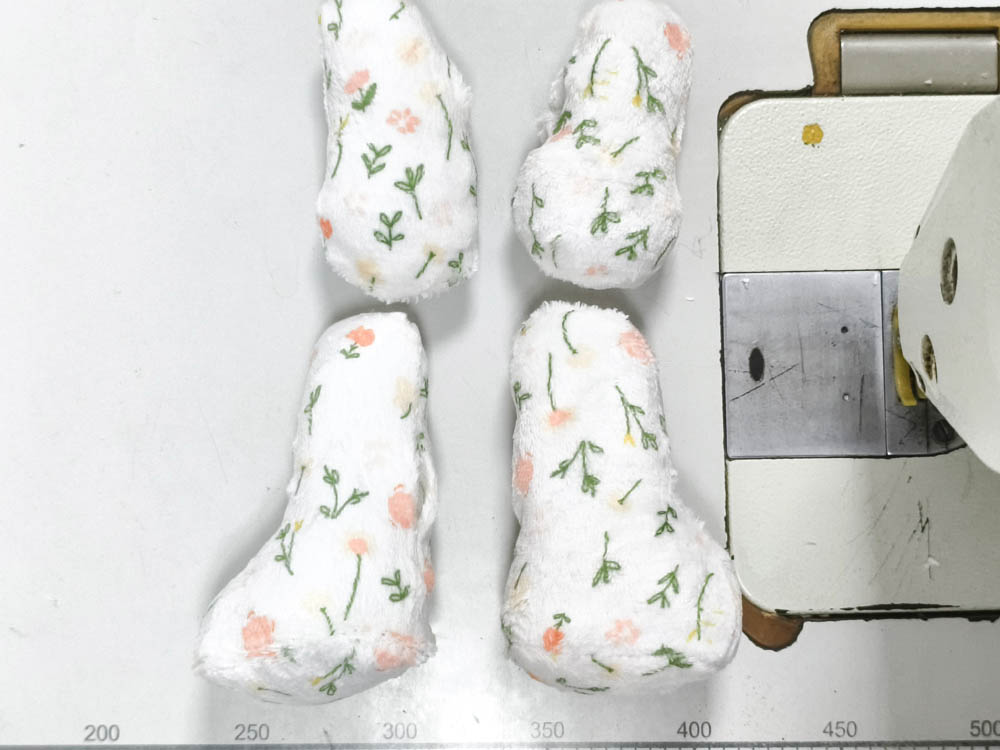
I placed the leg pieces right sides together, sewed around them, and left an opening for turning and stuffing.
The foot soles needed a little more attention.
Before sewing them on, I matched the top and bottom center lines of the sole with the front and back seam lines of the leg.
I started from these matching points and worked around the curved edge.
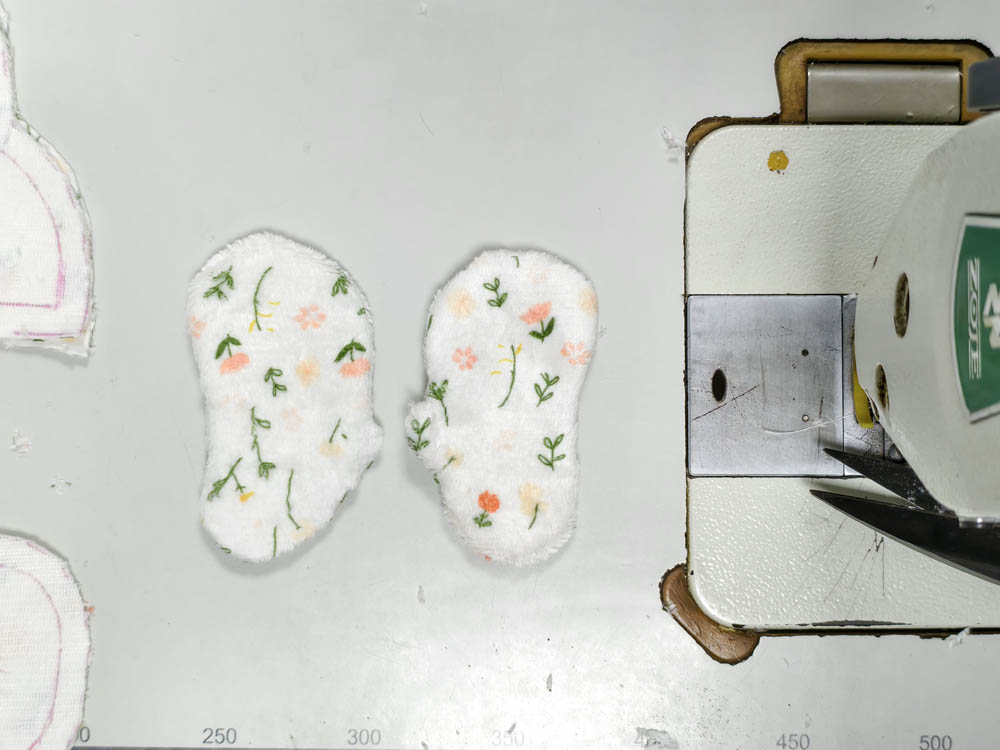
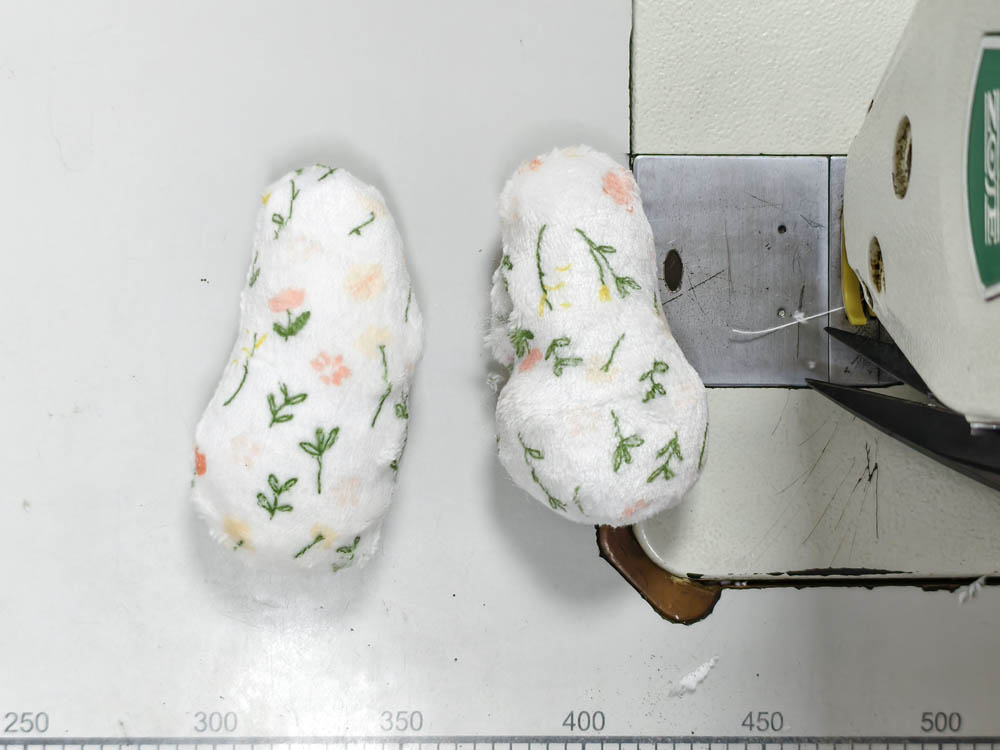
Once the soles were sewn on, I turned the legs right side out, added the stuffing, and closed the openings.
The arms and legs were ready.
Putting Everything Together
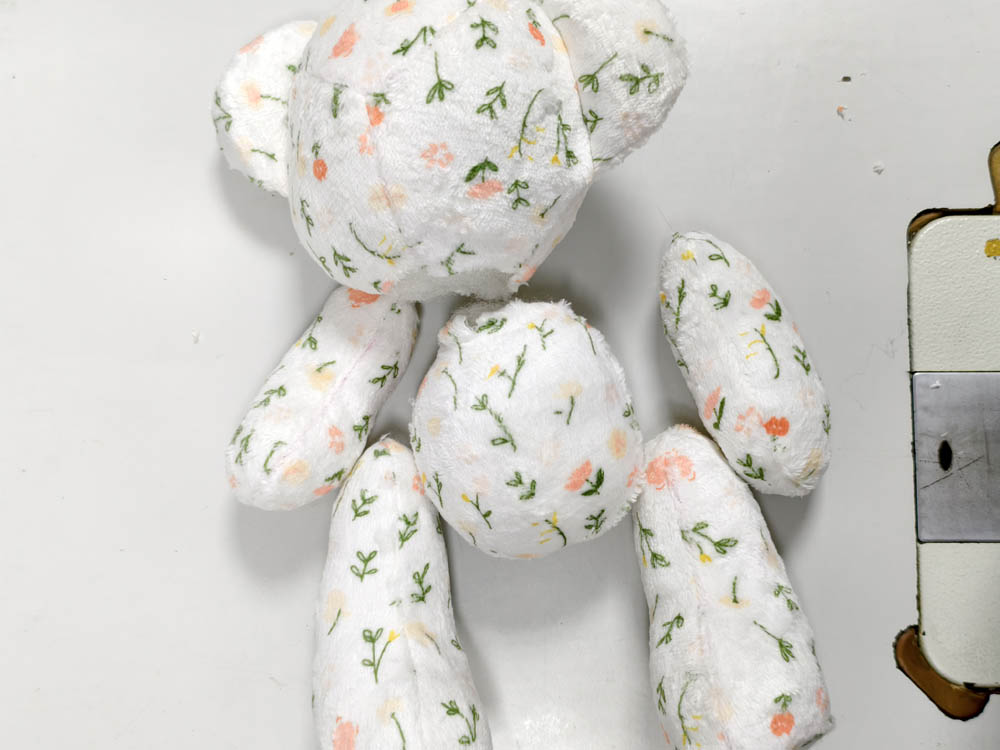
For the final assembly, I first attached the head to the body by hand using a ladder stitch.
Then I attached the arms and legs.
I used a stronger needle to pass through the body and the attachment points several times. I added a few extra passes to make sure the arms and legs were secure.
I checked the bear from the front as I worked and adjusted the position of the limbs when needed.
And that was it.
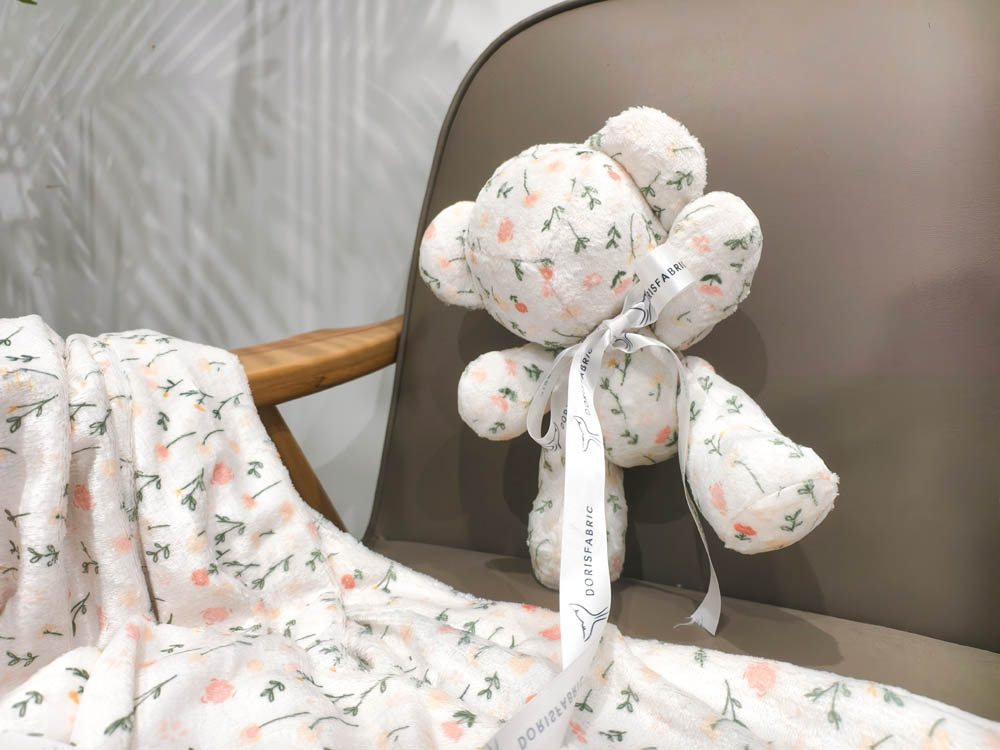
The little bear was finished.
How the Floral Print Looked on the Finished Bear
This was the part I hadn’t really been able to picture before cutting.
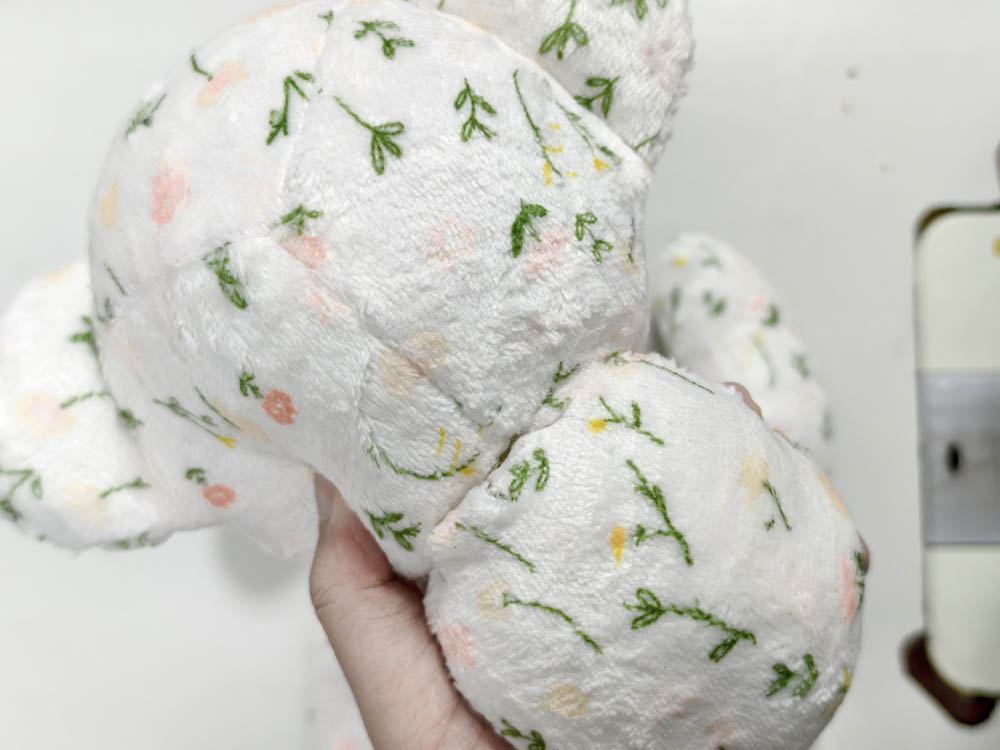
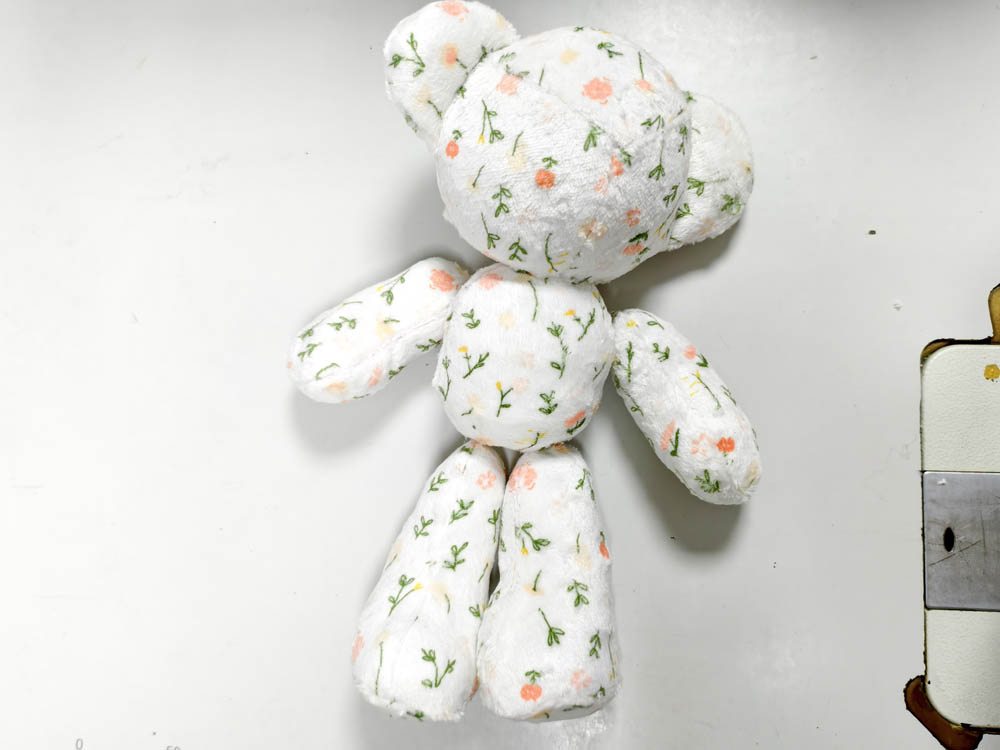
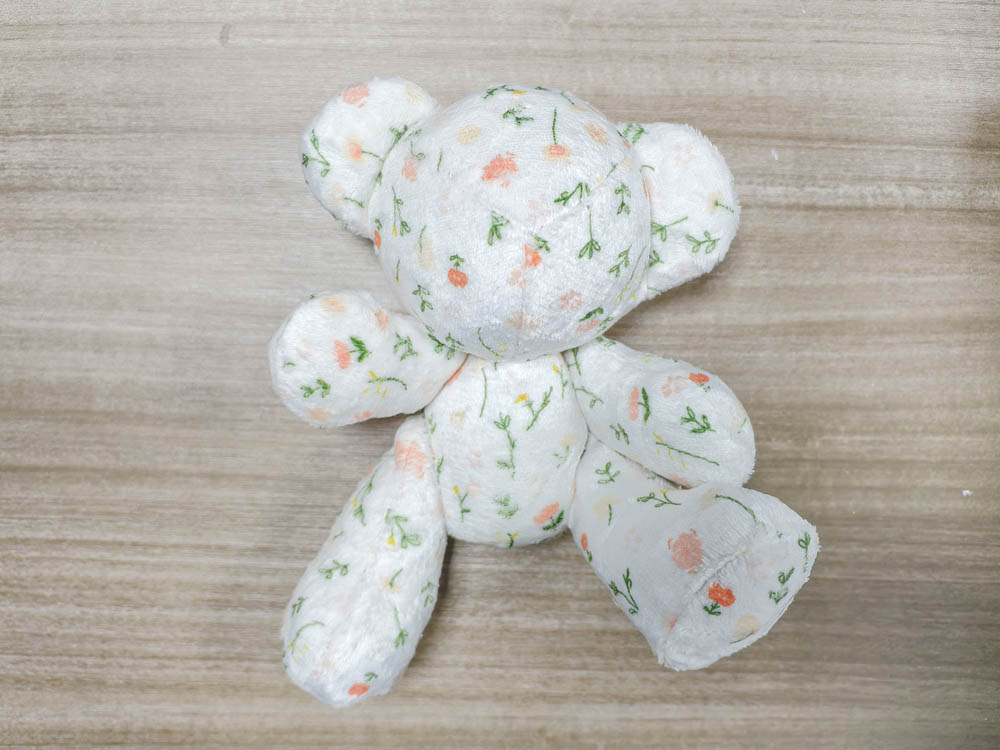
The flowers looked quite even when the fabric was lying flat. Once the pattern pieces were cut, the design was broken up between the face, ears, body, arms, and legs.
A flower that was close to the edge of one piece might end up right beside a seam. Another one might sit in the middle of the face.
I liked that the finished bear didn’t look exactly like the original piece of fabric.
The little flowers ended up in different places, but they still worked together.
The soft pile also became more noticeable after the pieces were stuffed. When the fabric was flat, I was mainly looking at the print. Once the bear was finished, the texture became a much bigger part of how it looked and felt.
One thing I kept checking while sewing was the right side of the fabric. With a single-sided fabric, it is easy to lose track of the two sides when you’re turning and joining small pieces.
A Few Things I Would Check Before Making Another One
There are a few parts of this pattern that I would pay extra attention to:
- Check the print before cutting, especially if you are using a directional or larger design.
- Keep track of the right side of the fabric.
- Match the forehead point with the center-front line.
- Check the ear position before sewing the head together.
- Match the center lines when attaching the foot soles.
- Add stuffinggradually instead of packing it in all at once.
- Reinforce the arm and leg attachment points.
The head took the most time because there were several curved pieces to match. Once the head was done, the rest was fairly straightforward.
The Finished Bear
I started with a floral print I liked and a piece of soft fabric.
At that point, I knew what the fabric looked like. I just didn’t know what the flowers would look like on a teddy bear.
After cutting, sewing, turning, and stuffing all those little pieces, I finally got to see it.
The flowers on the ears, face, and body ended up in different places, even though they all came from the same piece of fabric.
I think that’s what I liked most about using my own print for this project. The finished bear wasn’t something I could completely picture beforehand.
I had to make it first to see it.
And now the little floral bear has a place on my sewing table.
Frequently Asked Questions