A Soft, Gingham Apple Cushion Made with Custom-Printed Fabric
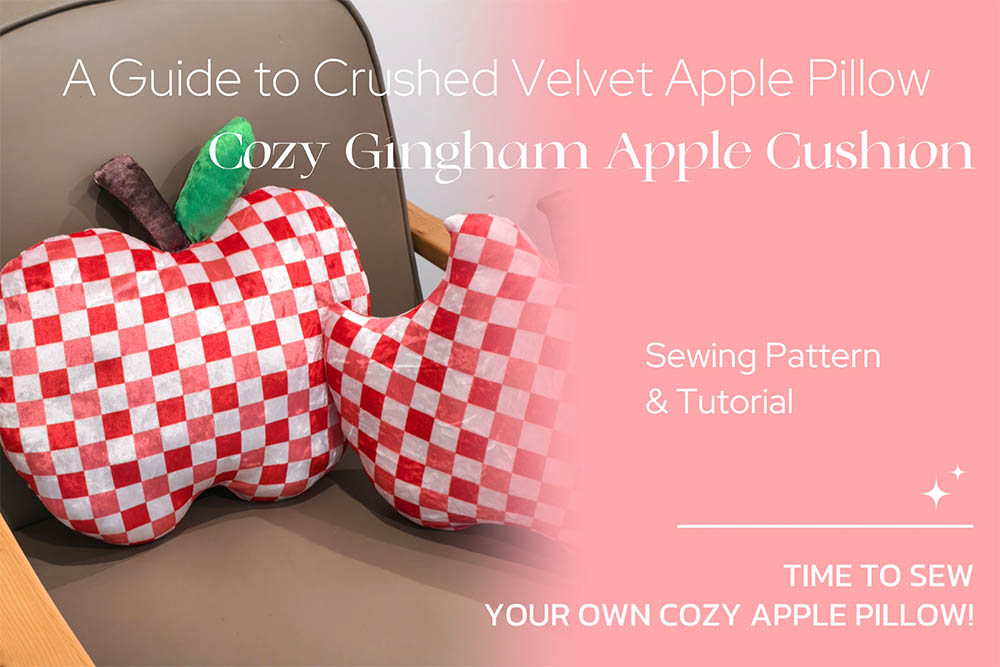
An apple-shaped cushion is a fun little project, especially when you can make the whole design from one piece of printed fabric. For this one, the red-and-white gingham body is paired with a brown stem and green leaves, all printed together on one yard of crushed velvet.
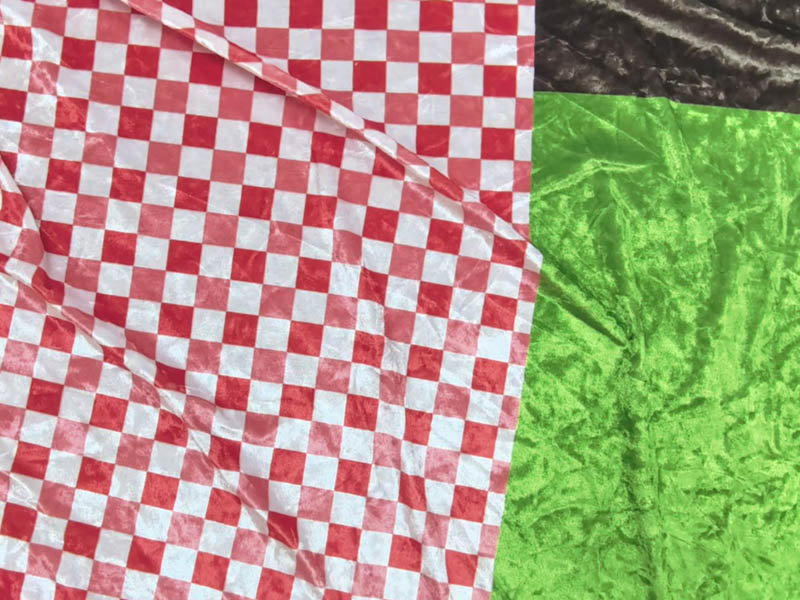
Crushed velvet has a soft feel and a slightly shiny surface, which gives the gingham pattern more texture than you’d get with an ordinary cotton cushion. Once filled, the rounded apple shape looks soft and plump, with the stem and leaves giving it that familiar apple look.
There’s also another way to attach the stem and leaves if you’d rather catch them in the main seam.
Materials and Supplies
Before getting started, gather your fabric and basic sewing supplies.
Fabric and Filling
- 1 yard of custom-printed crushed velvet featuring the gingham apple body, brown stem, and green leaves
- Polyester stuffing or cushion filling
Sewing Supplies
- Sewing machine
- Matching sewing thread
- Fabric scissors
- Pins or sewing clips
- Fabric marking pen or tailor’s chalk
- Hand-sewing needle
- Measuring tape
The custom print used for this project includes the apple body, stem, and leaves on the same piece of crushed velvet. This makes it possible to cut out all the parts without having to find separate fabrics in matching colors.If you’re not using a custom print, you can use separate red gingham, brown, and green fabrics for the different sections.
Before You Start: Working with Crushed Velvet
Crushed velvet has a textured surface that looks slightly different depending on the angle of the light.
A few loose fibers may come away when cutting the fabric. Brush them off your work surface before you start sewing.
A few things are worth checking before you begin:
- Check the surface:Lay out your pattern pieces before cutting. Look at the fabric from different angles to see how the texture and sheen appear, and make sure the front and back pieces have a similar look.
- Mark on the wrong side:Use a fabric marking pen or tailor’s chalk that is suitable for the material. Test it on a small scrap first if you’re unsure whether the marks will come off.
- Handle the fabric carefully:Try not to rub or drag the fabric more than necessary, as this can disturb its textured surface.
- Test your stitches:Sew a small sample first to check how the fabric moves through your machine and whether the stitches look even. Adjust the tension if needed before sewing the cushion pieces.
How to Make a Crushed Velvet Apple Pillow
Step 1: Draw and Cut the Apple Body
Start by drawing the apple shape on the wrong side of the fabric. The sides can be slightly rounded, with a small dip at the top to leave room for the stem and leaves.
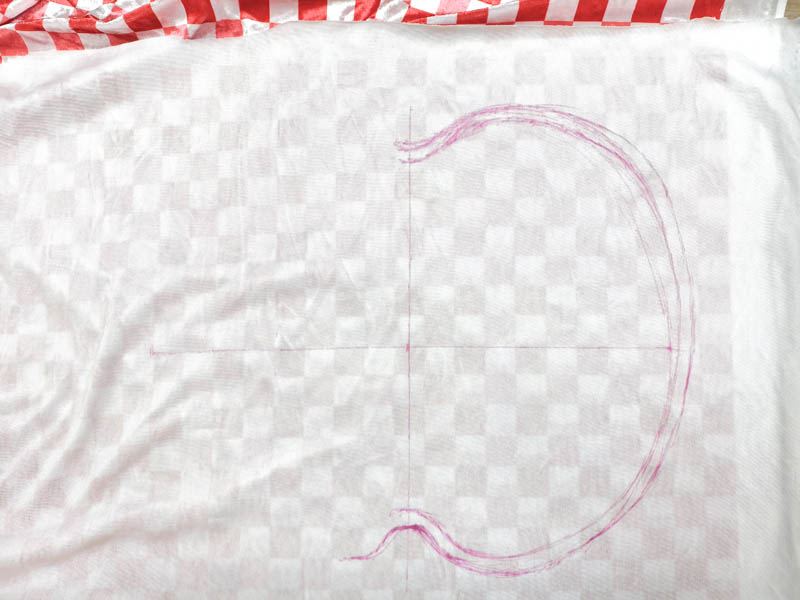
Drawing the Apple Body Outline
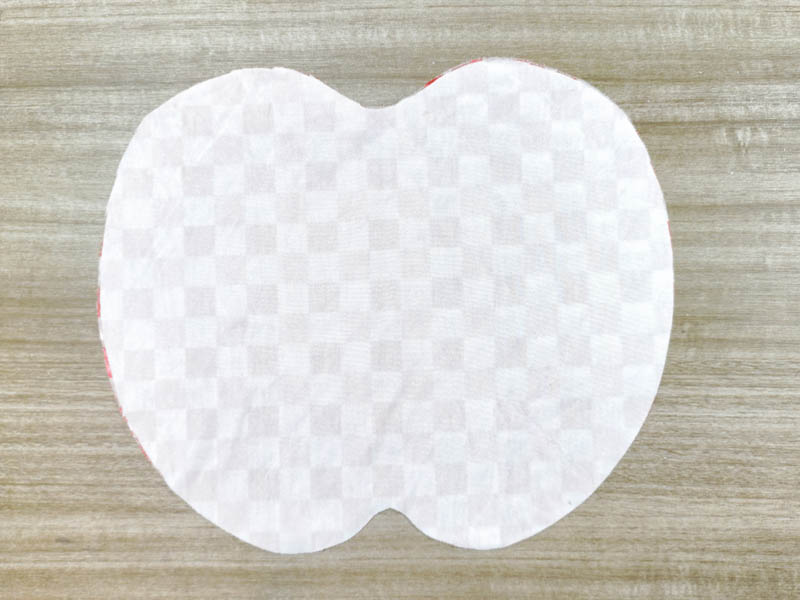
Cut Apple Body Pieces
To keep the shape symmetrical, draw a vertical center line and fold the fabric along it. Draw one half of the apple outline, leaving a seam allowance around the shape before cutting through both layers. When you unfold the fabric, both sides should match.
You can adjust the curves to suit the look you’re after, but make sure the top indentation is wide enough to fit the stem and leaves.
Step 2: Cut the Stem and Leaves
Next, draw the leaf shape on the green section of the print and the stem on the brown section. The same folding method can be used for the leaf if you want both sides to match.
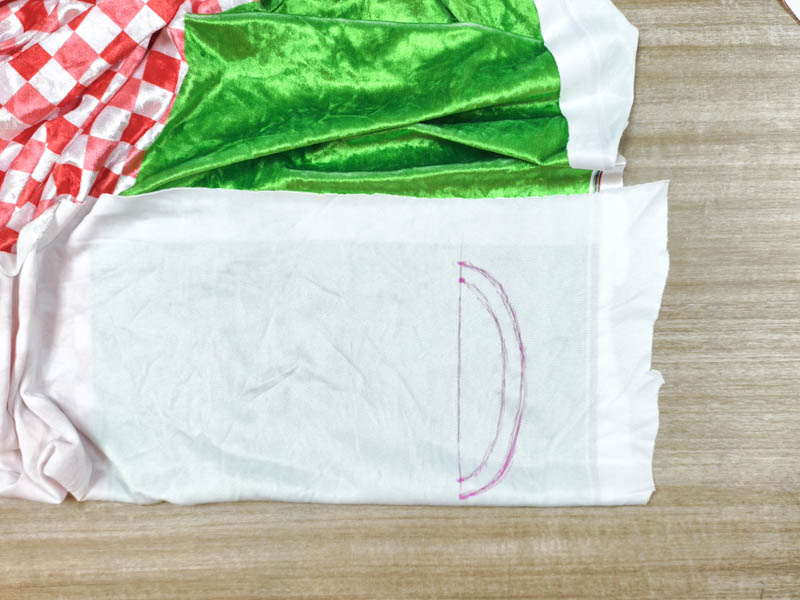
Drawing Leaf on Green Fabric
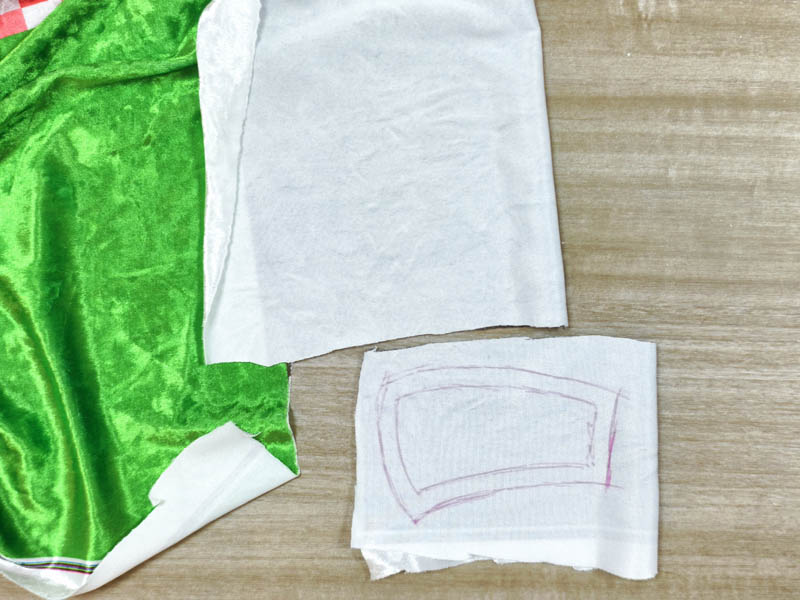
Stem on brown fabric
Cut two matching fabric pieces for the leaf and two for the stem. Before sewing, place the pieces on top of the apple body to check their size and position.
Step 3: Sew and Stuff the Apple Body
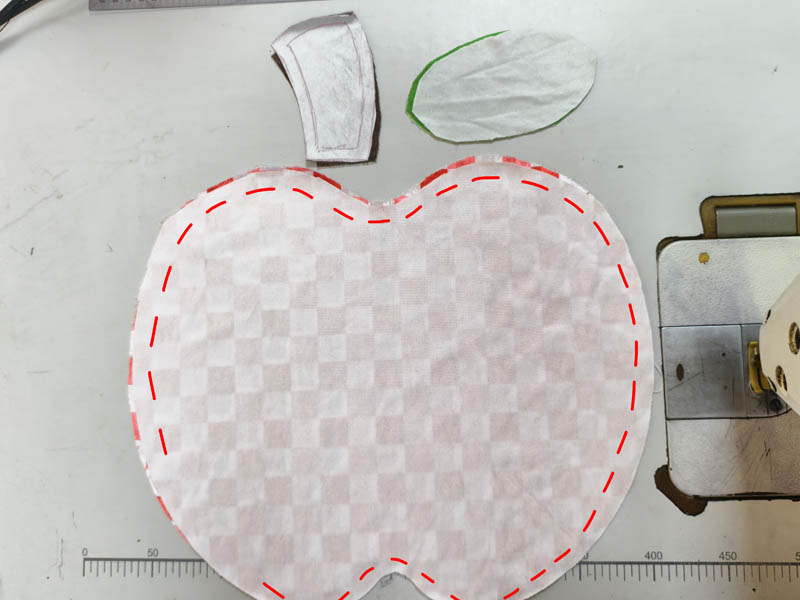
sewing the apple body pieces
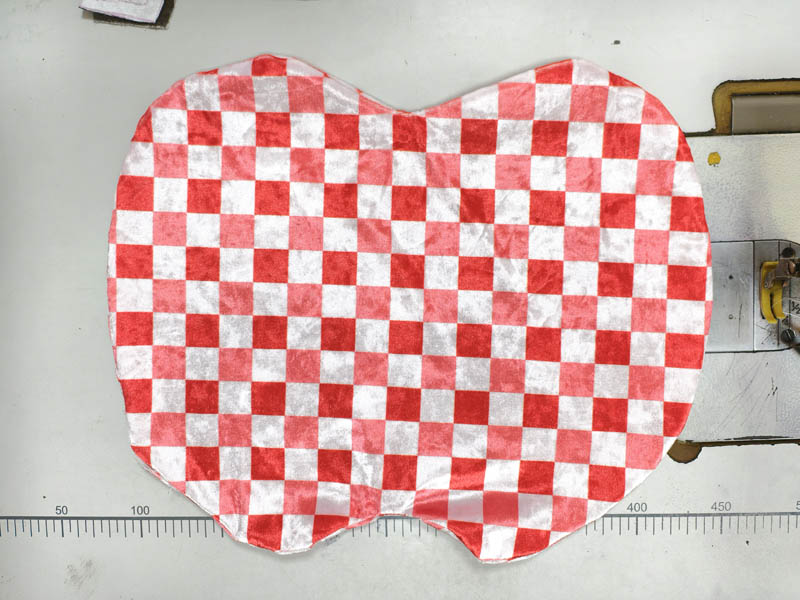
The sewn apple body right side out
Place the two apple body pieces together with their right sides together. Sew around the outer edge, leaving an opening at the bottom or along one side for turning and stuffing.
Once the seam is finished, turn the apple body right side out and gently push out the curved edges. Add polyester stuffing a little at a time, working it into the sides so the cushion fills out evenly.
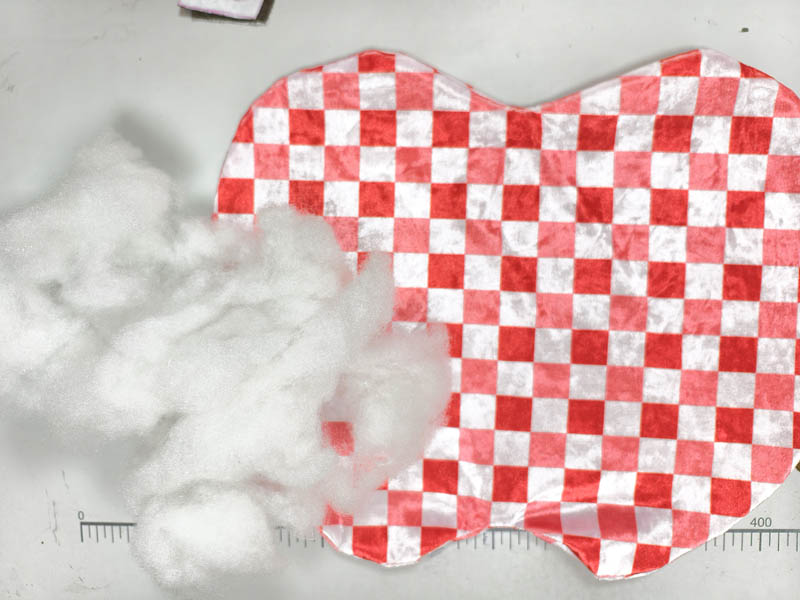
Stuffing the apple body with polyester filling
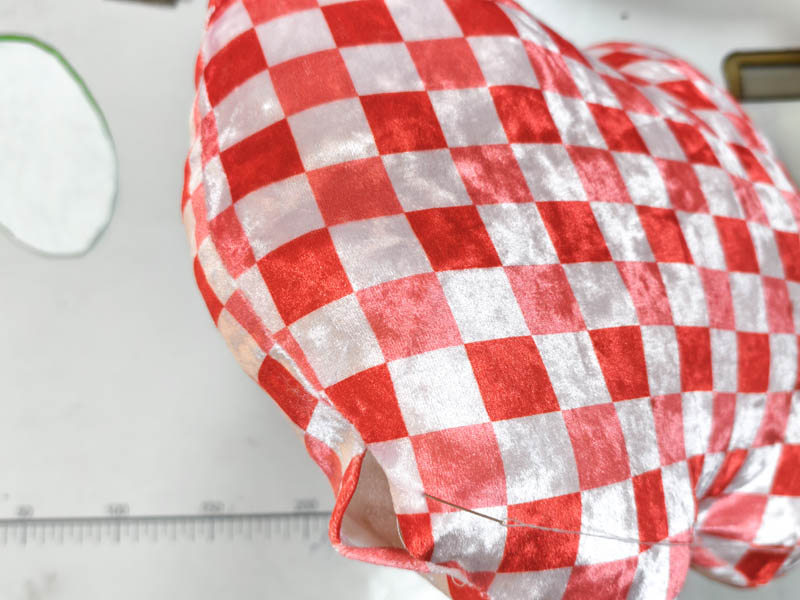
The stuffed apple body shape
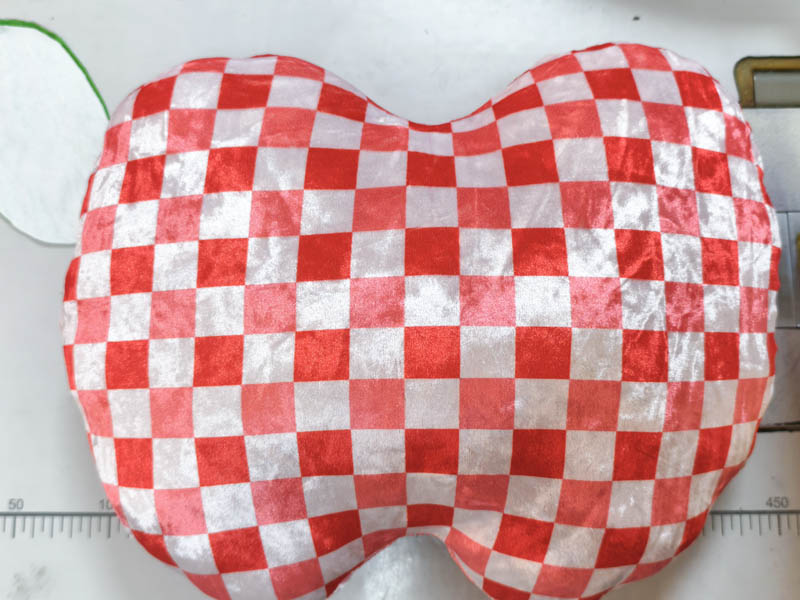
Closing the apple body opening with a ladder stitch
Avoid adding too much stuffing, as this can stretch the seams and make the apple shape look uneven. When the cushion is full and rounded, close the opening by hand with a ladder stitch for a neat finish.
Step 4: Sew and Stuff the Stem and Leaves
Place the two fabric pieces for the leaf together with their right sides together. Sew around the edges, leaving the bottom open for turning and stuffing.
Do the same with the two fabric pieces for the stem. Turn both pieces right side out and add a small amount of stuffing to help them hold their shape. They don’t need to be firmly filled, as too much stuffing can make them harder to attach to the apple body.
Keep the bottom edges open for attaching the stem and leaf in the next step.
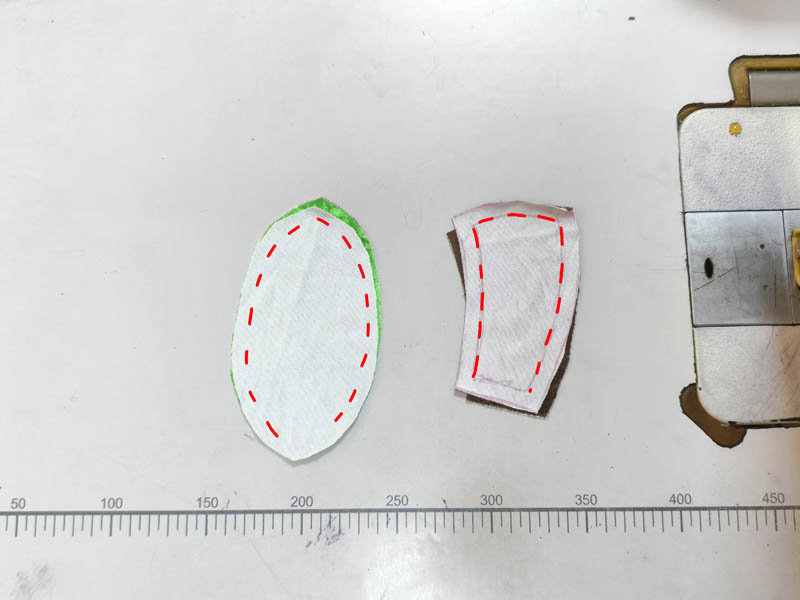
Sewing the leaf and stem pieces
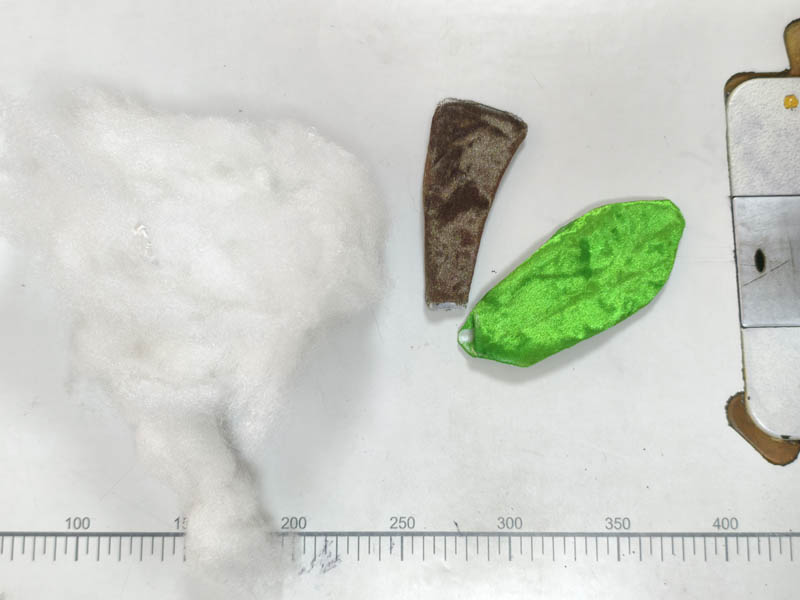
Stuffing the leaf and stem
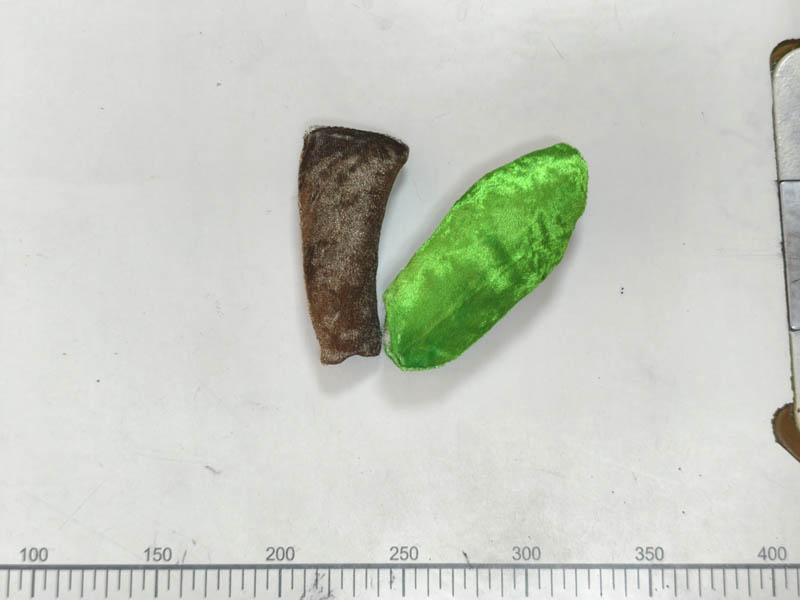
Finished leaf and stem pieces
Step 5: Attach the Stem and Leaves
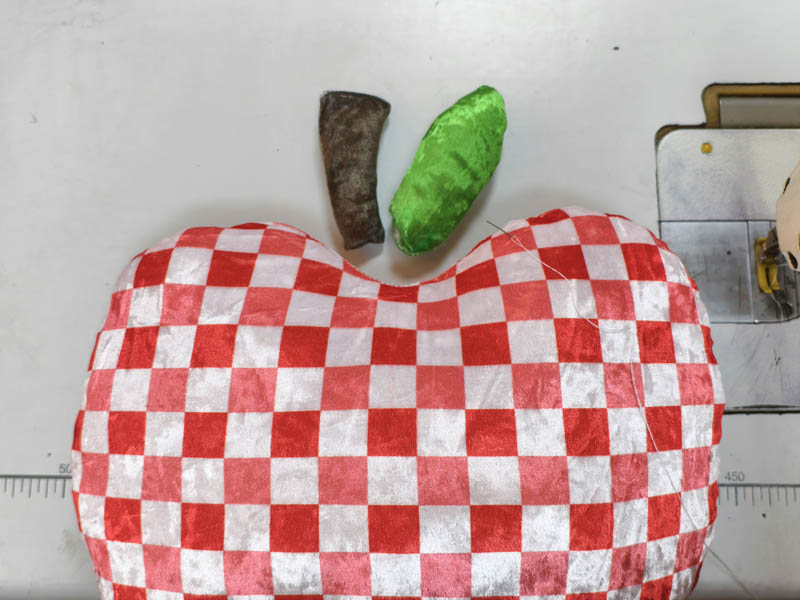
Attaching the stem and leaves to the apple body
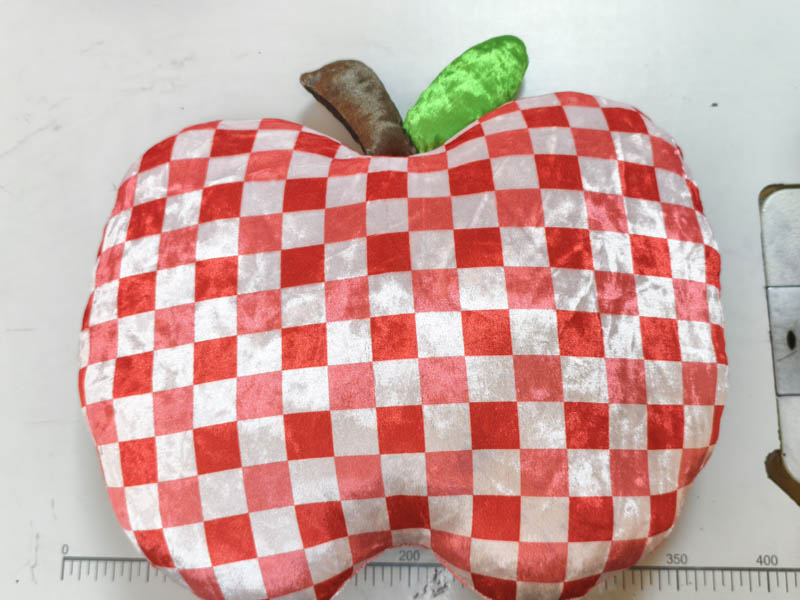
The finished crushed velvet apple pillow
Place the stem and leaf at the indentation on top of the apple body. Move them around until the arrangement looks right before sewing them in place.
Fold the raw edges inward and attach the stem and leaf to the apple body with a ladder stitch. Keep the stitches close to the base so the pieces sit neatly against the cushion.
The Finished Crushed Velvet Apple Pillow
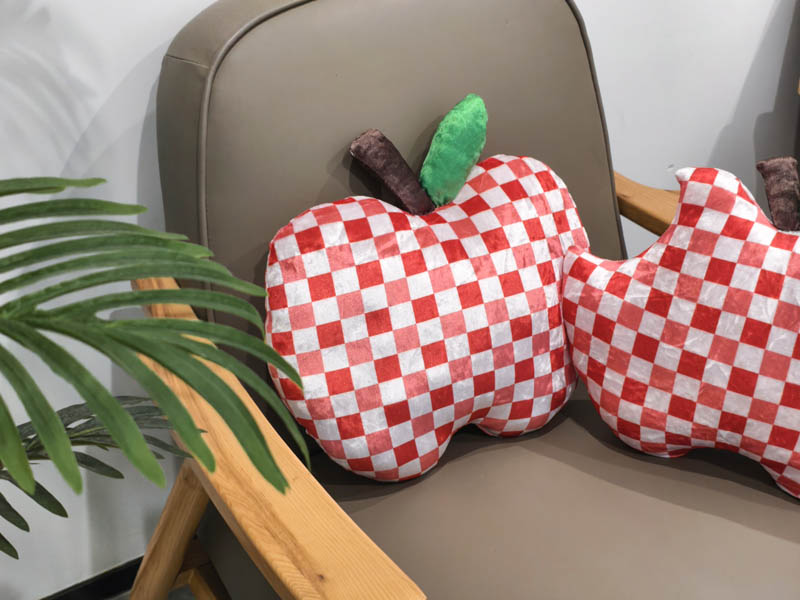
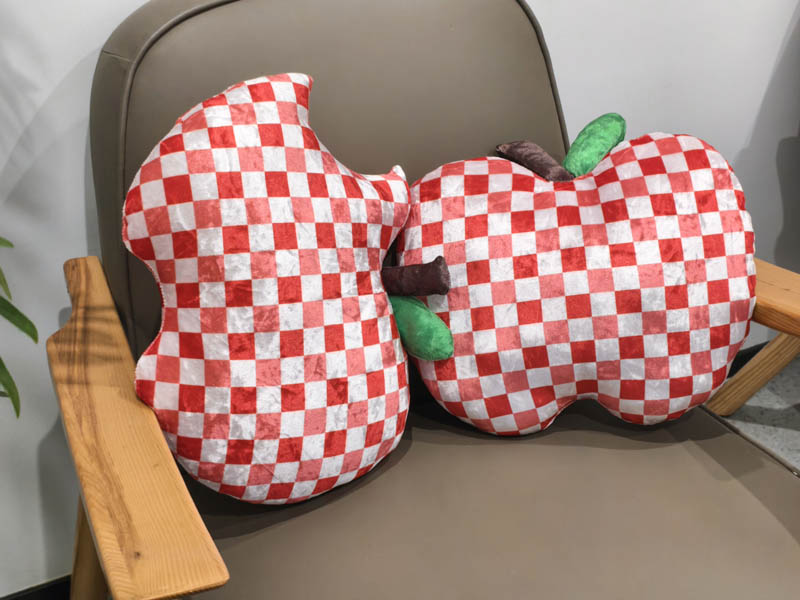
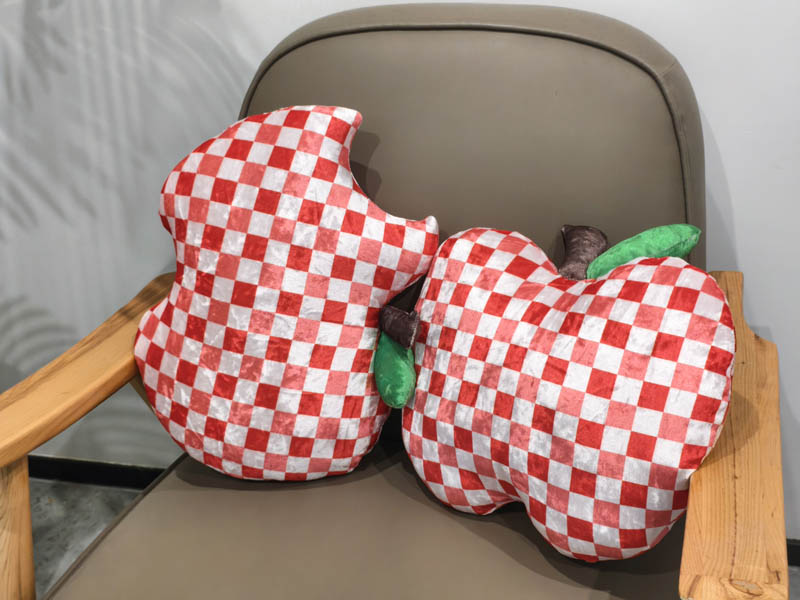
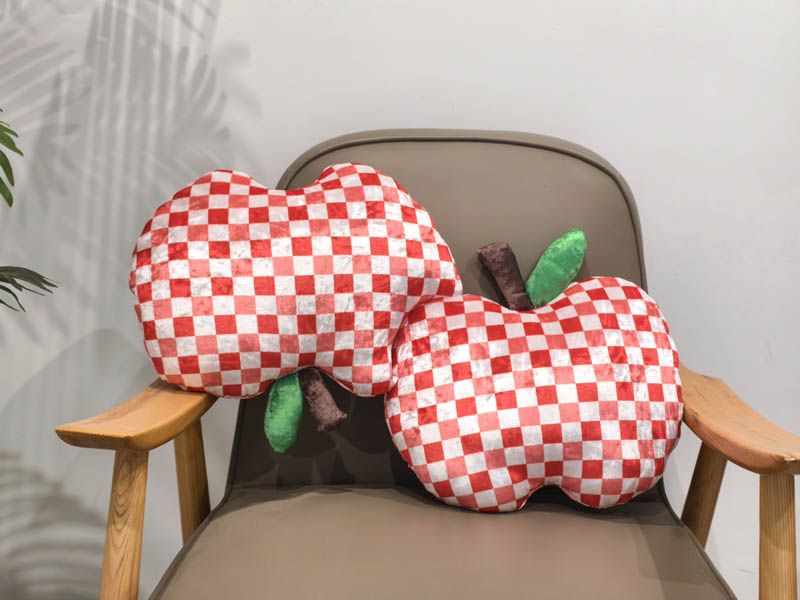
After attaching the stem and leaves, the apple shape is easy to recognize. The red gingham, brown stem, and green leaves give the cushion its familiar apple look. The crushed velvet adds texture to the gingham print and gives the finished cushion a soft appearance.
Having all three parts printed on the same fabric also made cutting and matching the colors much simpler. There was no need to find separate gingham, brown, and green fabrics for the design.
You could also try a different gingham color or change the size and shape of the apple.
Crushed Velvet Apple Pillow FAQ
1. Does crushed velvet shed when cutting?
Some loose fibers may come away from crushed velvet during cutting. Clear them from your work surface before sewing so they don’t get caught in your work.
2. Can I make this apple pillow with a different fabric?
Yes. Cotton, linen, and other suitable fabrics can be used. The finished pillow will have a different texture and look depending on the material. Choose a fabric that is easy to sew and works well for a stuffed cushion.
3. How much stuffing should I use?
Add stuffing gradually until the apple looks full and rounded. Avoid overfilling it, as too much stuffing can stretch the seams and change the shape of the cushion.
4. Do I need to use a ladder stitch to close the opening?
A ladder stitch is a good choice because it creates a neat, almost invisible finish. You can also use another suitable hand-sewing stitch if you’re comfortable with it.
5. Can I change the size or shape of the apple?
Yes. Adjust the width, height, or curves of the pattern to change the apple’s shape. Just make sure the front and back pieces match, and adjust the stem and leaves so they look balanced with the new shape.

Fashion Designer | Fabric Specialist at Doris Fabric
Hi, I'm Cora.
I'm a fashion designer at Doris Fabric and a lifelong sewing enthusiast. Every week, I work with different knit fabrics—from testing new materials to turning them into wearable garments.
Instead of simply reading fabric specifications, I believe the best way to understand a fabric is to sew with it.
Through this blog, I share my real sewing experiences, fabric comparisons, and practical tips to help fellow sewists confidently choose the right fabric for every project.