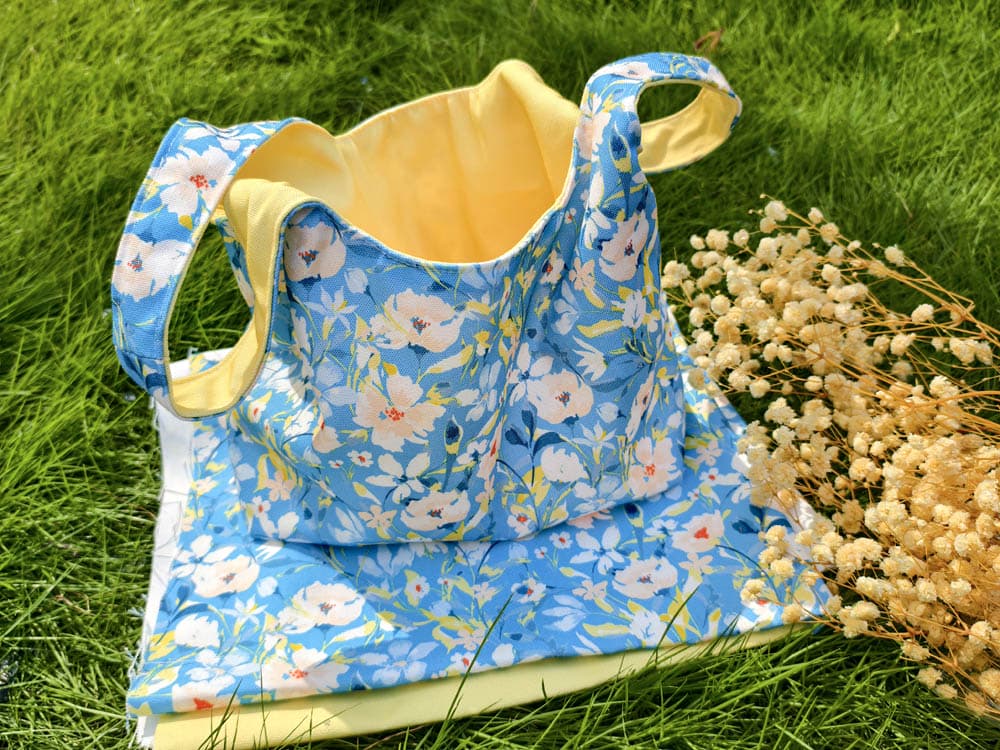
For this lunch bag, I wanted to use one yard of fabric in a slightly different way.
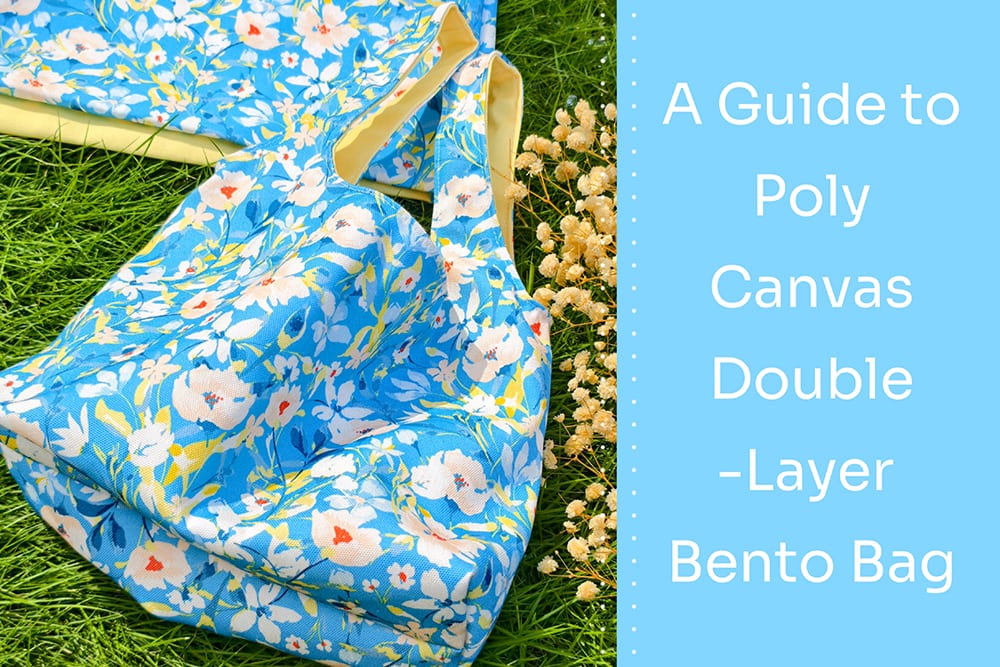
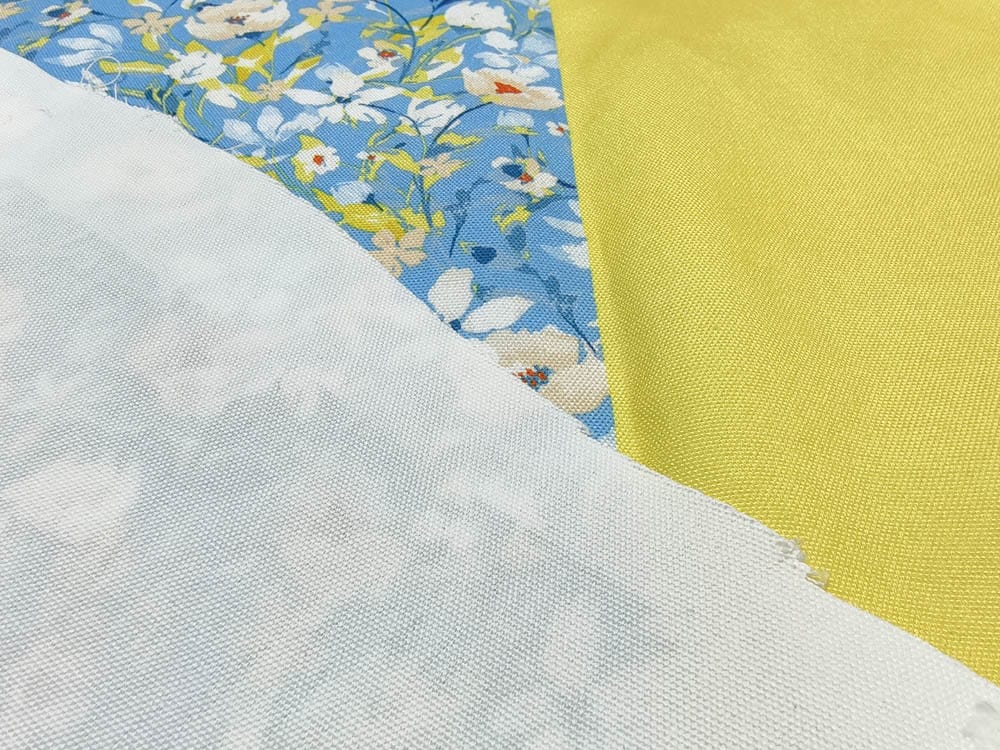
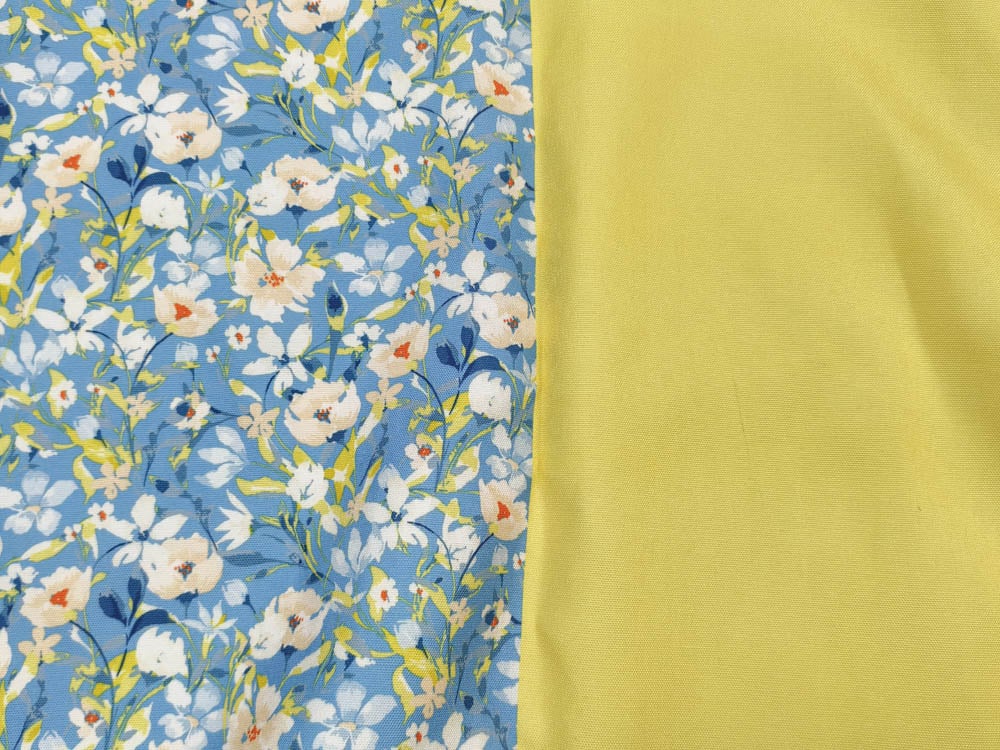
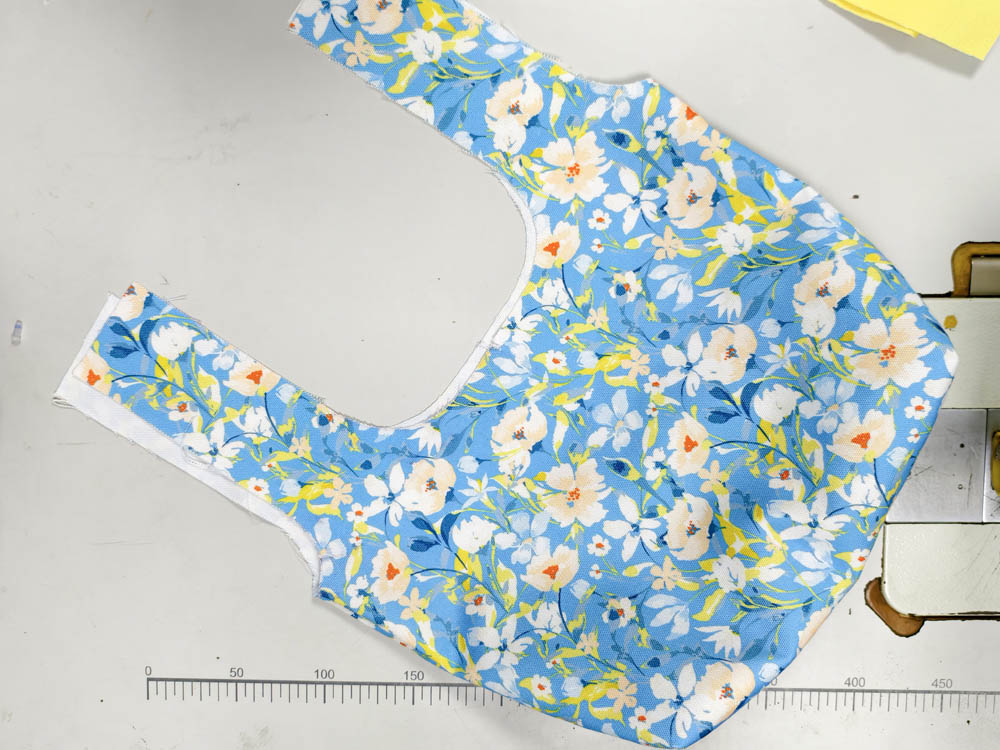
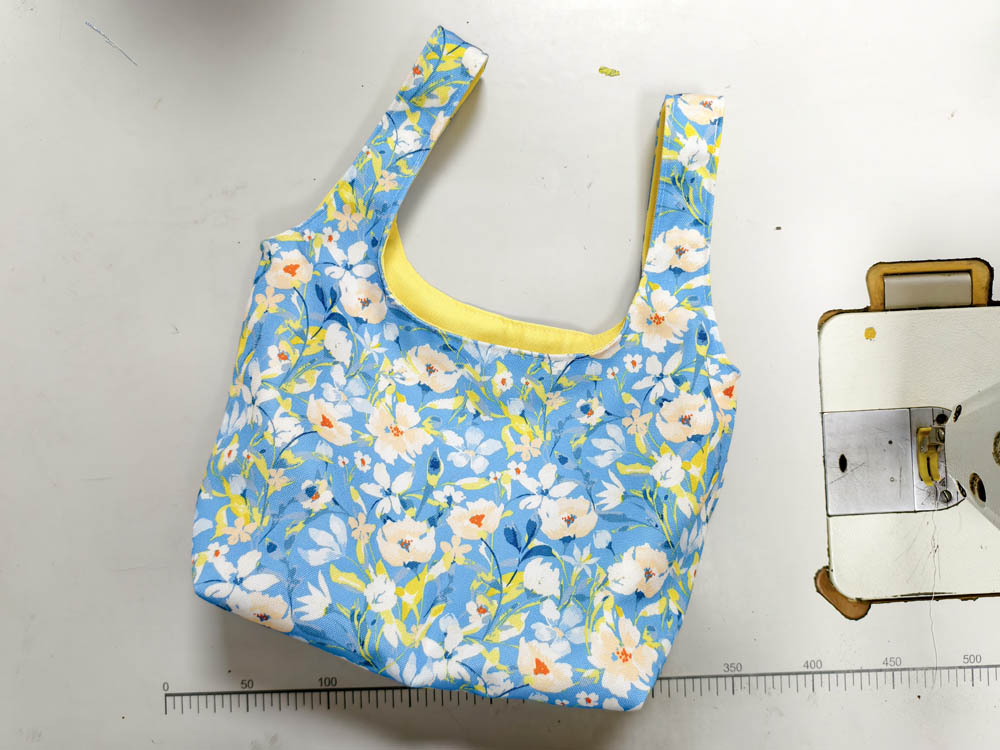
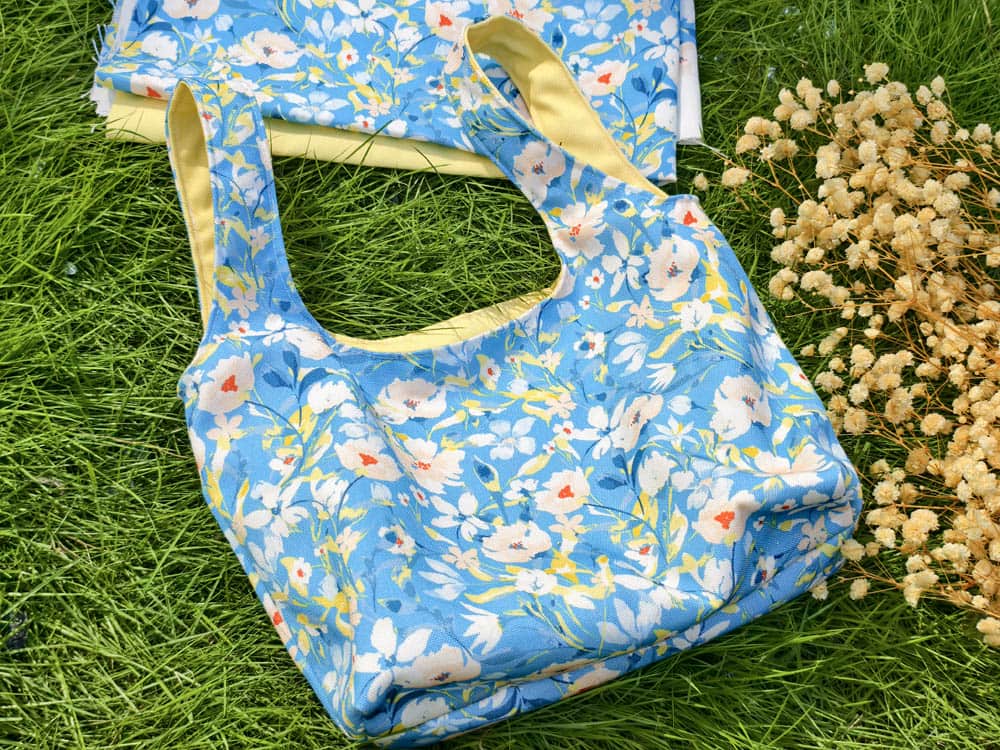
I printed the fabric with two sections: one half was a blue-based floral print, and the other half was a solid yellow taken directly from the flowers in the print. I used the floral section for the outside of the bag and the yellow section for the lining.
Before cutting anything, I already knew which part of the fabric would become the outside and which would become the inside. I still wanted to see how the floral print would look once the pieces were cut and sewn together.
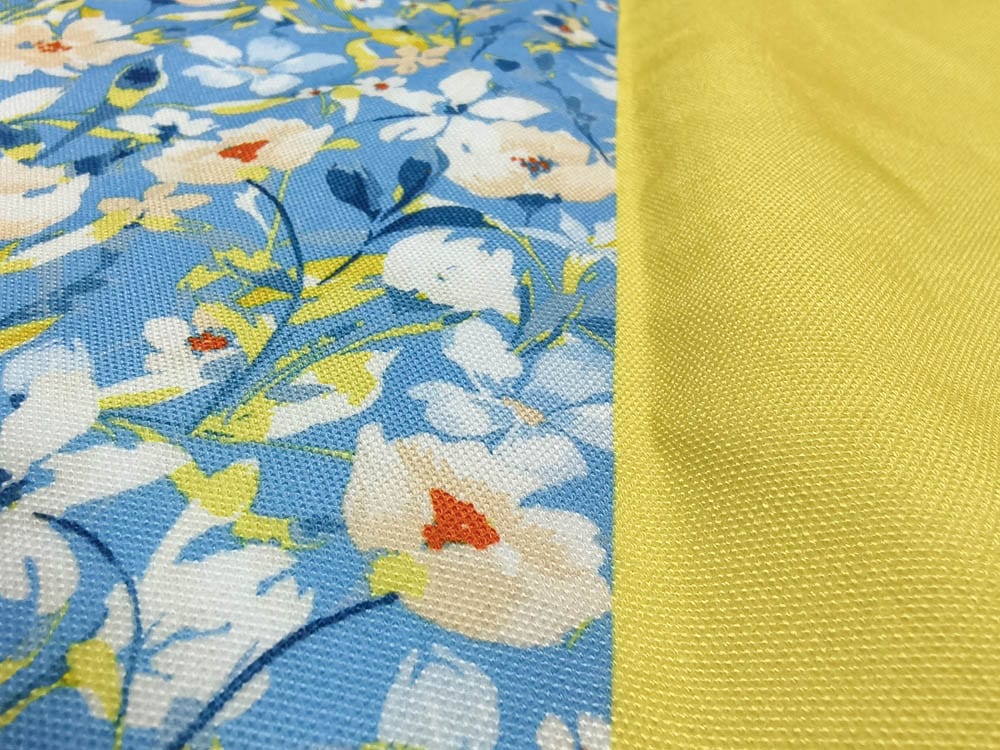
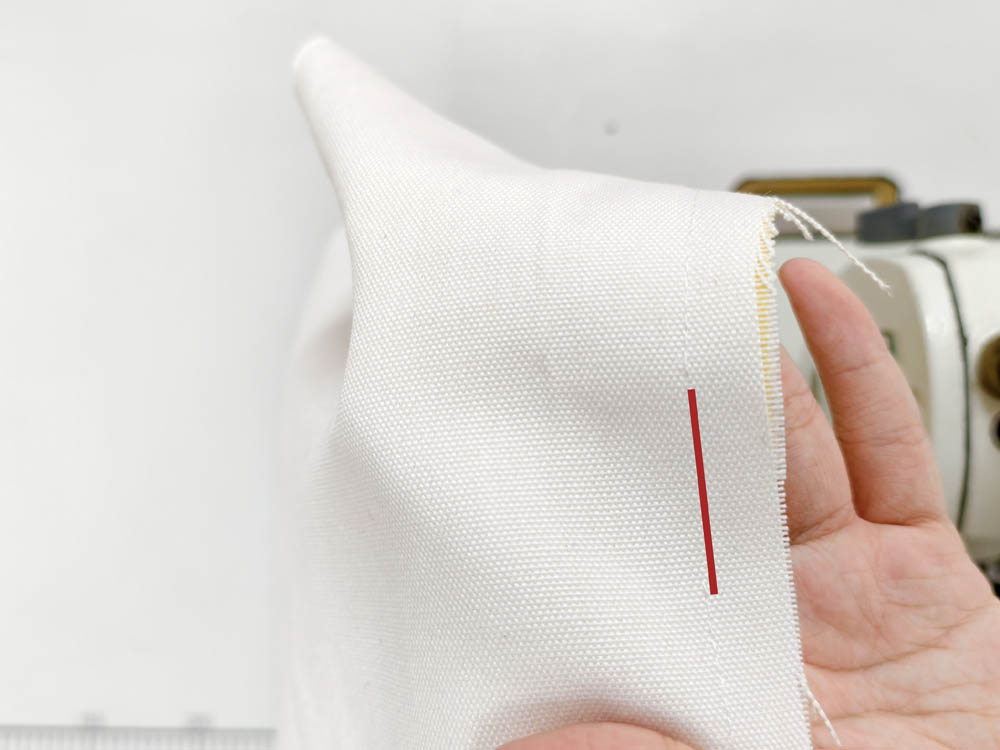
The fabric I used was 300gsm Poly Canvas. It has a fine woven texture that remains visible on the finished bag. During sewing, I found that the 300gsm weight gave the bag some shape without making the construction difficult.
Watch the Full Tutorial
I also filmed the full process, from cutting the fabric to turning the finished bag right side out.
The video shows how I position the pattern, make the boxed corners, join the outer fabric and lining, and finish the turning opening. Some of the fabric positioning is easier to follow when you can see the pieces laid out together.
Watch the full Poly Canvas Lunch Bag DIY on YouTube
Materials & Notes
Materials
- 1 yard (approx. 0.9m) of 300 gsm poly canvas, printed in two sections: half blue floral print, half solid yellow
- Matching all-purpose sewing thread
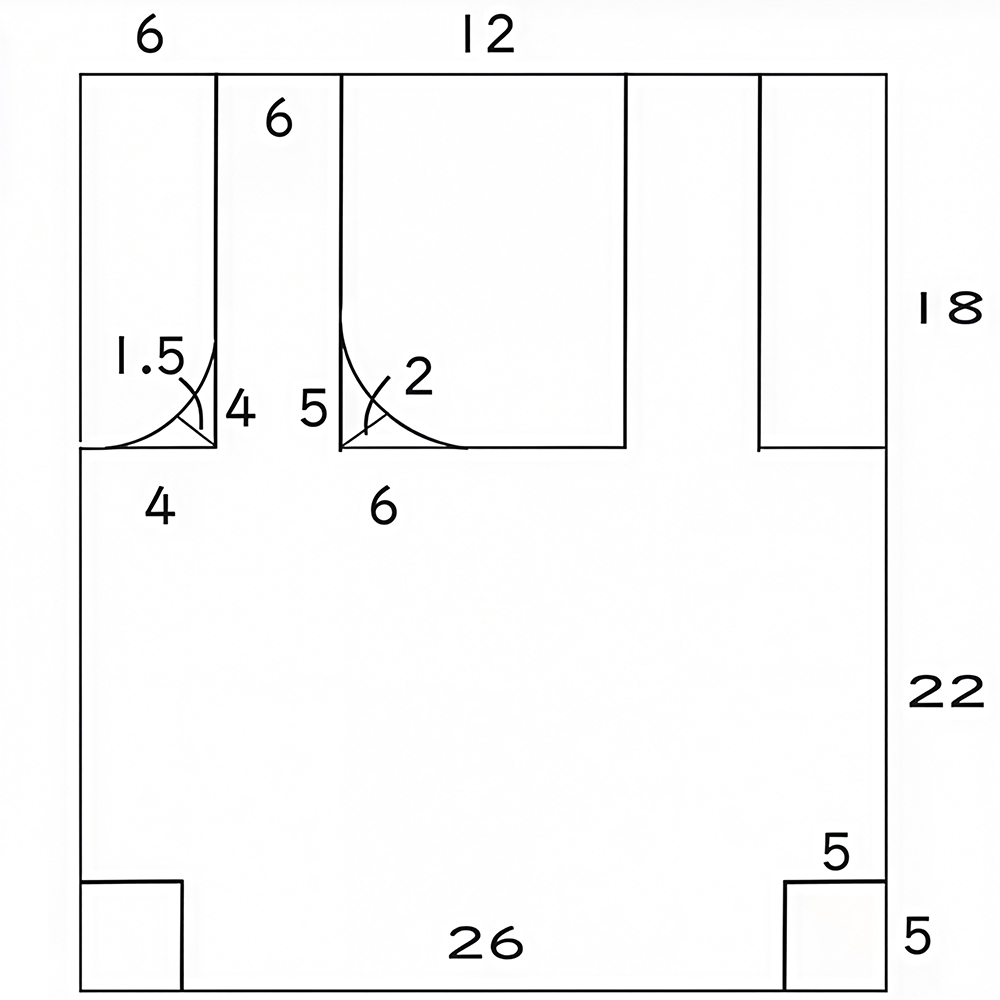
- Lunch bag pattern:
- 1 cm seam allowance (add to pattern pieces if not included)
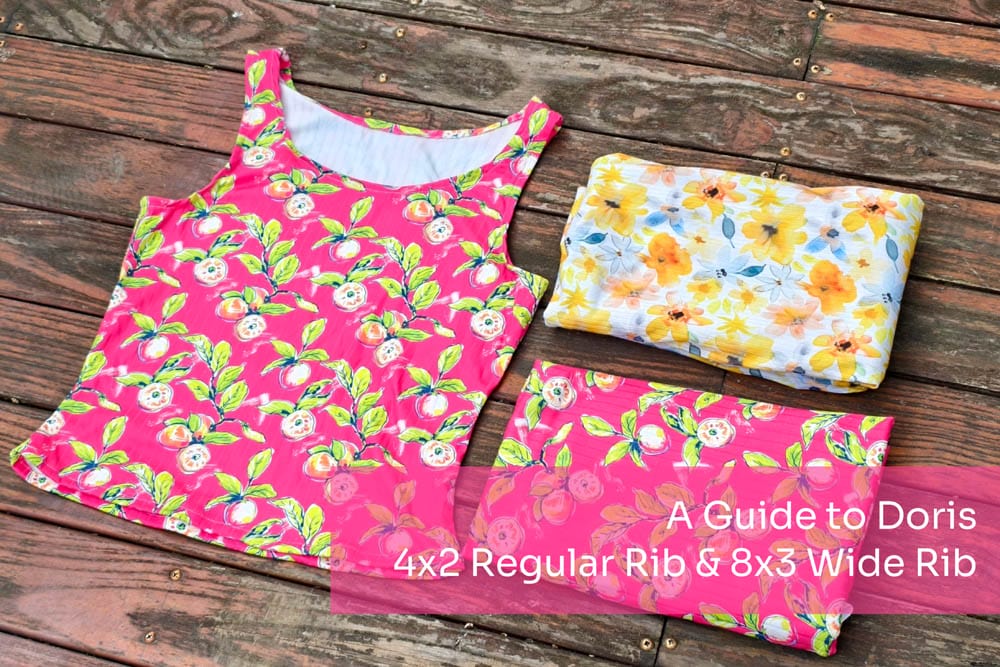
8×3 Wide Rib has way more personality. The ribs are wider, chunkier, and much more pronounced. It feels more substantial in your hand — a bit sturdier, with a really satisfying bounce-back when you stretch it. There’s a certain crispness to it. I always think of it as the fabric equivalent of a good posture day.
Notes
- Use the floral section for the outer bag and the yellow section for the lining.
- Leave a 10 cm opening in the lining for turning the bag right side out.
- Leave the 4 cm handle section indicated on the pattern.
- The lining opening is closed with a 0.1 cm stitch.
- Fabric amount may vary depending on pattern size and layout.
Planning the Fabric Before Cutting
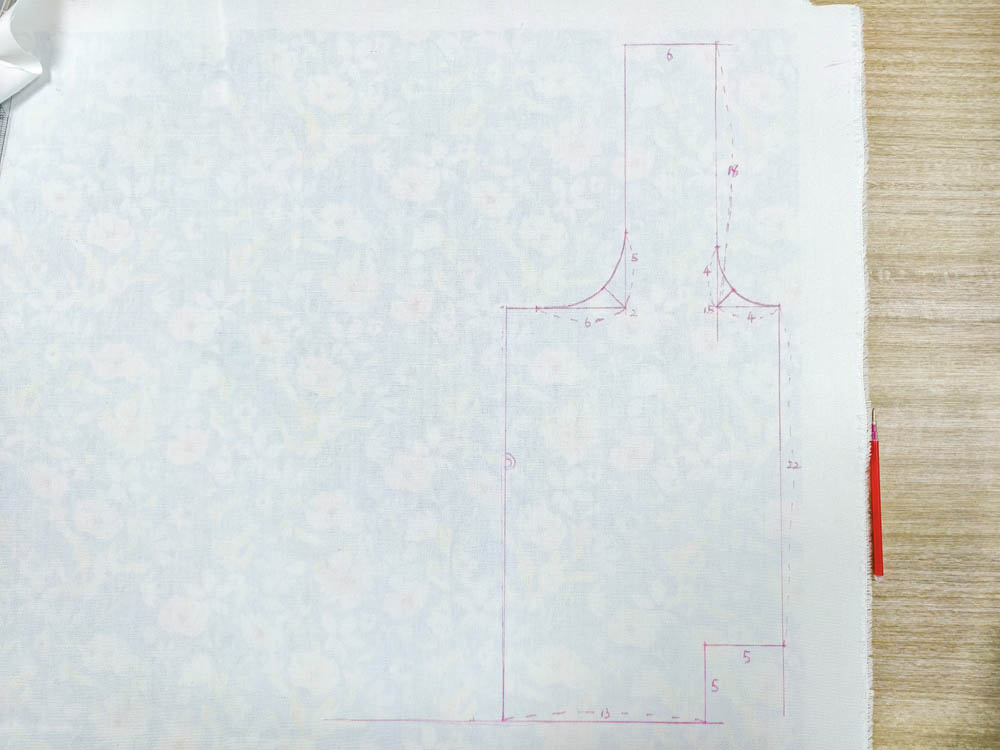
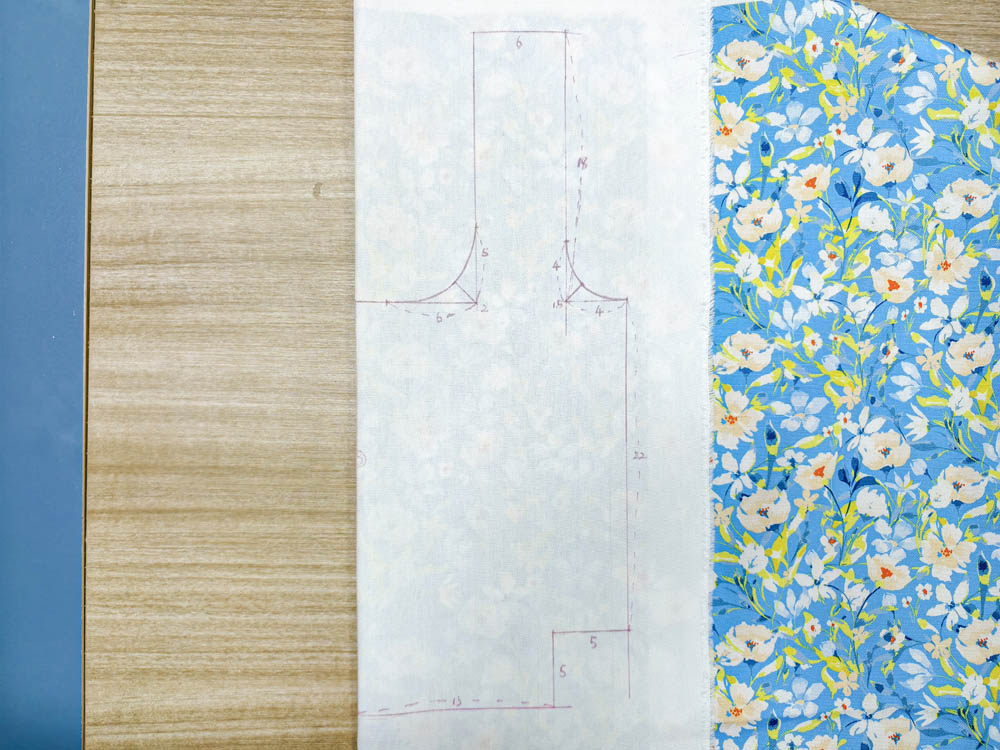
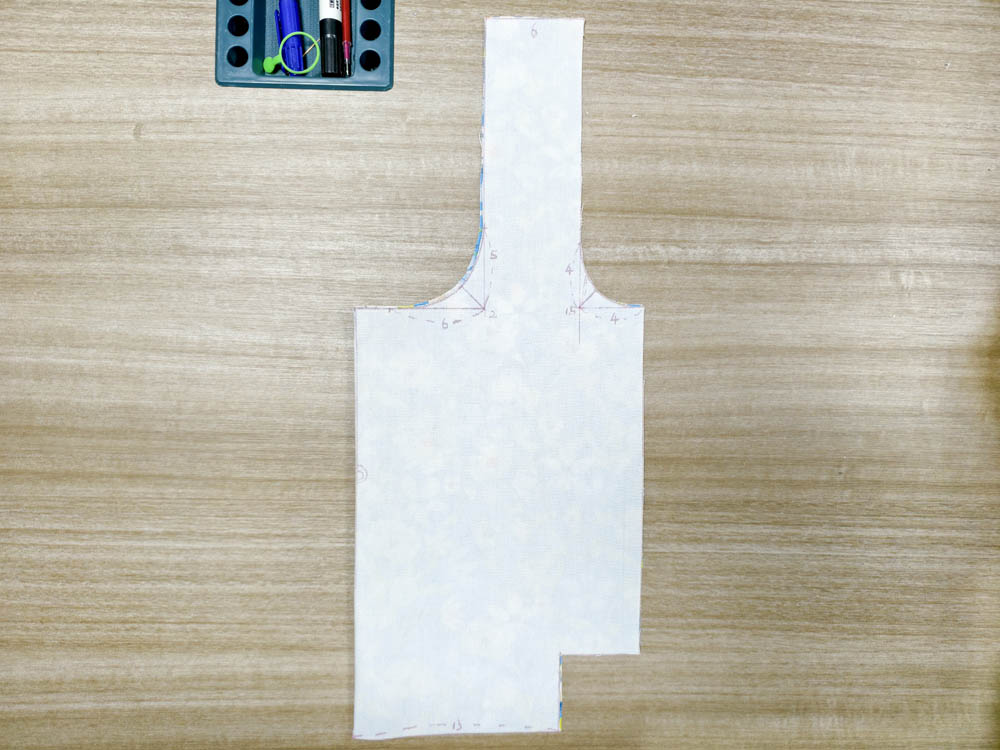
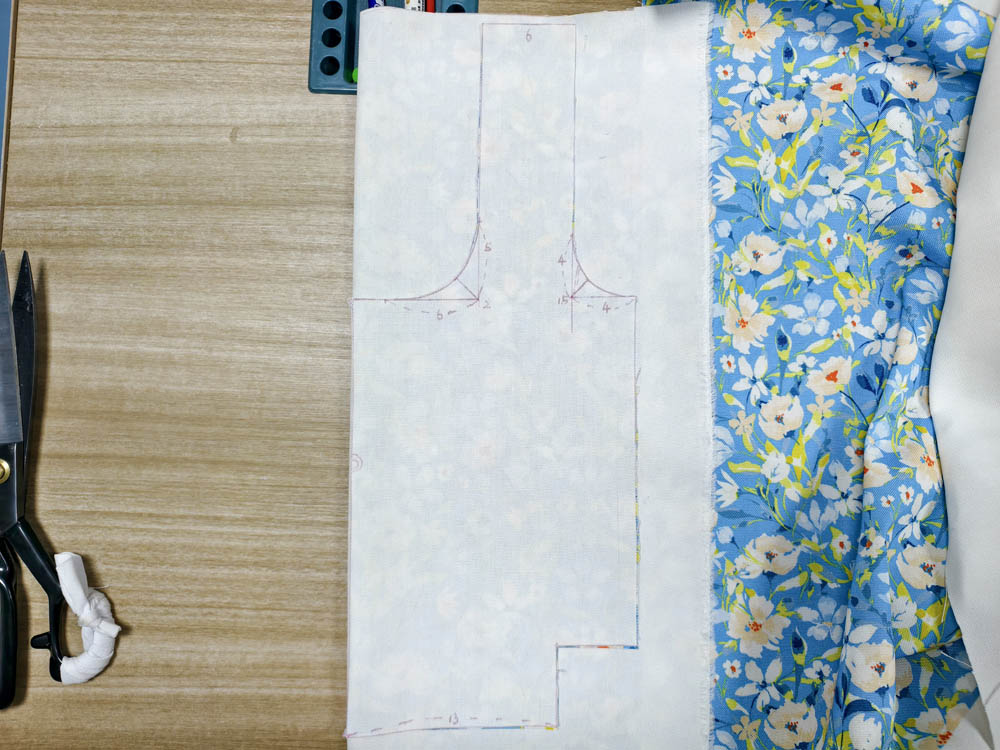
I placed half of the pattern along the fabric fold and traced it.
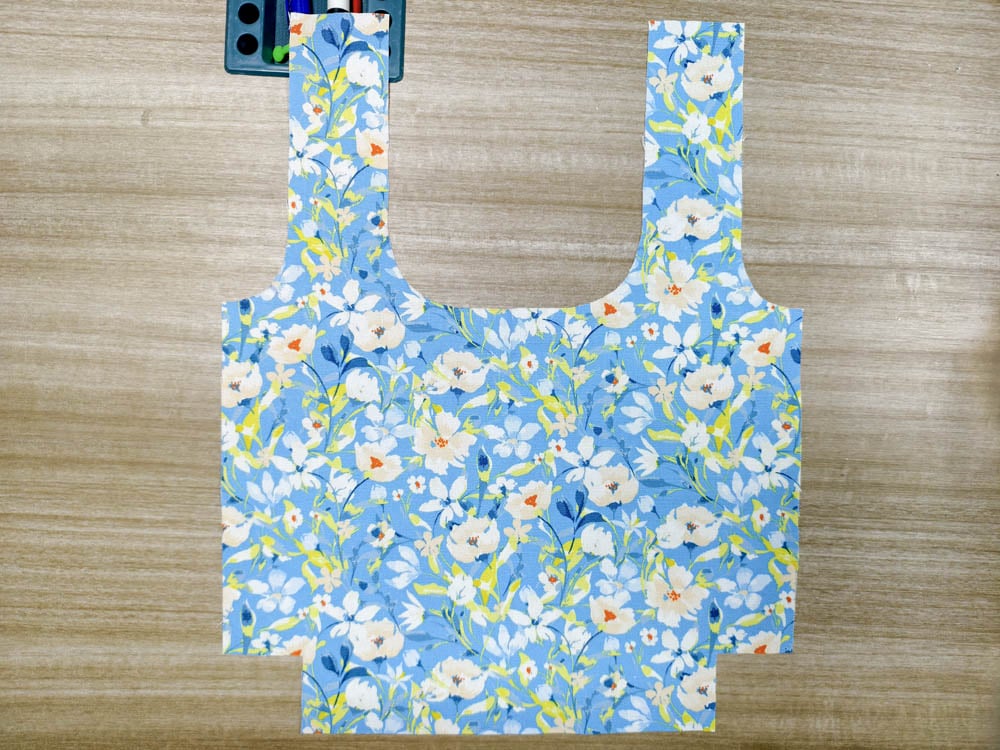
Cutting on the fold gave me a symmetrical piece.
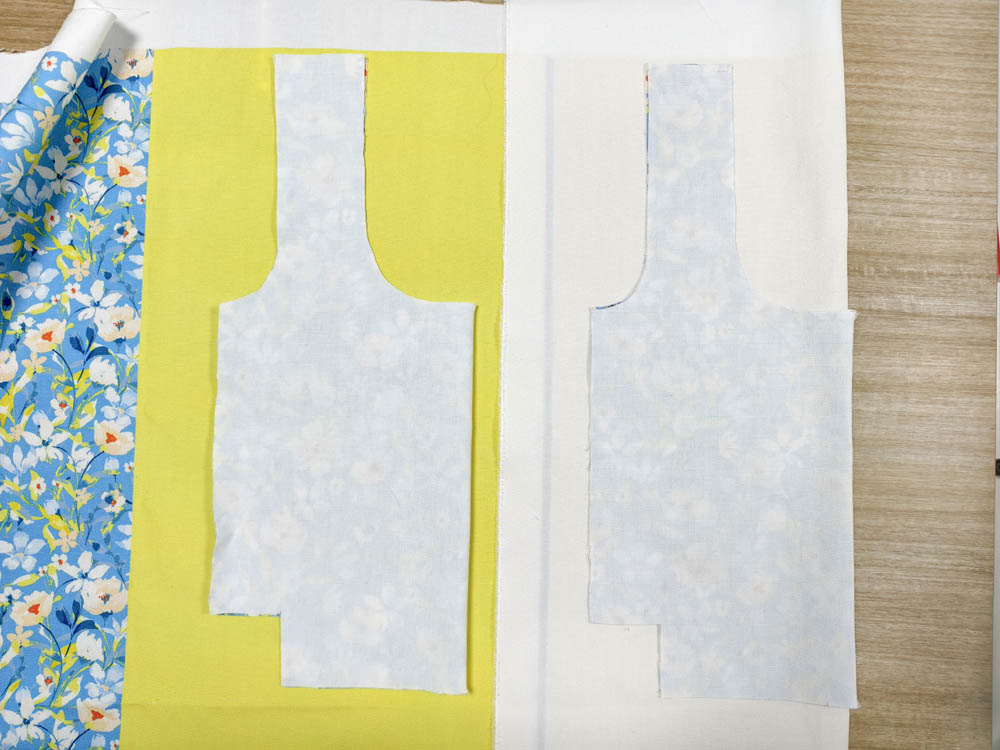
After cutting the first floral piece,I used the remaining floral fabric to cut the second one.
I did the same with the yellow section for the lining.
Before cutting, I also looked at the floral print to see where the more noticeable flowers would land on the finished bag. I wasn’t trying to match every flower, but I wanted to have some idea of how the print would look once the pieces were sewn together.
I added a 1cm seam allowance around the pattern pieces.
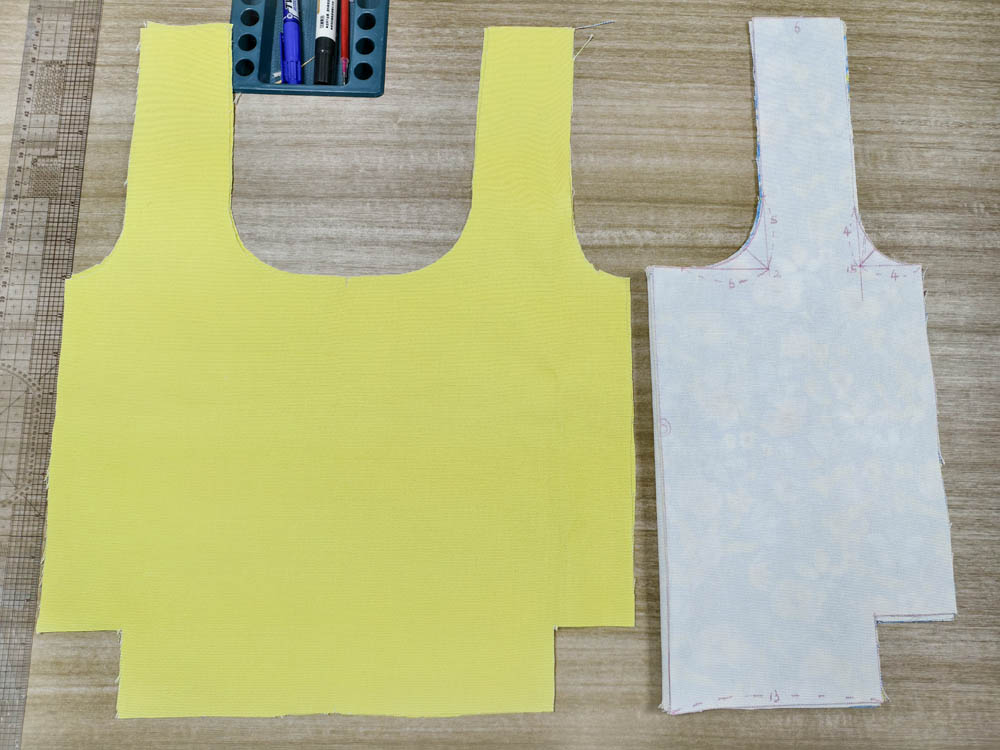
In the end, I had:
- two floral pieces for the outer bag
- two yellow pieces for the lining
With the pieces cut, I could start building the bag.
Building the Outer Bag
I started with the floral outer pieces.
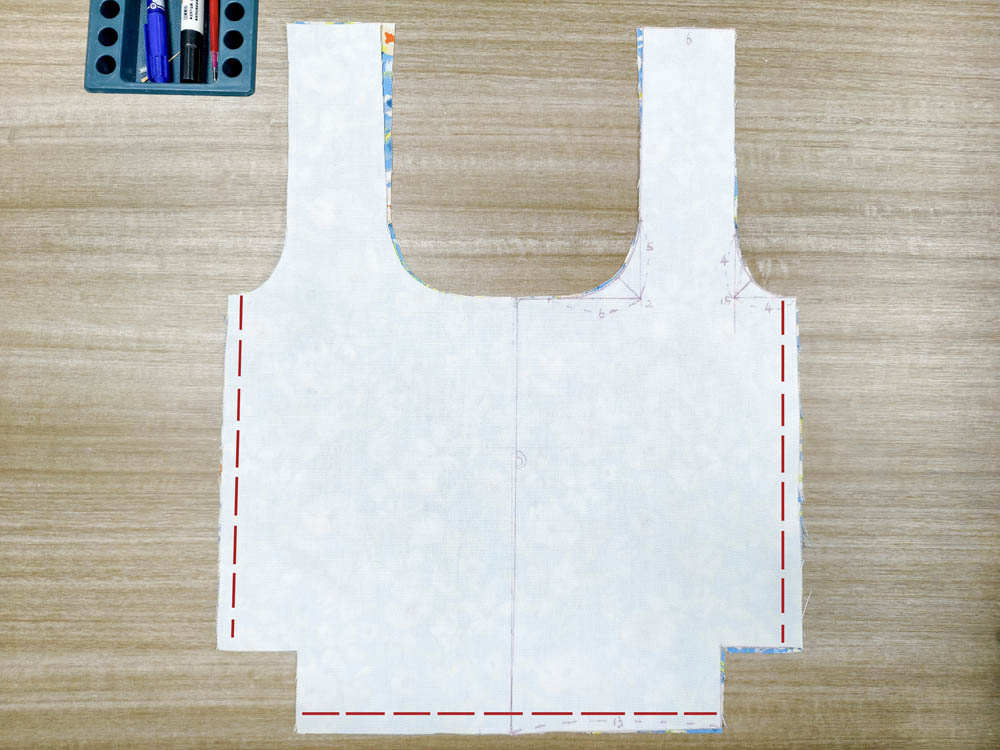
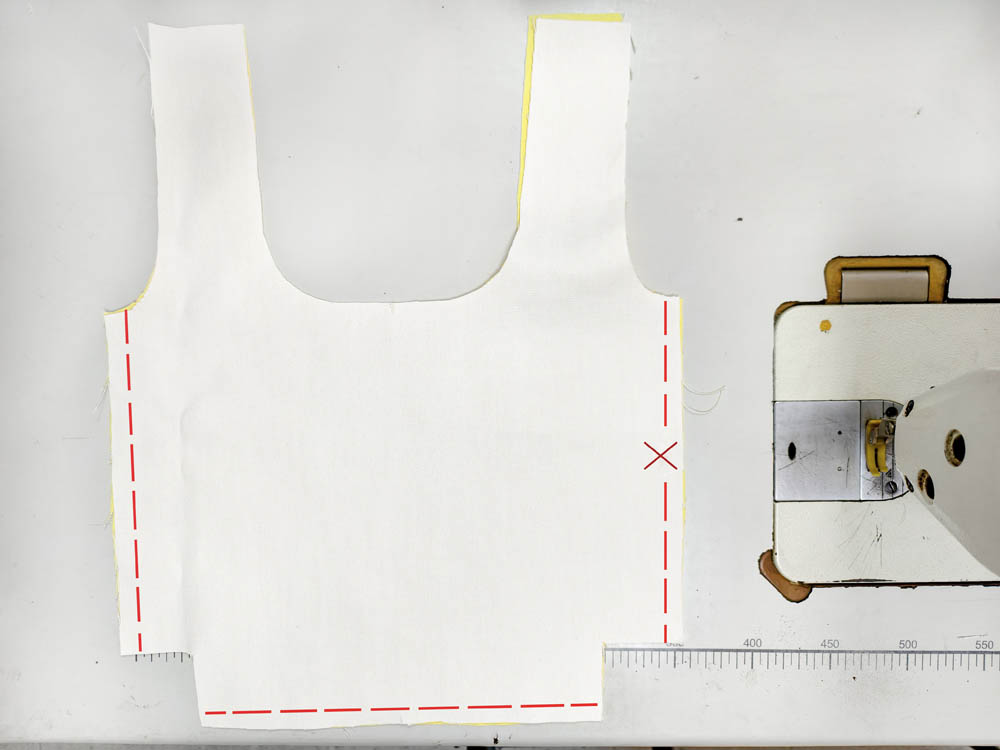
I placed the two pieces right sides together and sewed along the three sides — the bottom and both sides. The top opening was left unsewn.
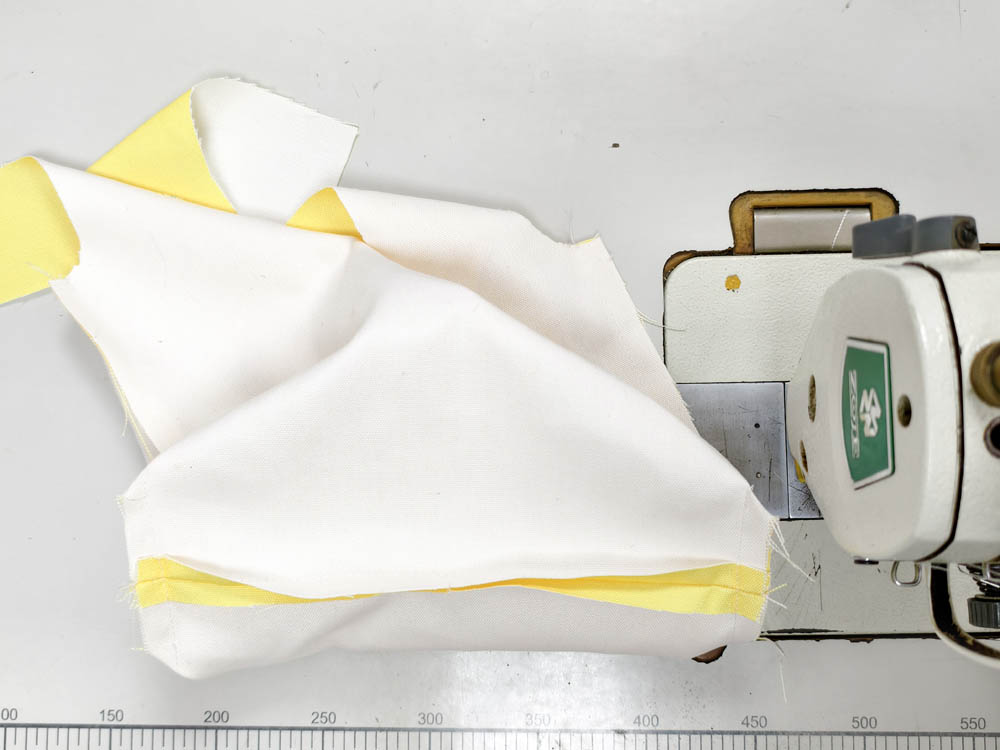
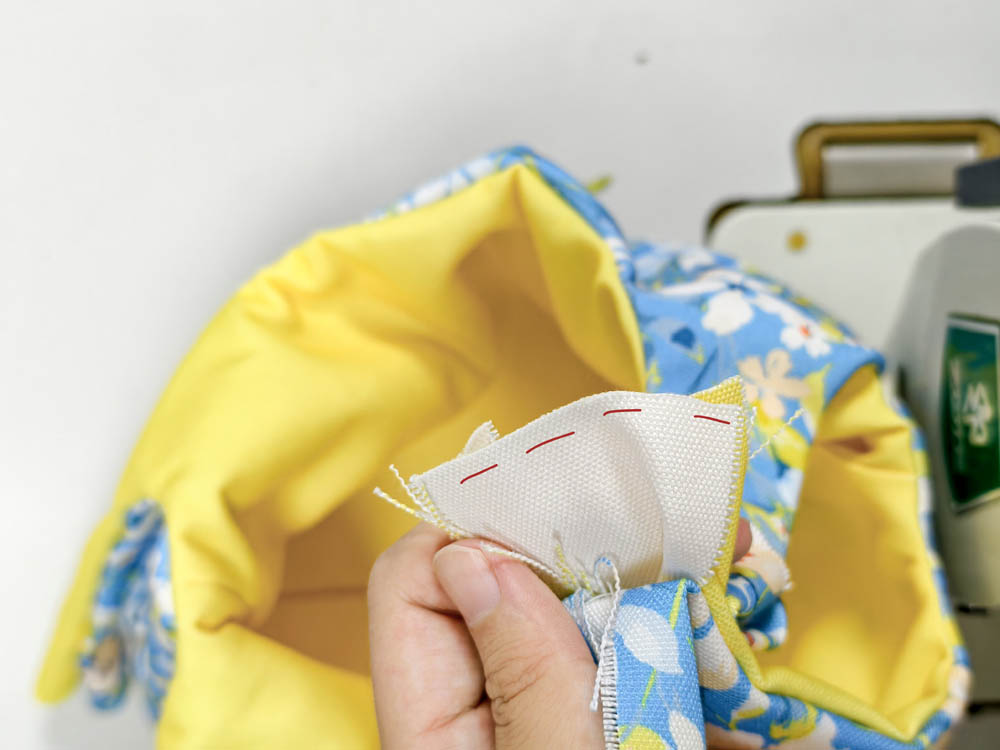
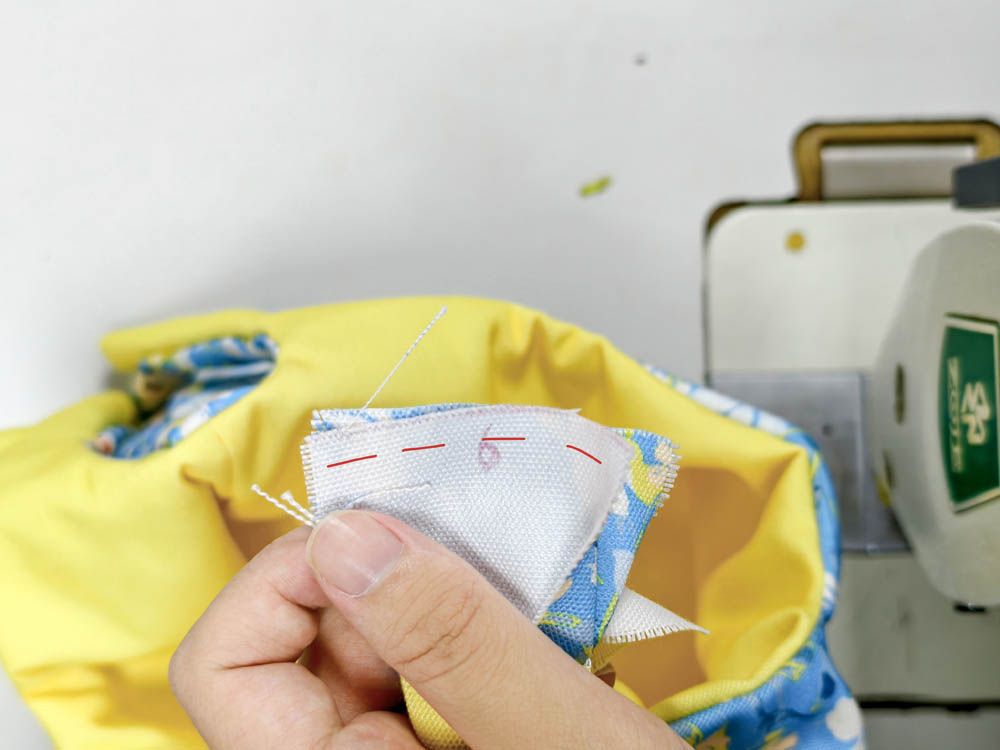
Next came the bottom corners. I pinched each corner and sewed across it to give the bag some depth.
Before sewing the corners, I separated the seam allowances and matched the seams so they crossed each other. This small step helps the bottom sit more evenly once the corner is sewn.
After both corners were finished, I turned the outer piece right side out.
At this point, the outer piece had started to look like a lunch bag rather than two flat pieces of fabric.
Adding the Yellow Lining
The yellow lining was made in almost the same way.
I placed the two yellow pieces right sides together and sewed the bottom and two side seams. The corners were boxed using the same method as the outer bag.
There was one important difference: I left an opening of about 10cm in the lining.
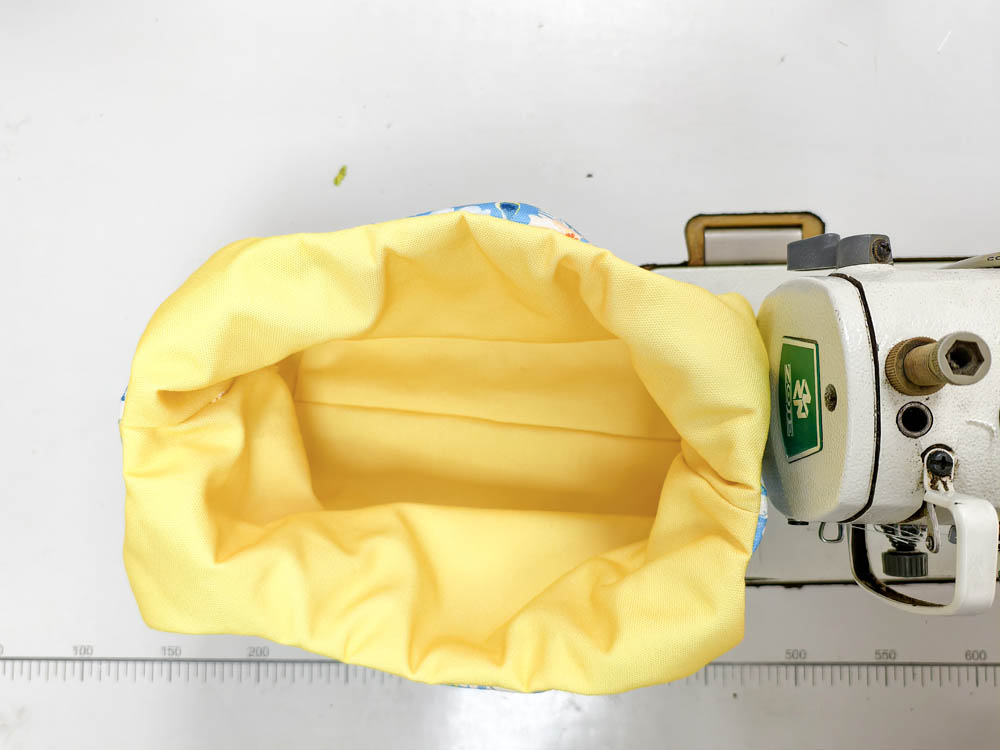
This opening would be used later to turn the whole bag right side out after the outer fabric and lining were joined together.
It is a small detail, but it is easy to forget once you get into the sewing, so I made sure to leave it before closing the lining.
Now I had two separate layers — the floral outer bag and the yellow lining.
Joining the Outer and Lining
Next, I put the two layers together.
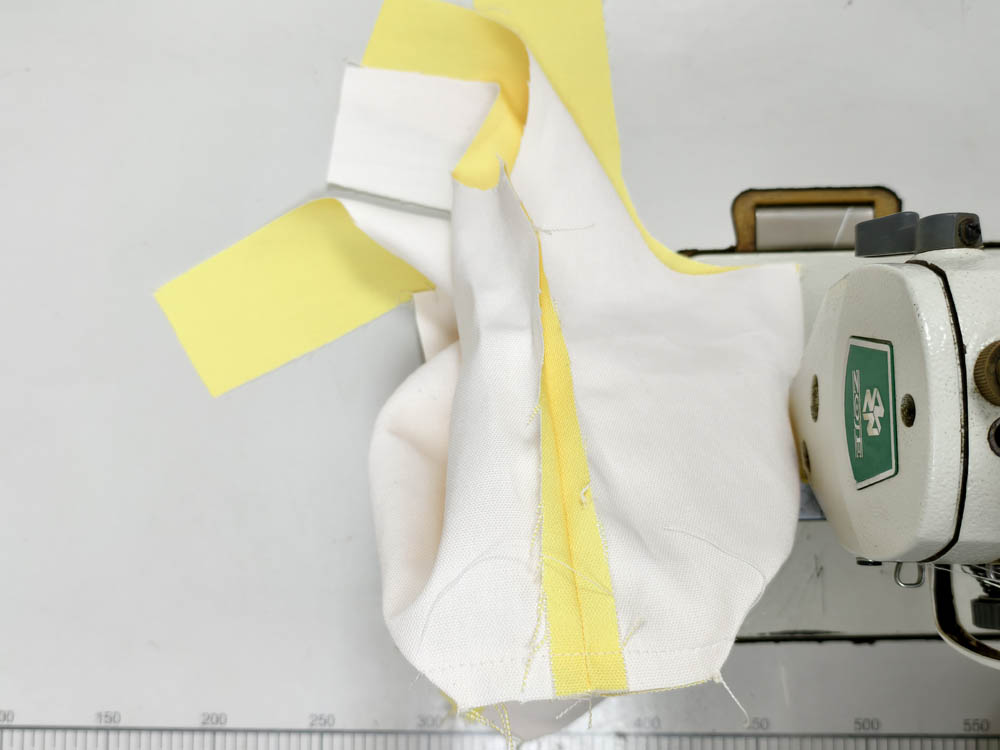
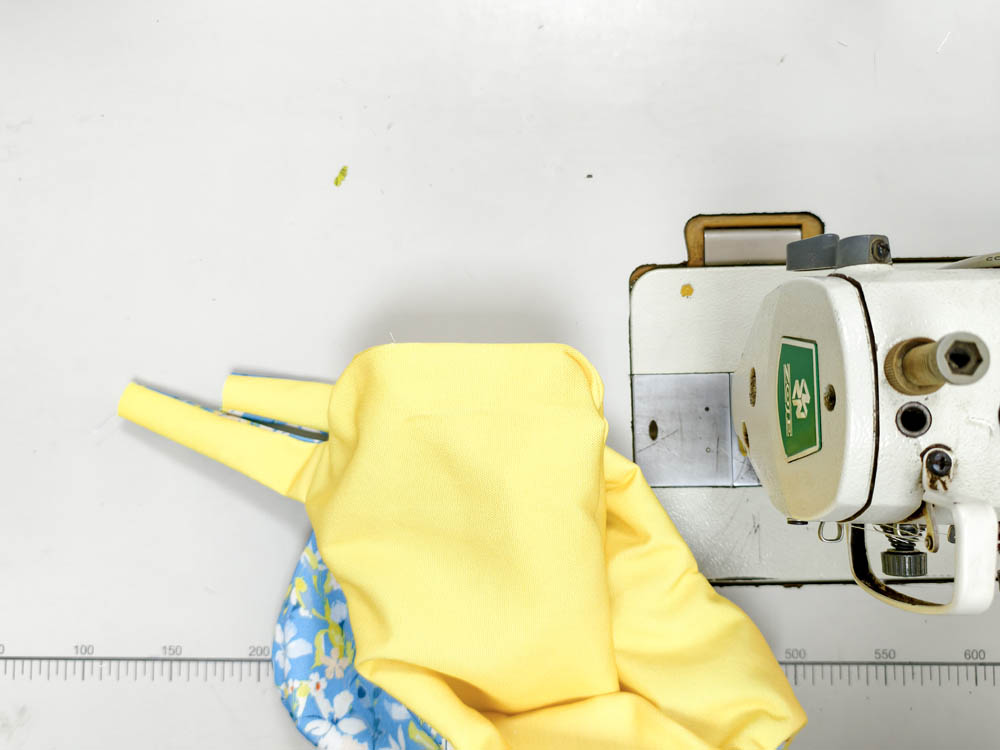
The outer bag was right side out, and the lining was wrong side out. I inserted the lining into the outer bag so that the right sides of the two fabrics were facing each other.
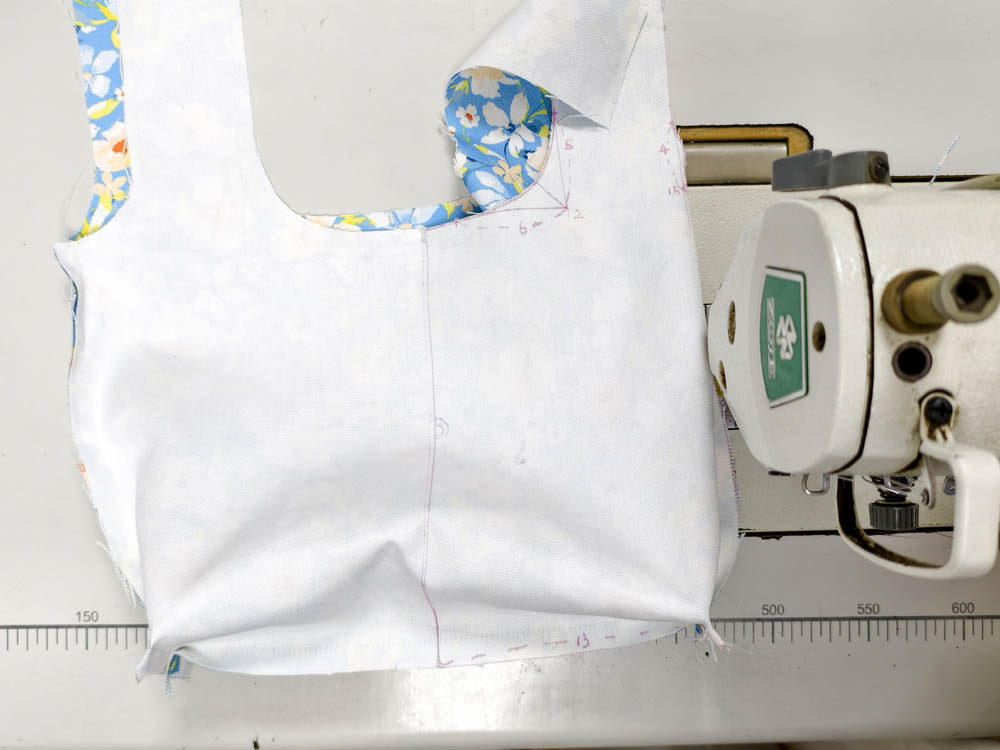
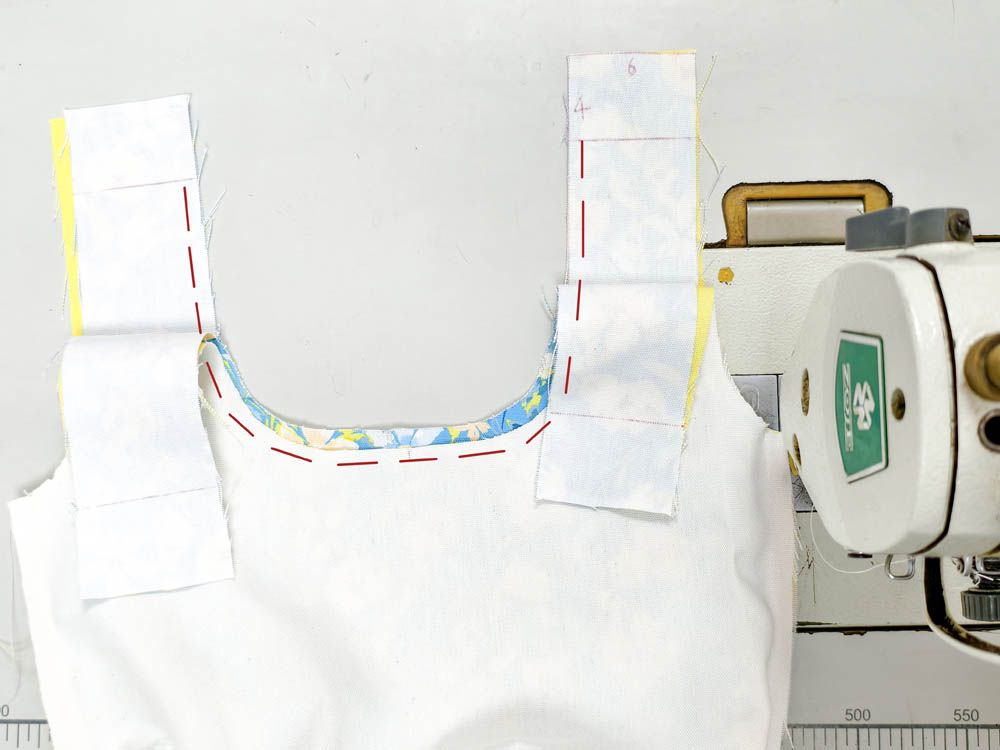
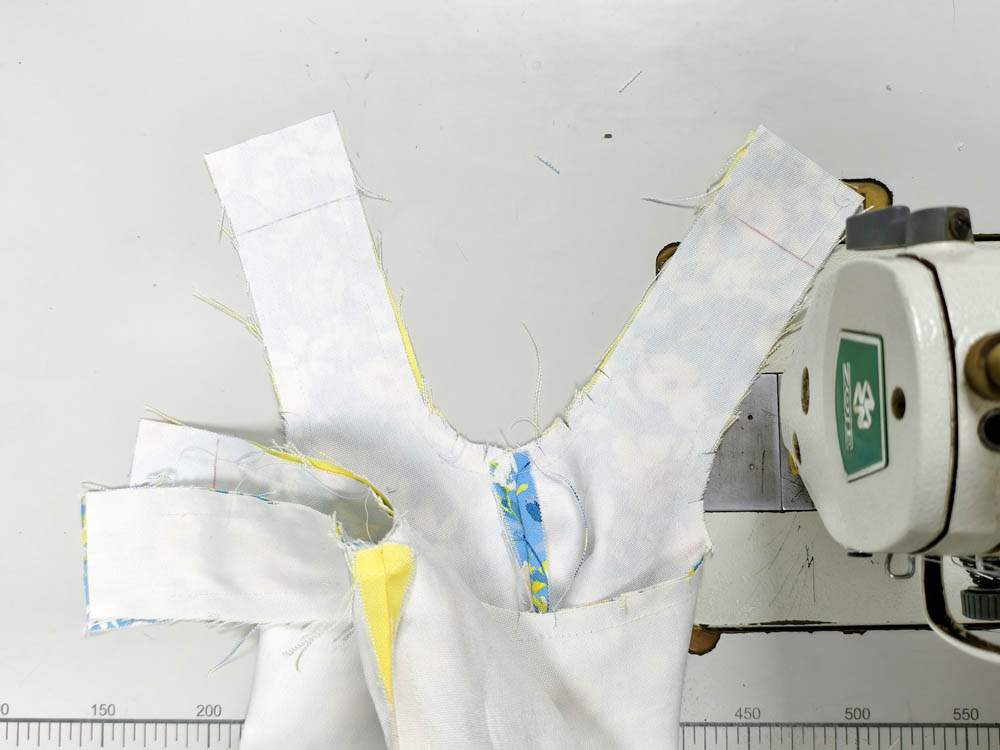
I checked the handle area and left the required 4cm section according to the pattern.
Then I sewed around the top opening.
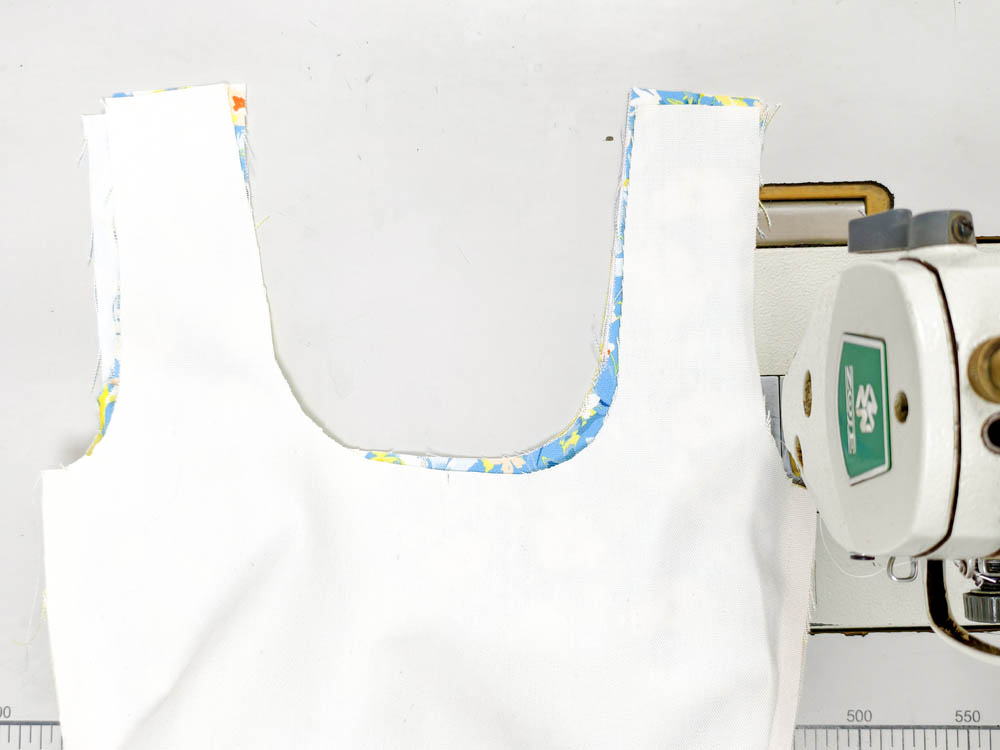
The top edge has curved sections, so after sewing, I made small clips into the seam allowance around the curves. I was careful not to cut through the stitching. These small clips give the seam allowance some room to spread when the bag is turned, helping the curved edge sit more smoothly.
Turning the Bag
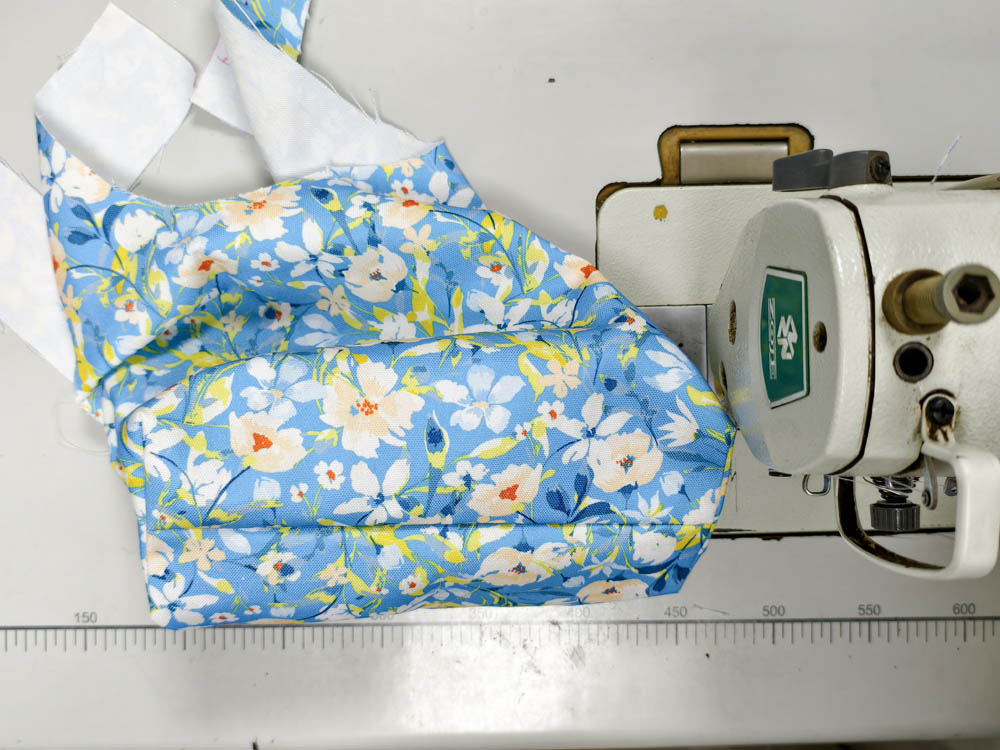
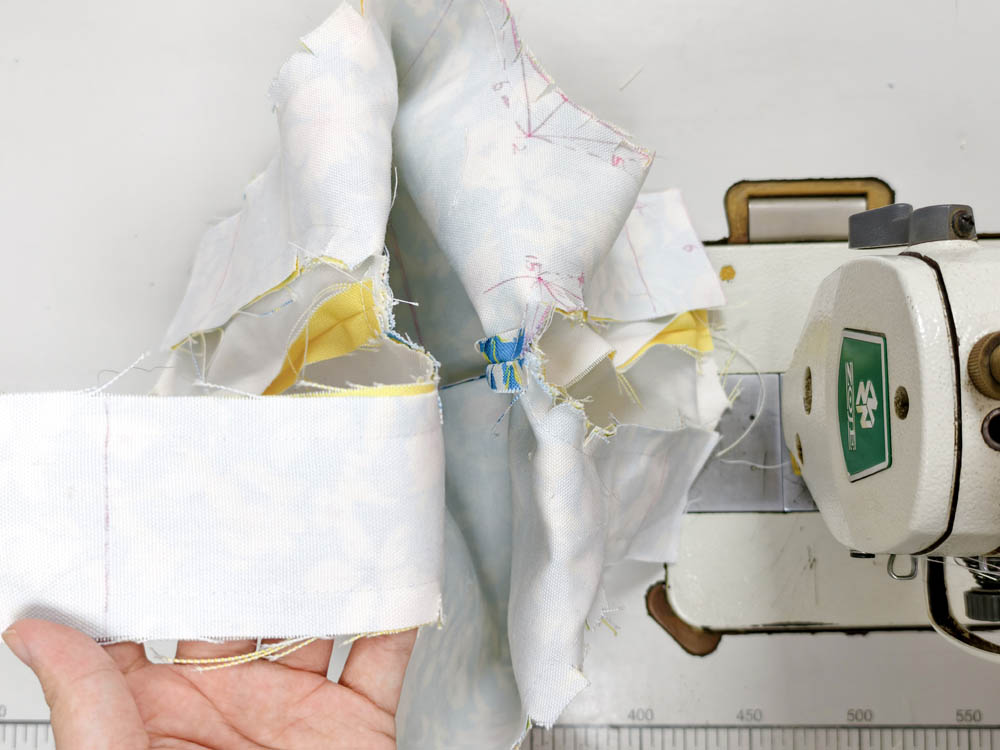
Once the top edge was sewn, I turned the bag through the opening in the lining.
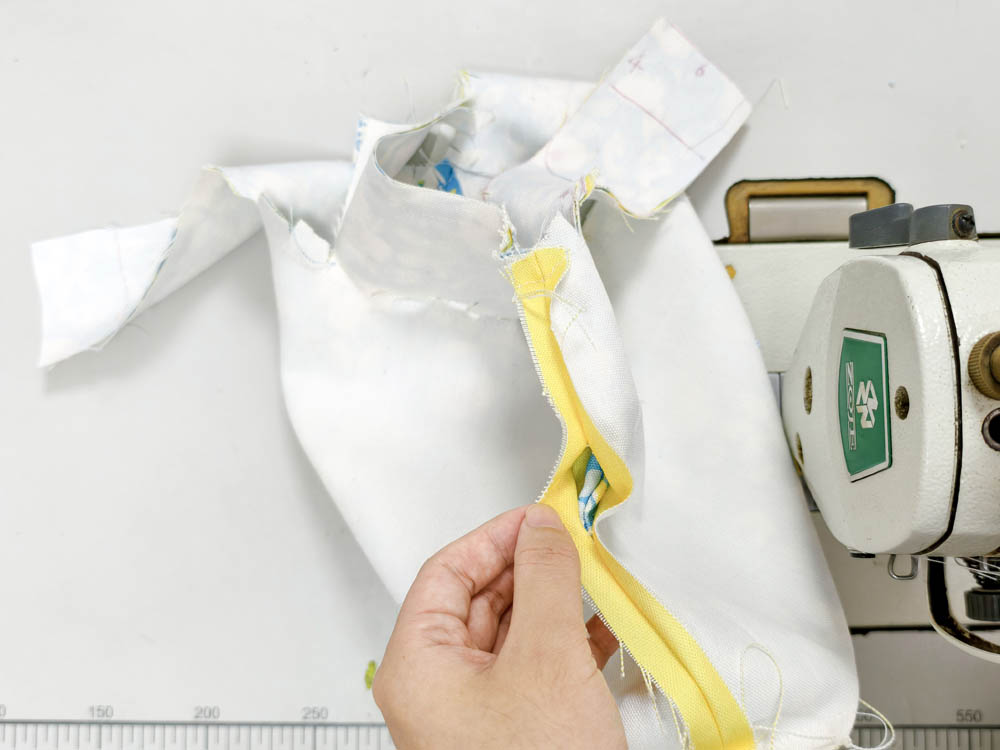
I reached through the opening in the lining and pulled the bag through, bringing the floral outer fabric and yellow lining back to the right side.
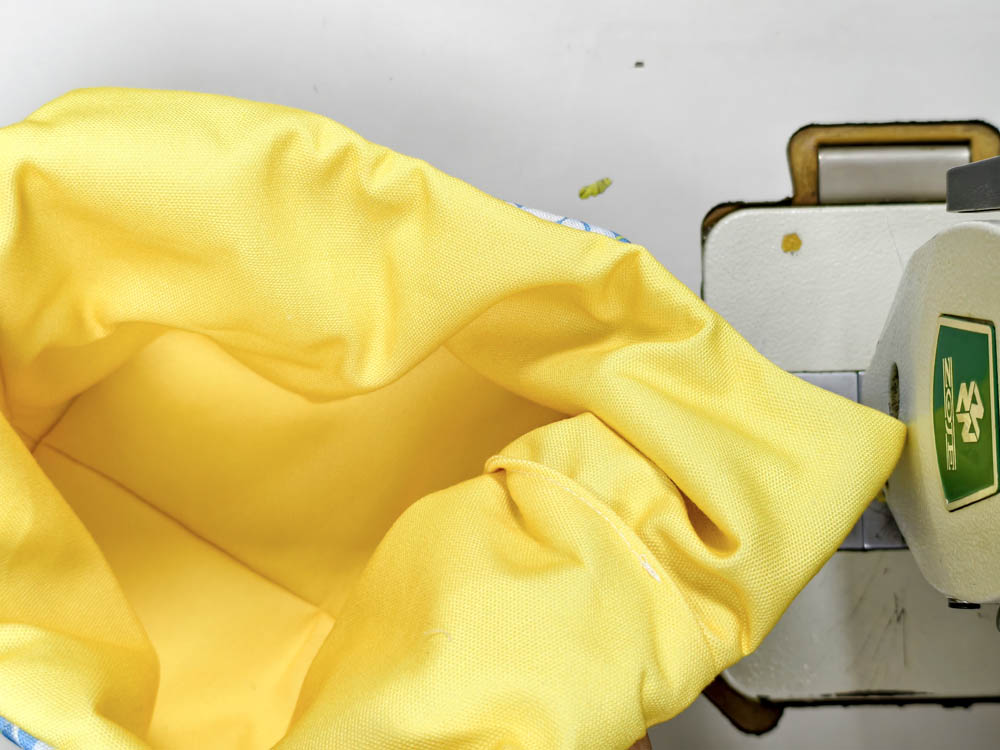
I worked around the top edge and corners with my fingers, making sure the seams were sitting properly.
Then I went back to the opening in the lining.
I folded the seam allowance inward and closed the opening with a narrow 0.1cm stitch.
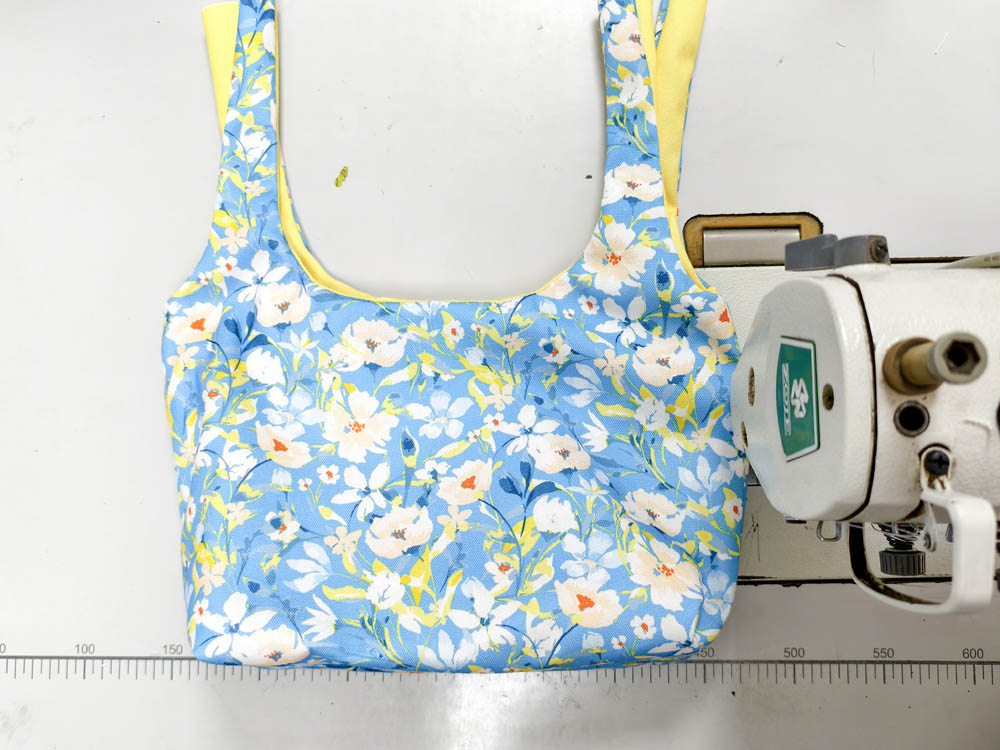
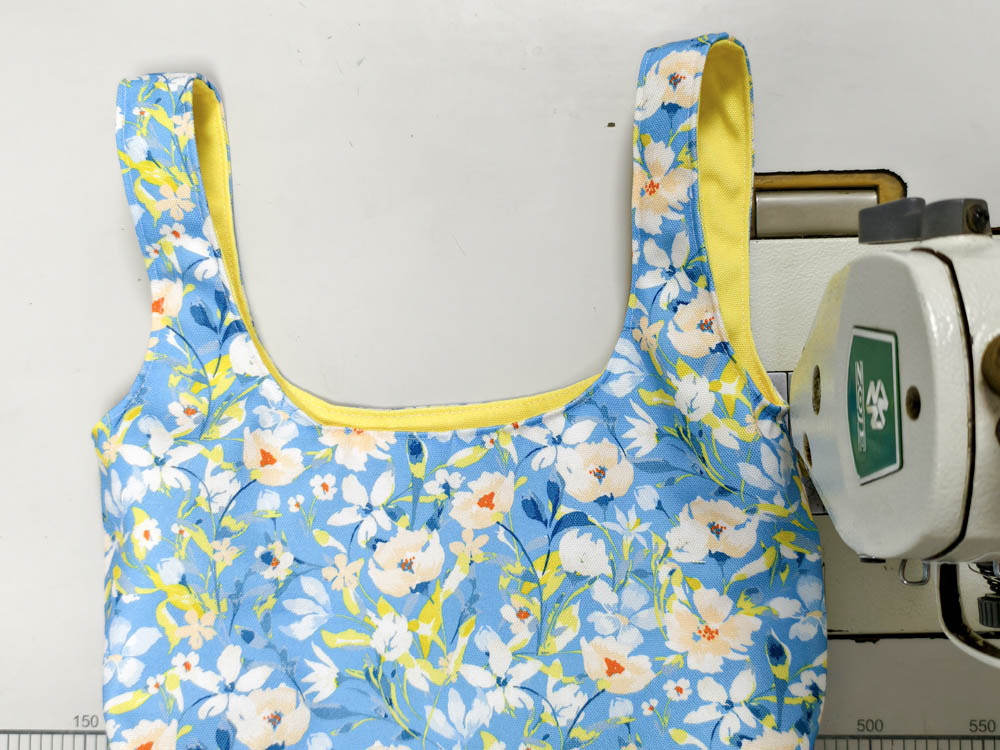
Once that was done, the outer fabric and lining were joined into one finished bag.
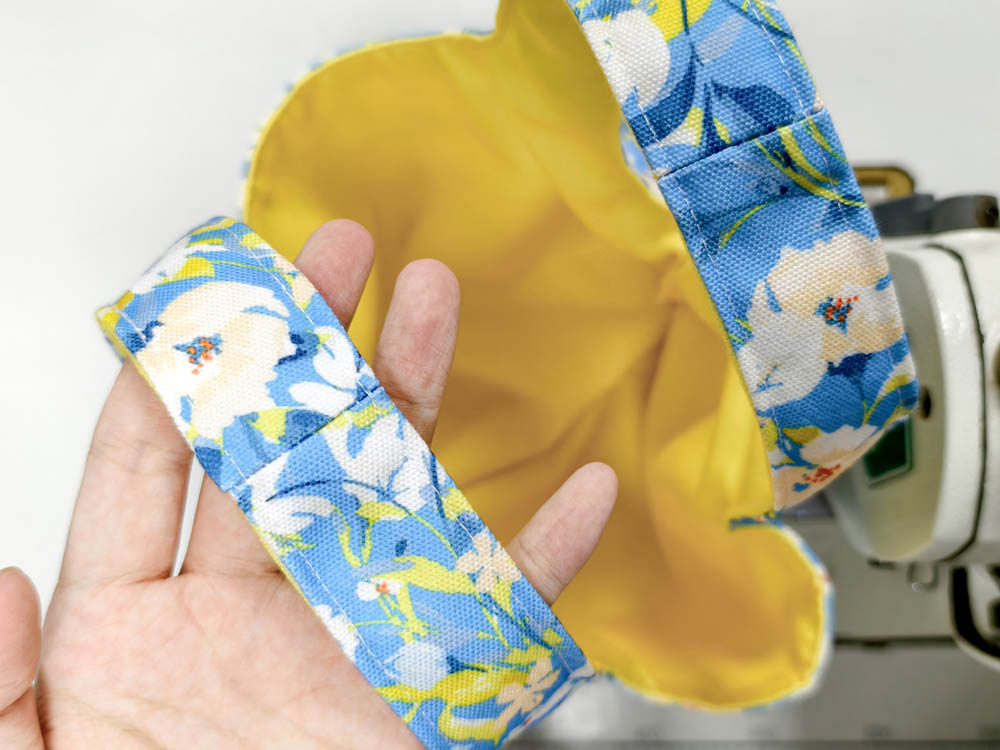
Finishing the Handles
The handles were the last part to finish.
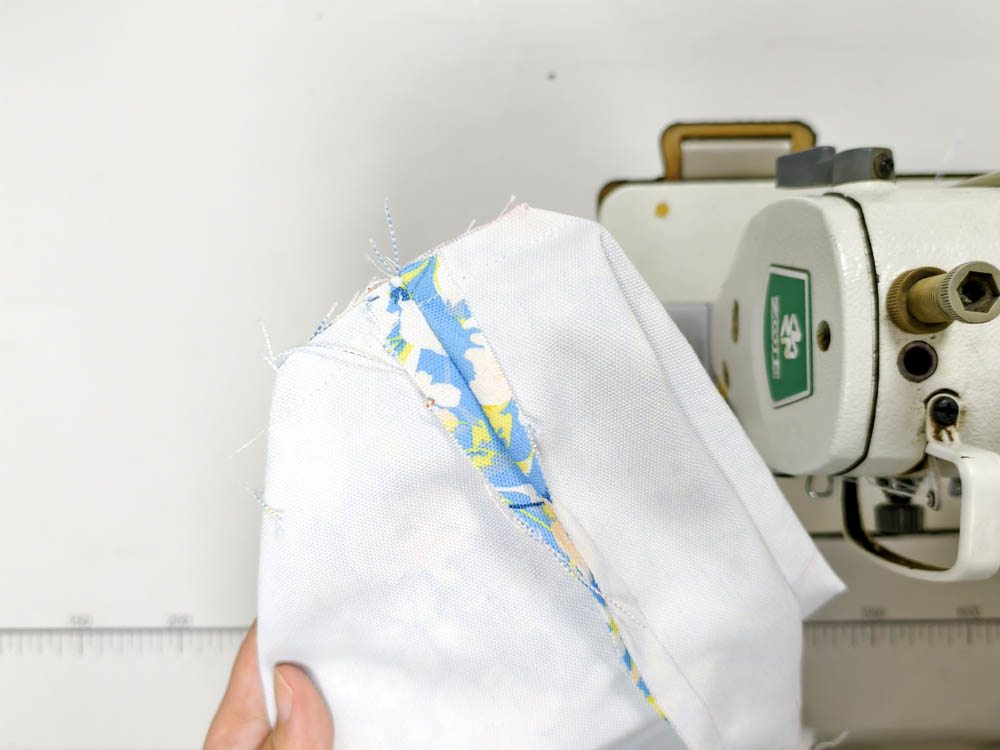
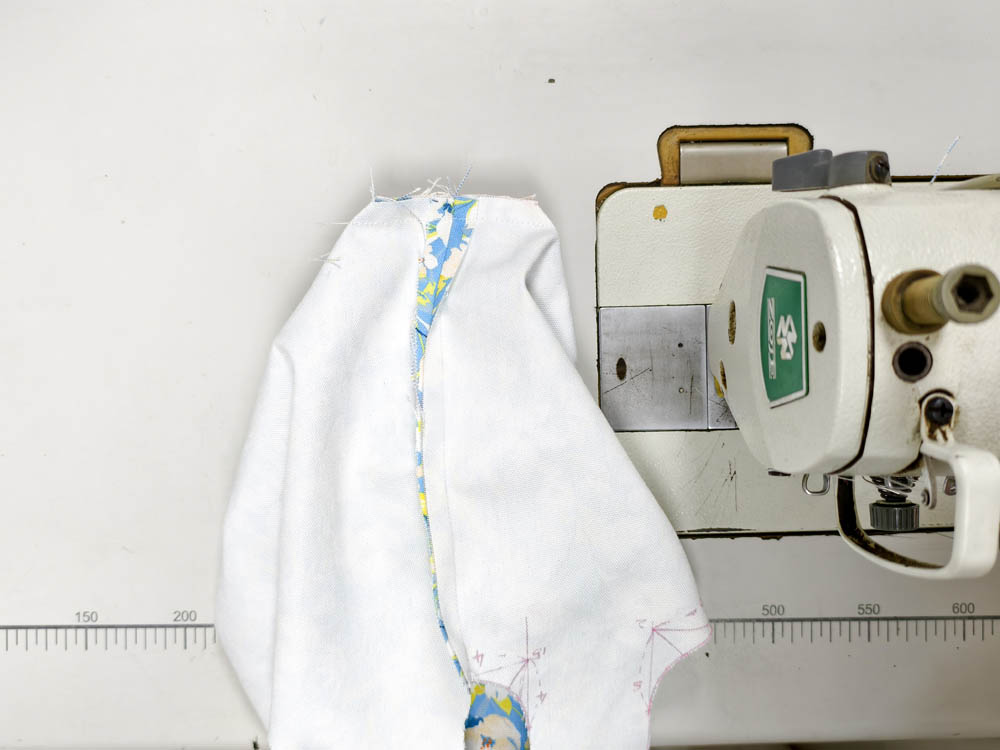
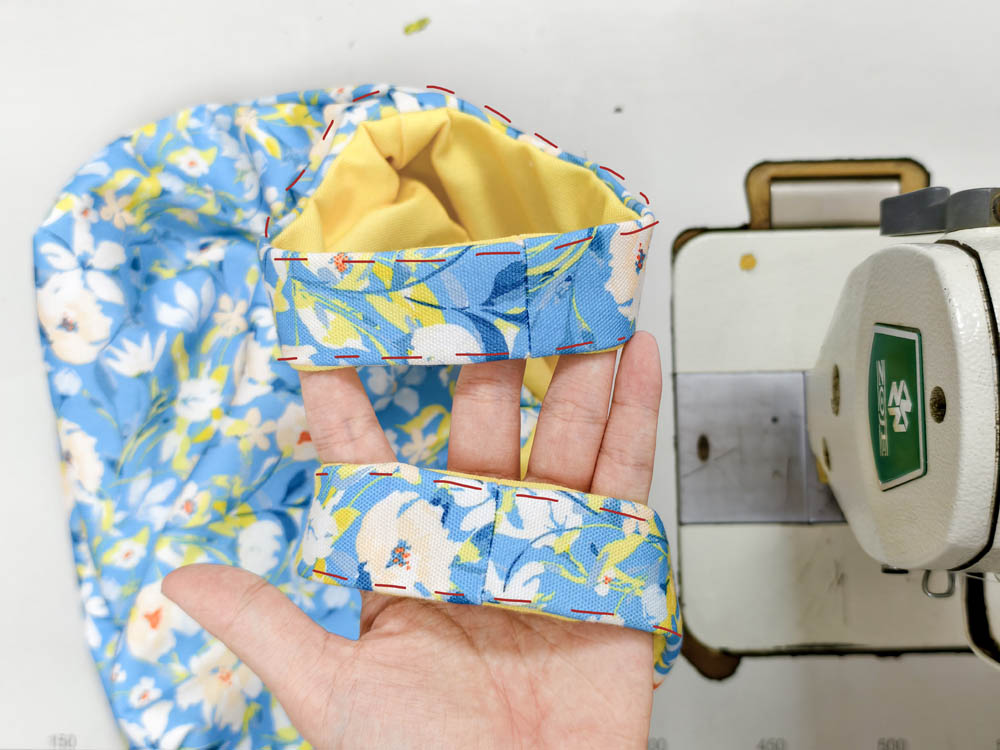
I matched the corresponding sections carefully — outer fabric to outer fabric, lining to lining.
There were four sections to sew, so I checked the alignment before stitching each one.
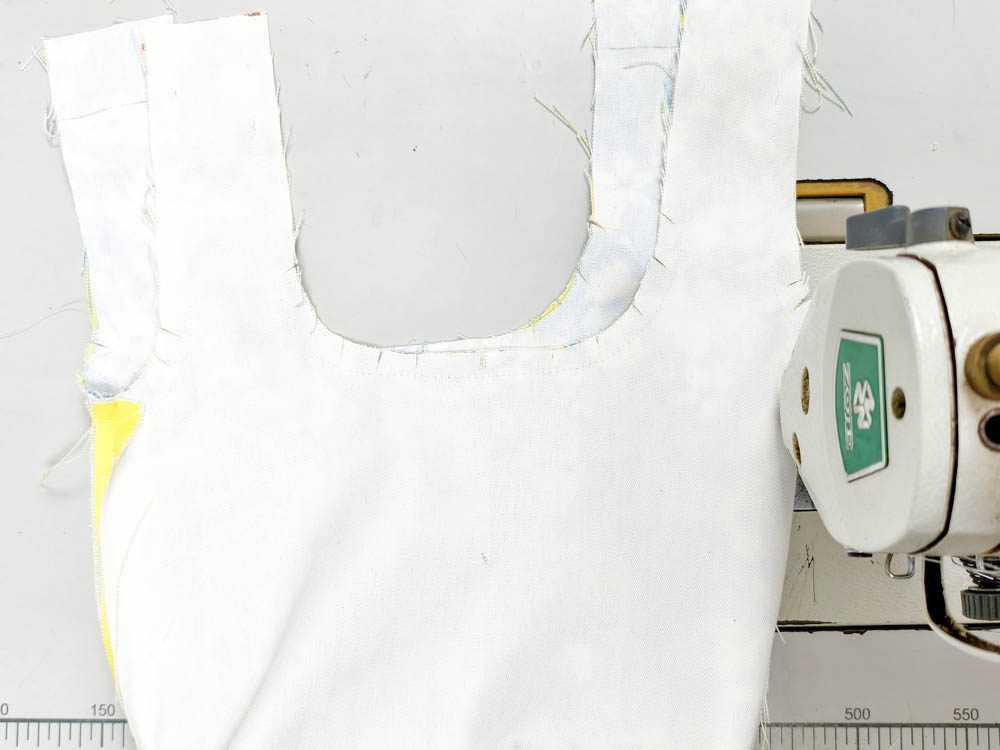
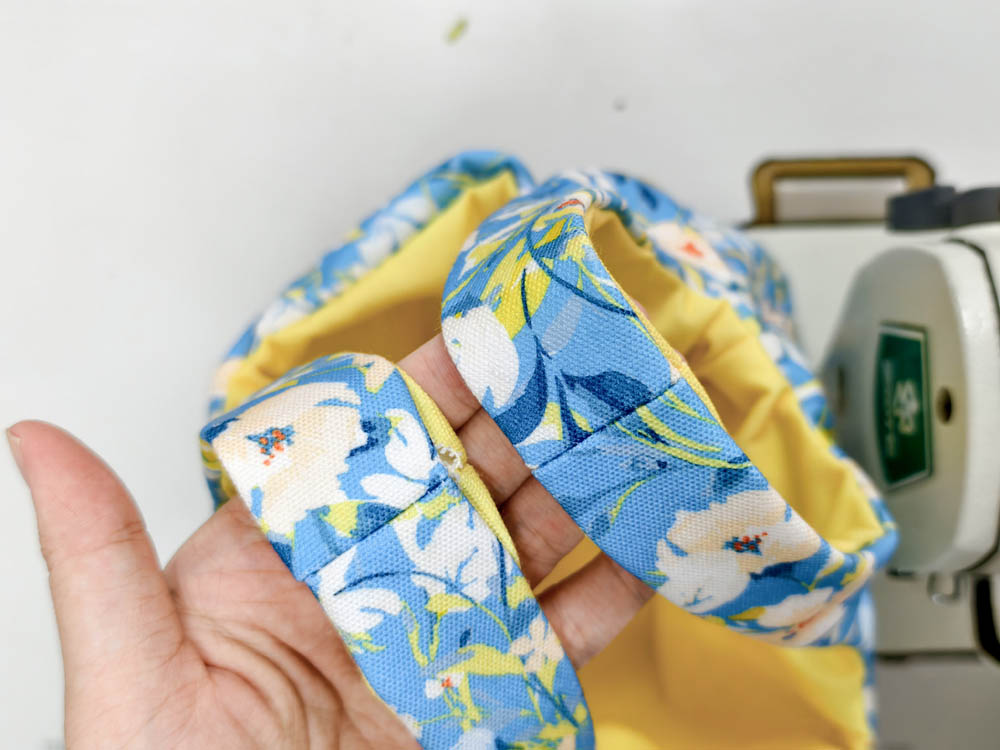
Once they were joined, I folded the seam allowances inward.
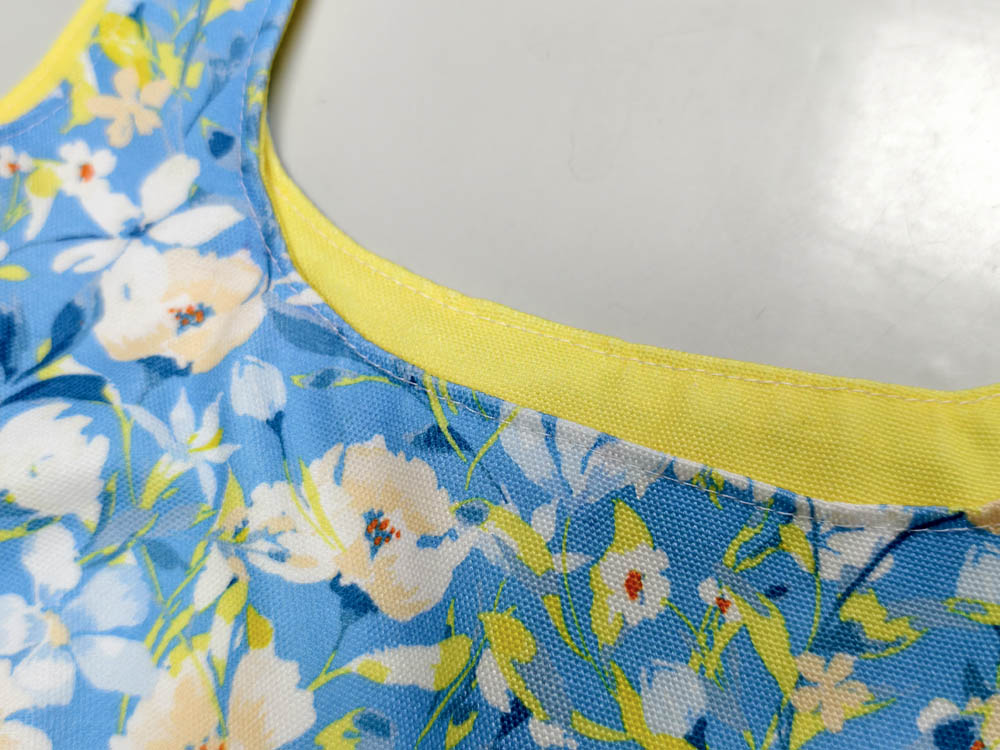
Then I stitched around the entire top opening.
Ready to Start Your Next Sewing Project?
This final line secured the handle area and finished the edge of the bag at the same time.
I slowed down around the handle sections because there were several layers meeting there.
Why I Chose Yellow From the Floral Print
The color combination was something I decided before I started cutting.
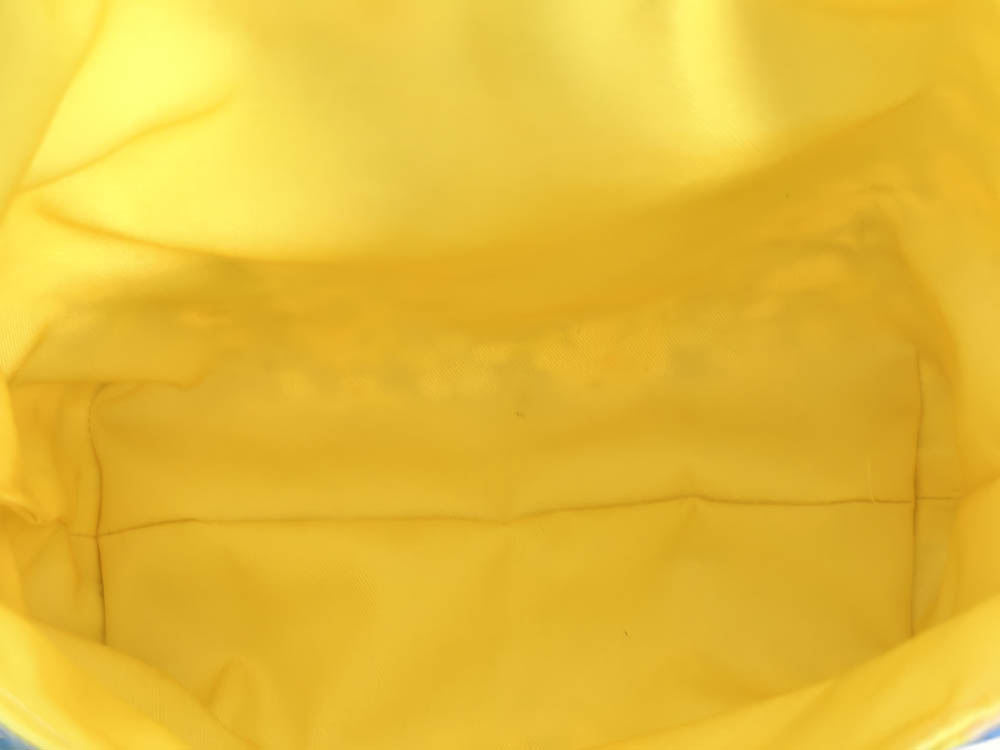
I didn’t choose a random solid color for the lining. I pulled the yellow directly from the flowers in the print and used that same color on the inside of the bag.
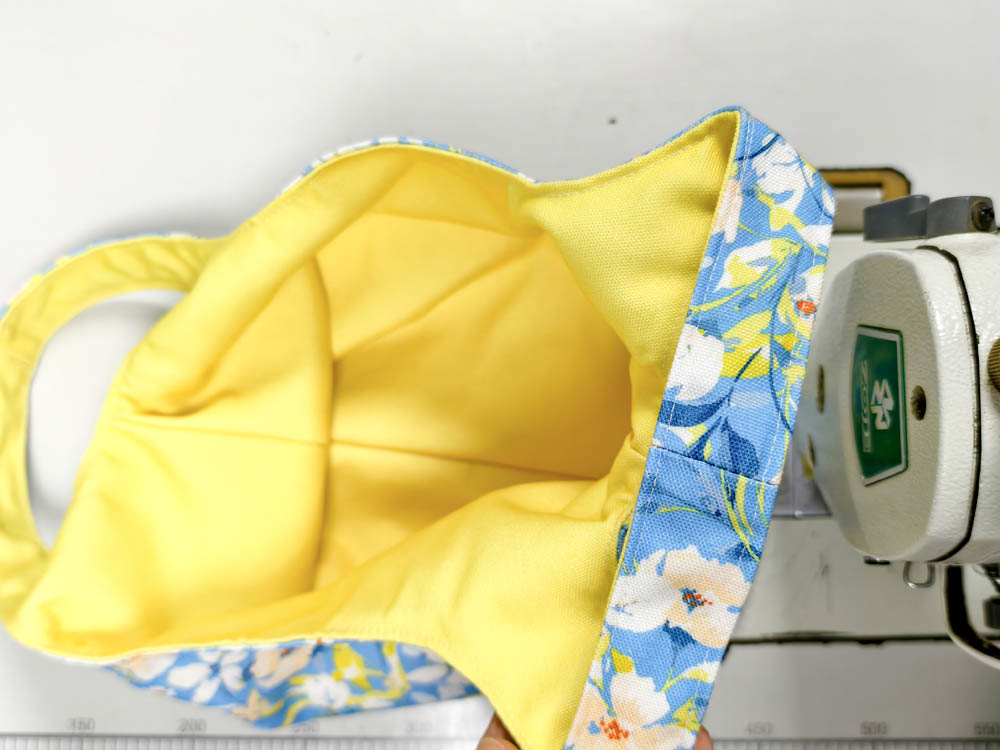
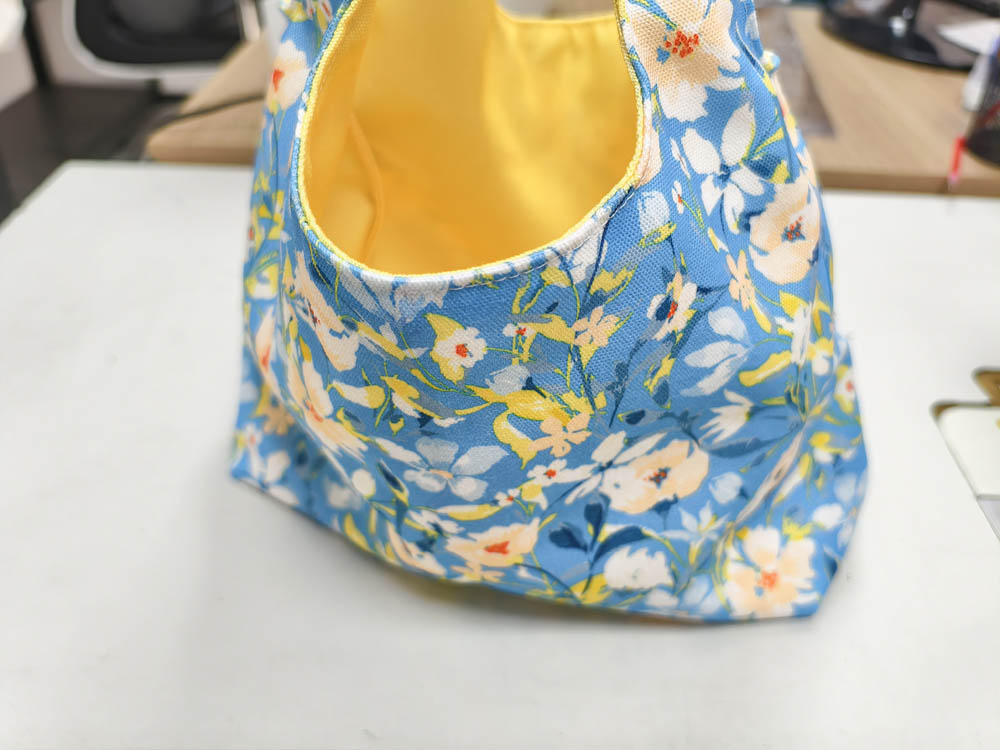
When the bag is closed, the blue floral print is the main thing you see. When it is opened, the yellow lining comes into view.
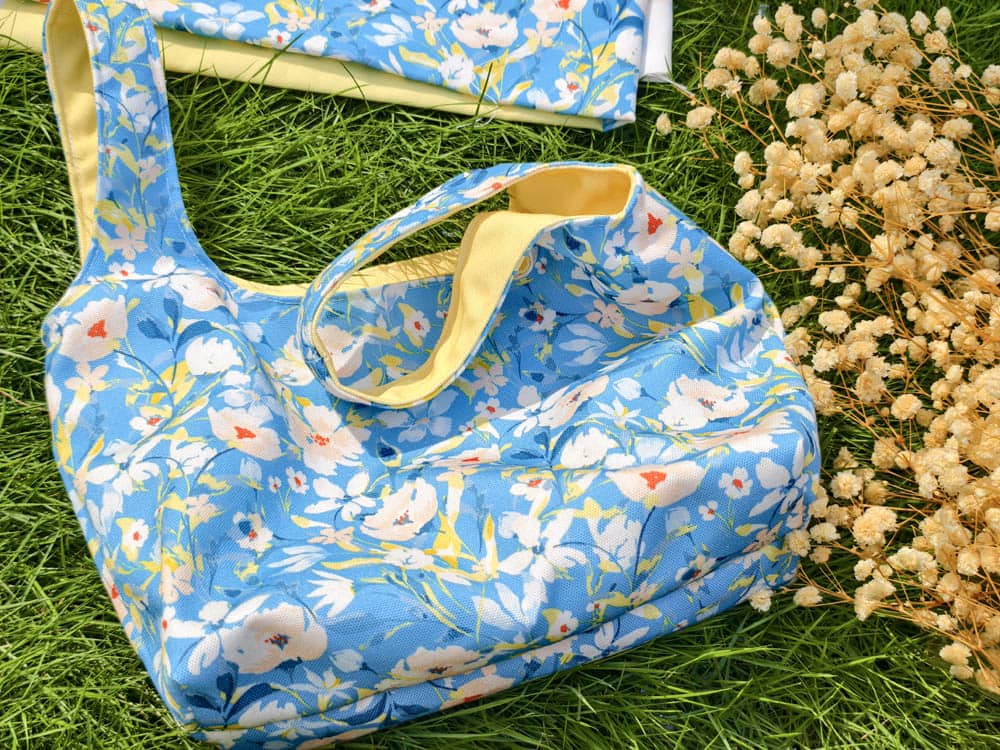
I like that the inside color belongs to the print itself. The two sections look different, but they still feel like they were planned together.
The Finished Lunch Bag
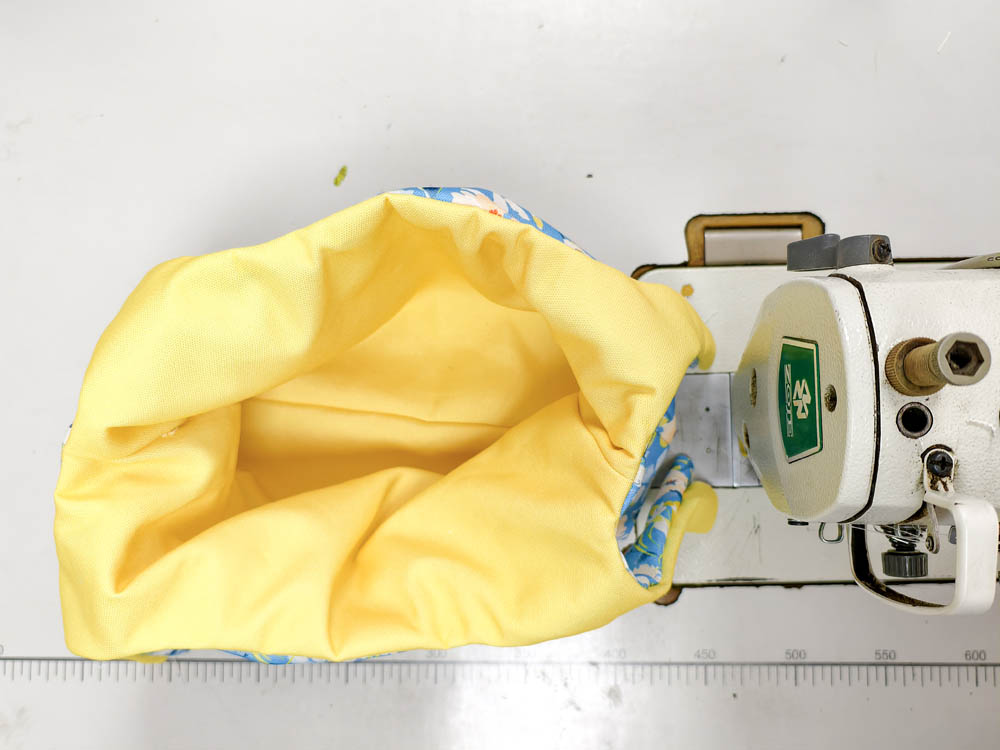
The finished bag has a simple shape, with the boxed corners giving the bottom its depth and the lining keeping the inside neat.
The 10cm turning opening disappears once it has been stitched closed, so there is no visible unfinished opening inside the bag.
I also liked seeing how differently the two sections of the fabric worked after sewing. The floral print gives the outside its main visual detail, while the solid yellow makes the woven texture of the Poly Canvas easier to notice.
For me, the interesting part of this project was deciding what each section of the fabric would do before I started cutting.
FAQ