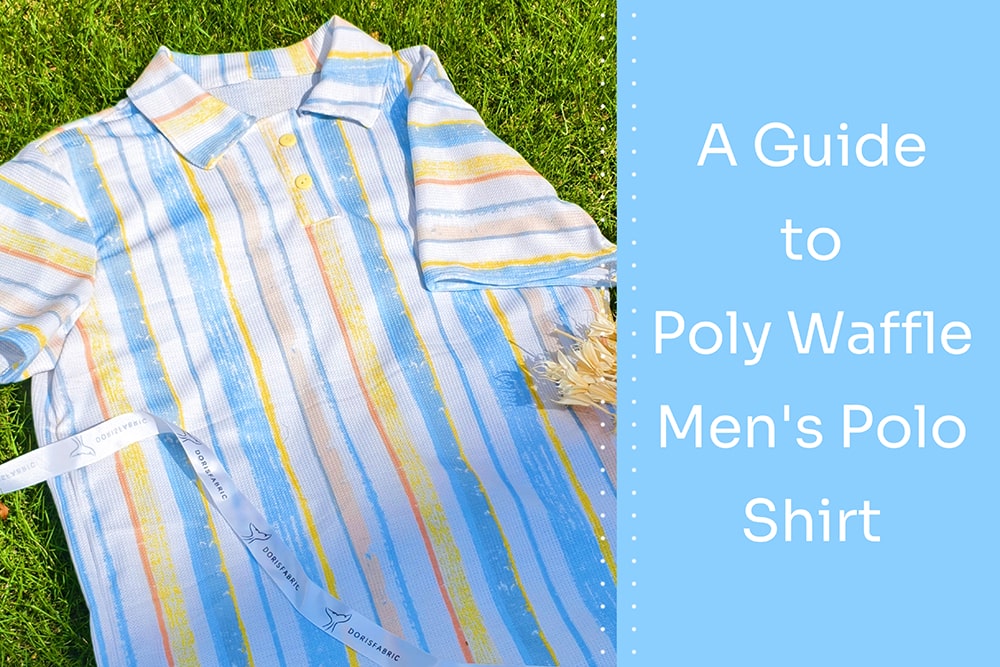
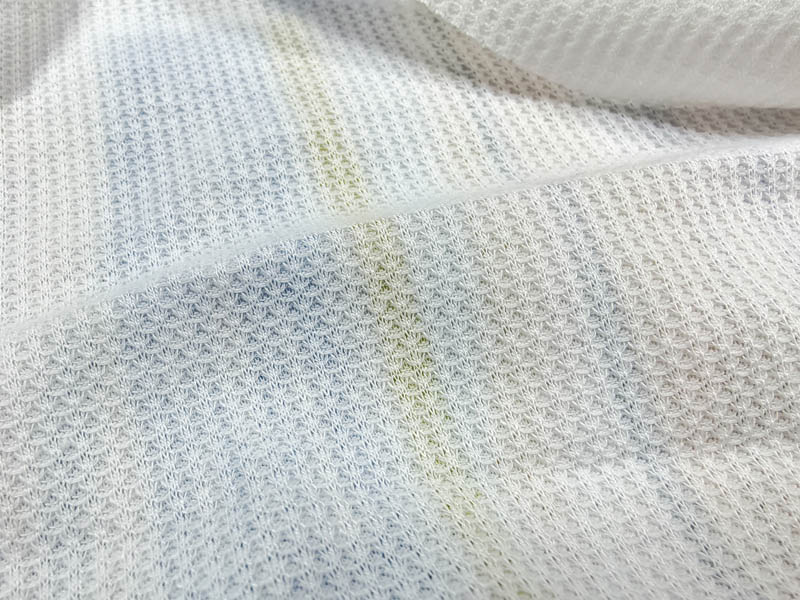
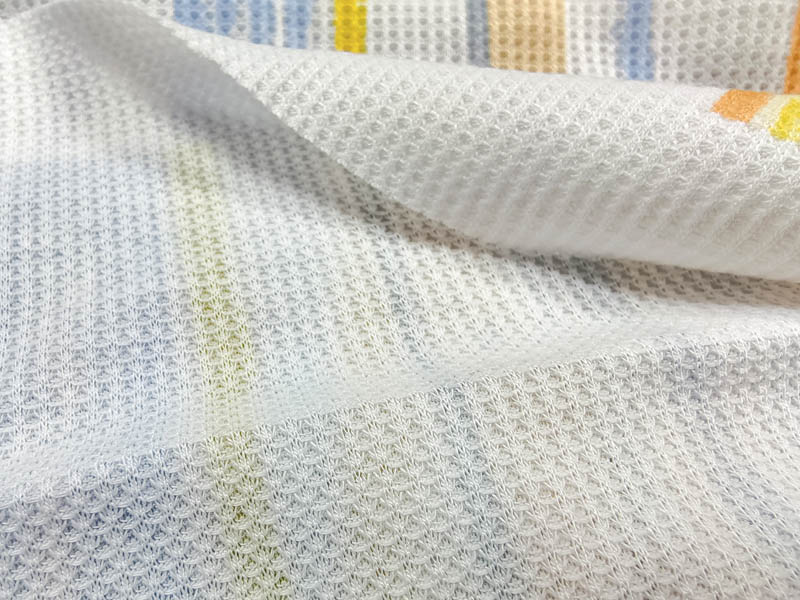
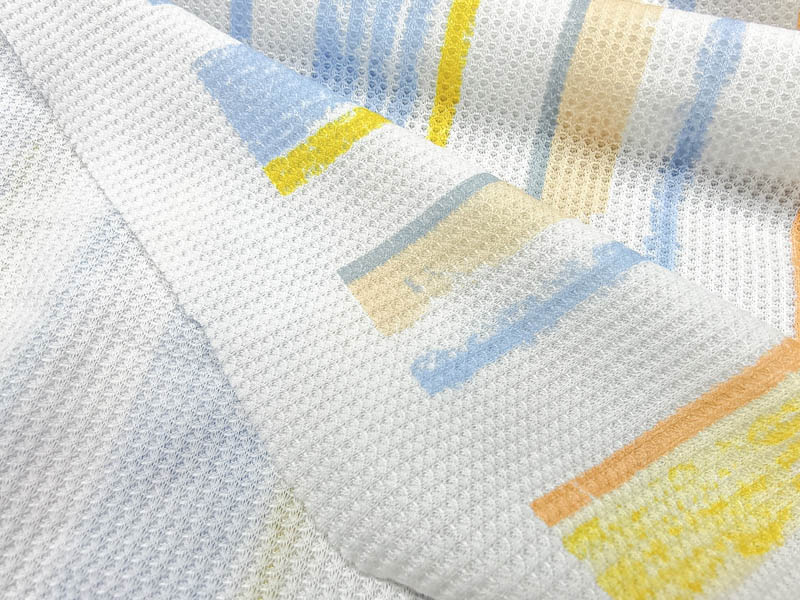
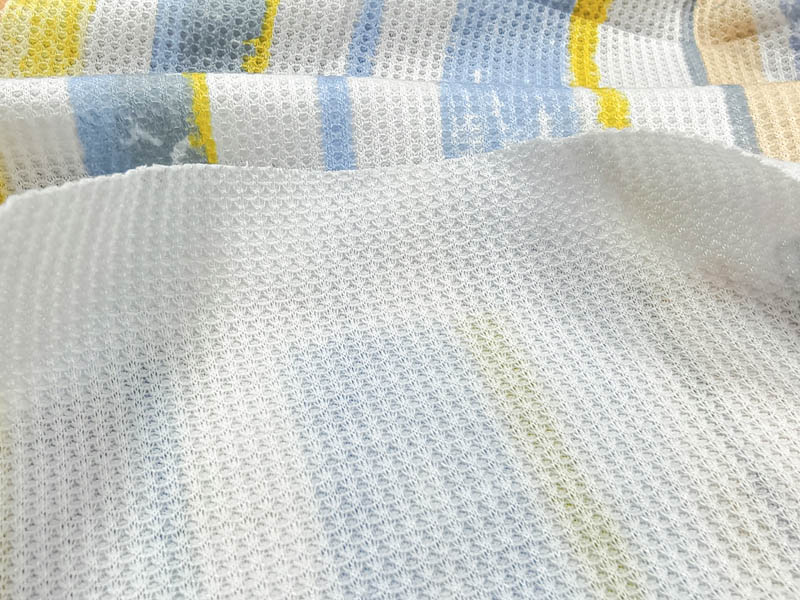
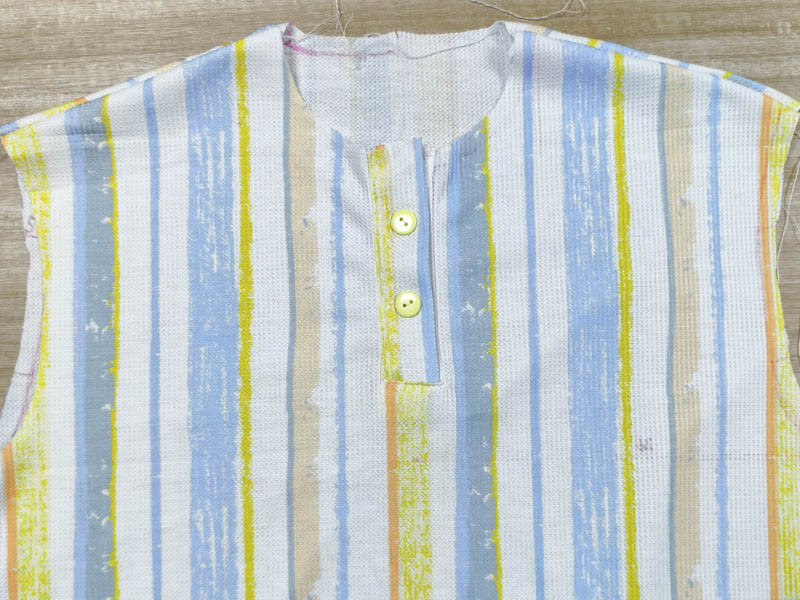
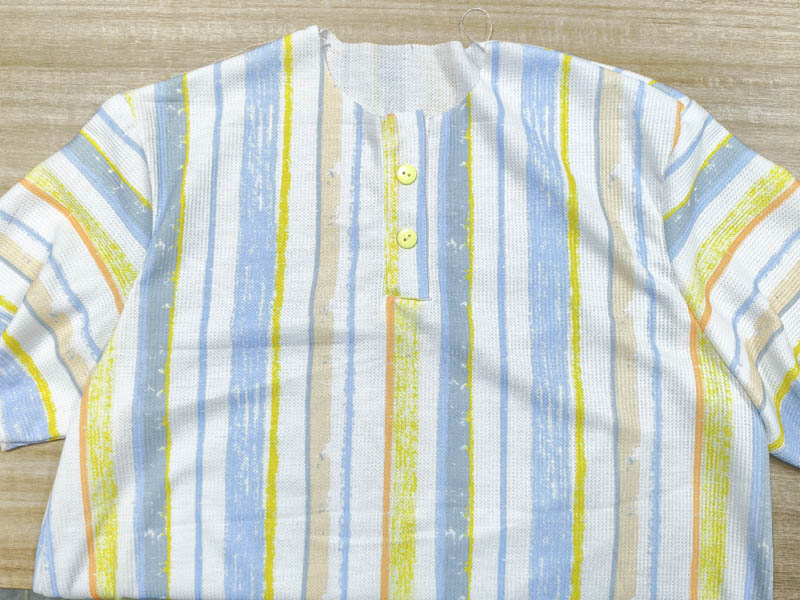
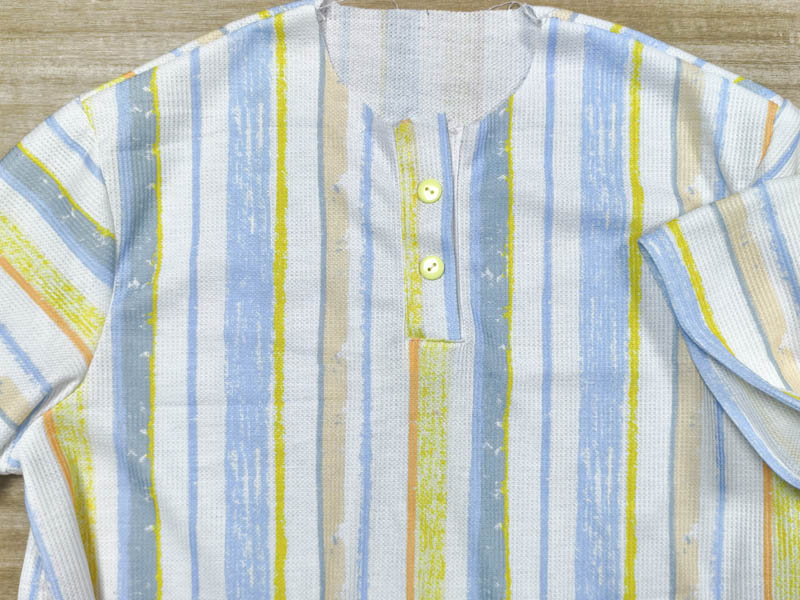
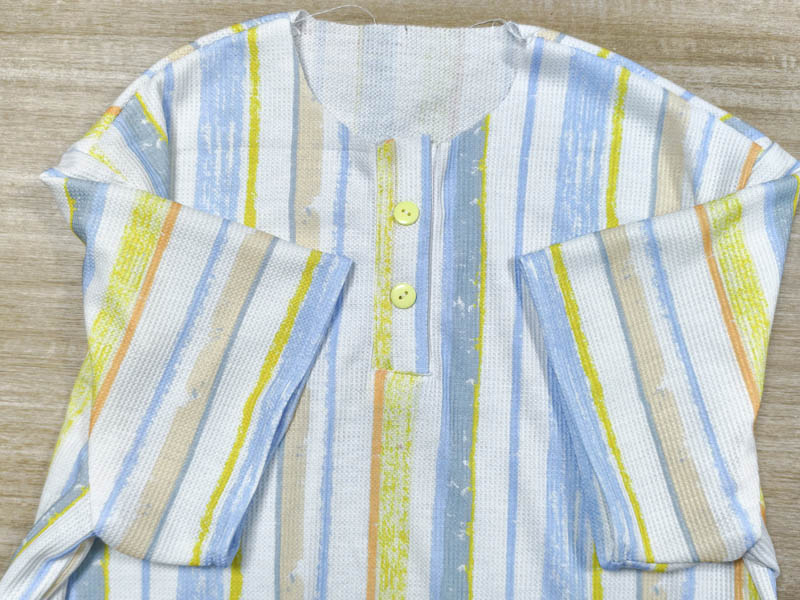
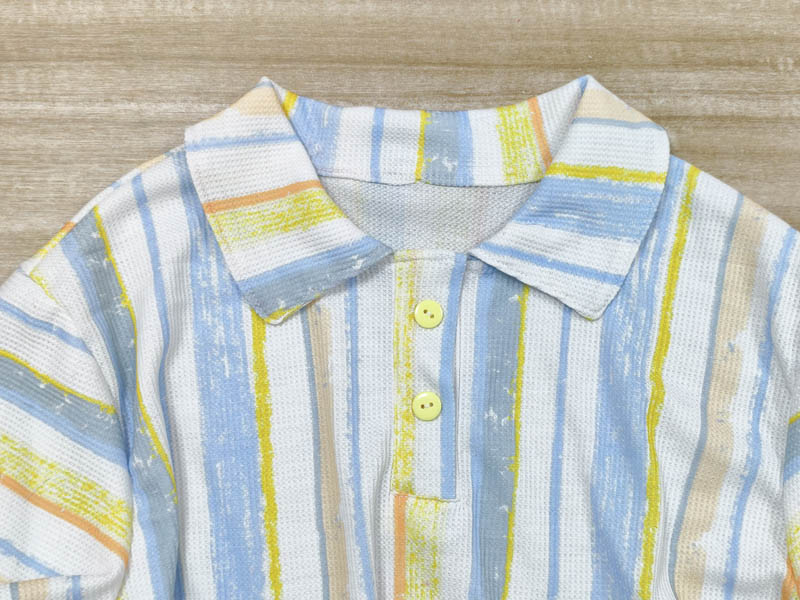
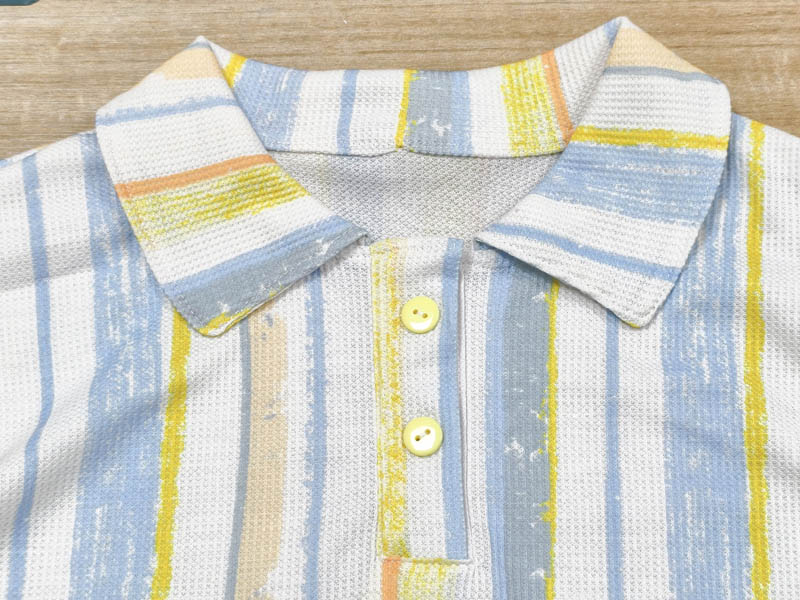
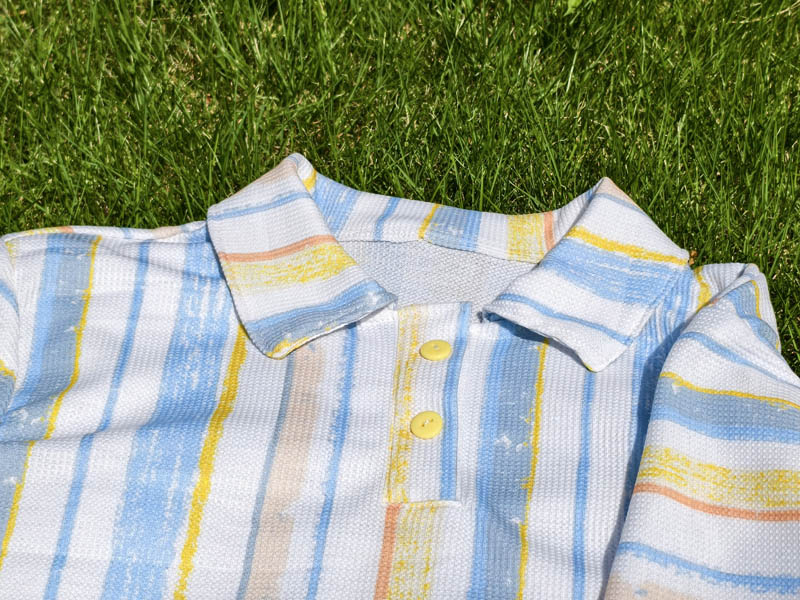
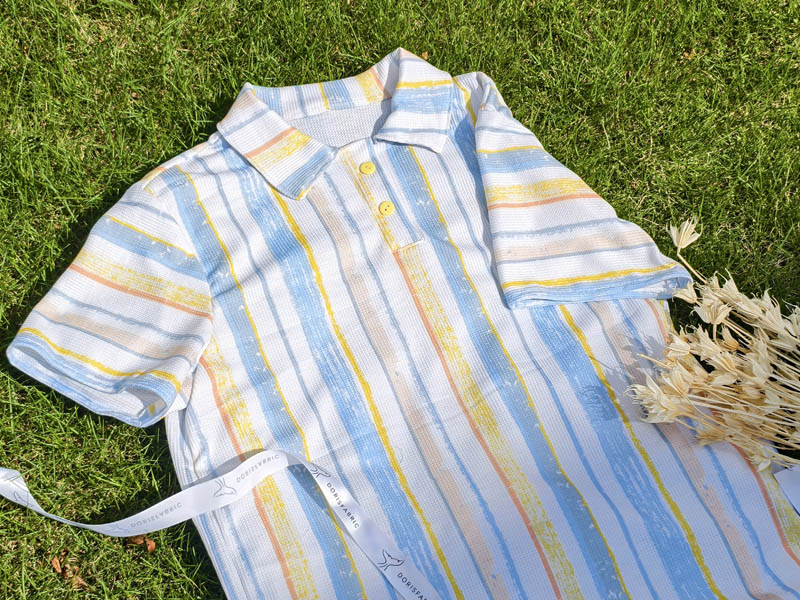
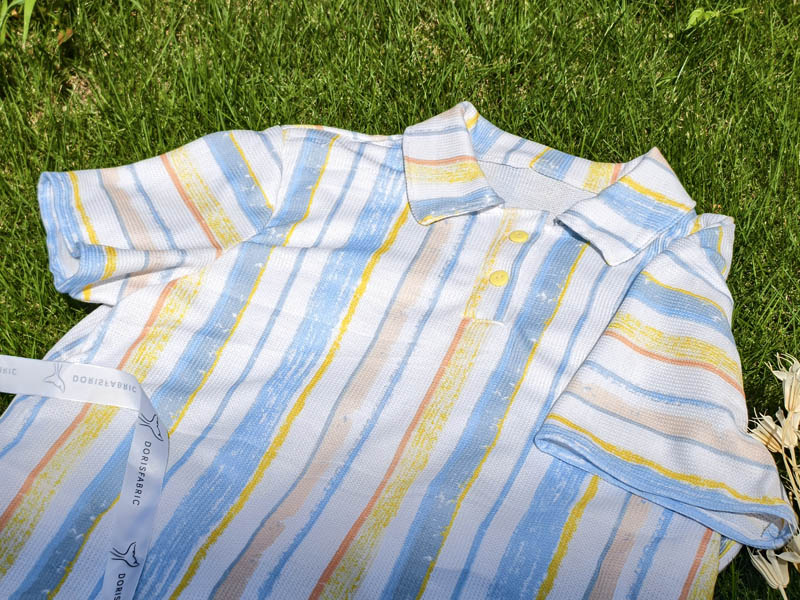
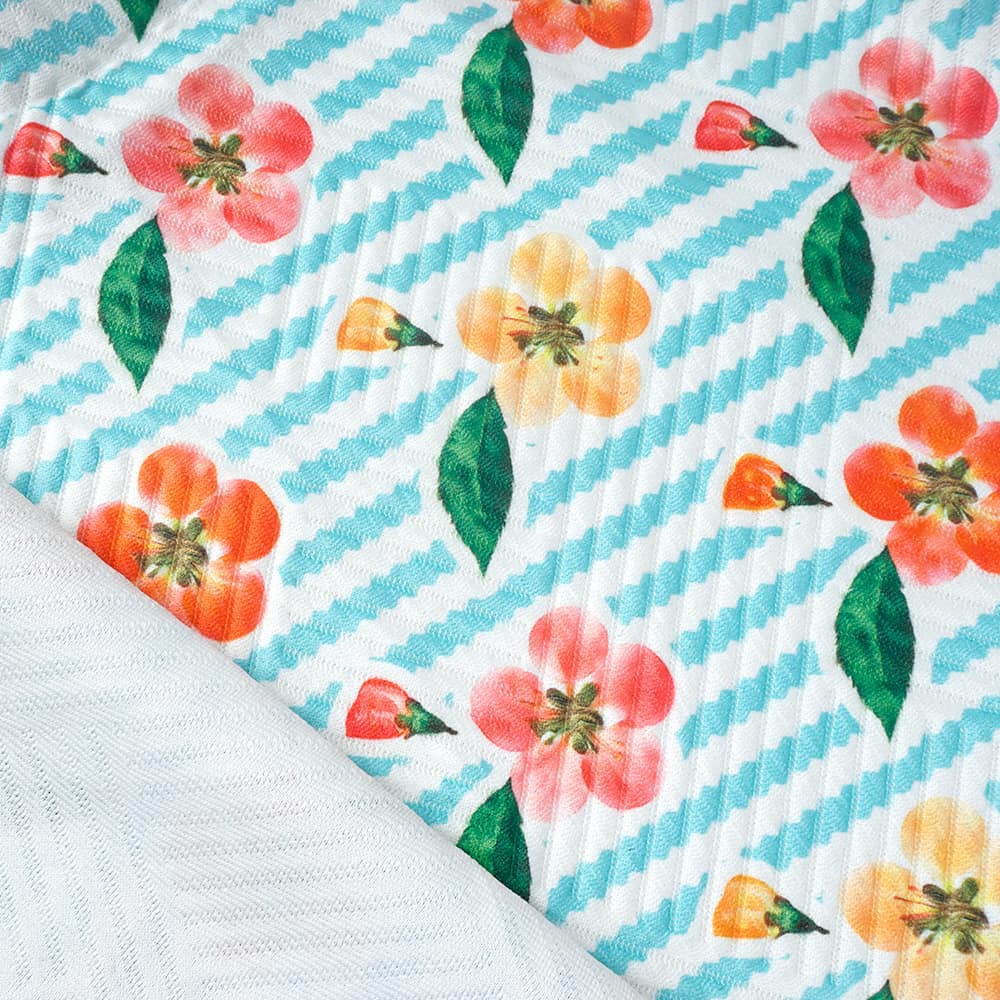
I chose 210 GSM Poly Waffle Fabric for this men’s polo shirt. I liked the raised waffle texture and wanted to see how it would look on a finished garment. The fabric also has stretch, which made it a good option for this project.
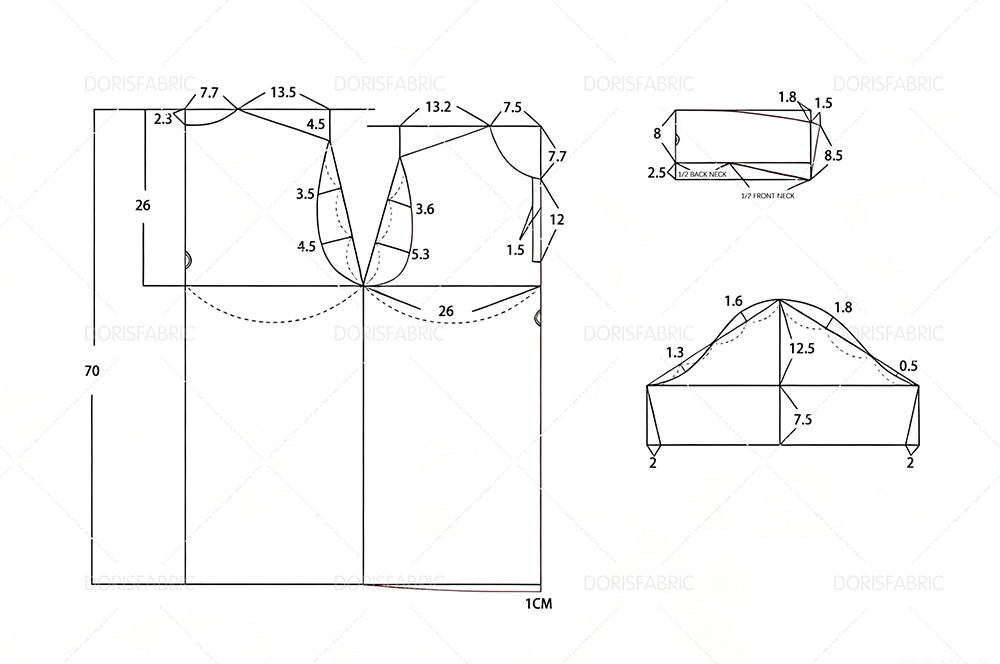
I drafted the pattern myself using the finished measurements, including the body, sleeves, collar, and front placket. I kept the overall shape simple so the waffle texture would remain the main detail.I also recorded a short video showing how it came together, you can watch it here:
Project Details & Measurements
Here are the measurements I used for this polo shirt:
| Project Details | Information | |
| Project | Men’s Polo Shirt |
| Fabric | Poly Waffle Fabric |
| Fabric Weight | 210 GSM |
| Fabric Required | 1.5 yard |
| Body Height | 165 cm |
| Body Chest | 88cm (34.6″) |
| Finished Chest | 104 cm (41″) |
| Chest Ease | 16 cm (6.3″) |
| Body Length | 68 cm (26.8″) |
| Sleeve Length | 20 cm (7.9″) |
| Seam Allowance | 1 cm (0.39″) |
The finished chest measurement is 104 cm, which gives 16 cm of ease over the 88 cm body chest measurement. The pattern was drafted using 165 cm as the height reference.
I used 1.5 yards of fabric for this sample. The amount you need may vary depending on the fabric width, your size and how you arrange the pattern pieces.
Before You Start
Before cutting, I checked the measurements and tested the fabric with my sewing machine and iron. Since this fabric contains polyester and has a textured surface, I recommend testing the iron temperature on a small scrap first.
I also marked the notches on the pattern pieces. These marks make it easier to match the sleeves, collar and bodice when sewing.
Fabric notes: My fabric is a 96% polyester / 4% spandex waffle, 210 GSM, with 4-way stretch. It stretches in both the lengthwise and crosswise directions, but the crosswise stretch is greater than the lengthwise stretch. Before cutting, I washed and dried a 10 cm square scrap to check shrinkage and to make sure the waffle texture did not distort. I also tested the stretch in both directions: I marked 10 cm, stretched the scrap gently, released it, and checked how well it sprang back. On my fabric, the crosswise direction had more stretch, so I kept the greatest stretch running around the body when laying out the pattern. Because of the spandex and the 4-way stretch, I used a stretch needle, a stretch stitch where needed, and a thin stretch interfacing on the placket and collar. I still kept the pattern pieces on grain and followed the waffle texture and stripe direction, because 4-way stretch does not mean the fabric can be rotated freely without affecting the drape and stripe alignment.
Pattern Pieces & Fabric Preparation
For this polo shirt, I cut the following pieces:
- Front bodice – cut on the fold
- Back bodice – cut on the fold
- Two sleeves
- Two collar pieces
- Two placket strips
I added a 1 cm (0.39″) seam allowance before cutting the pieces.
How to Sew the Poly Waffle Men's Polo Shirt
Step 1: Draft and Cut the Front and Back
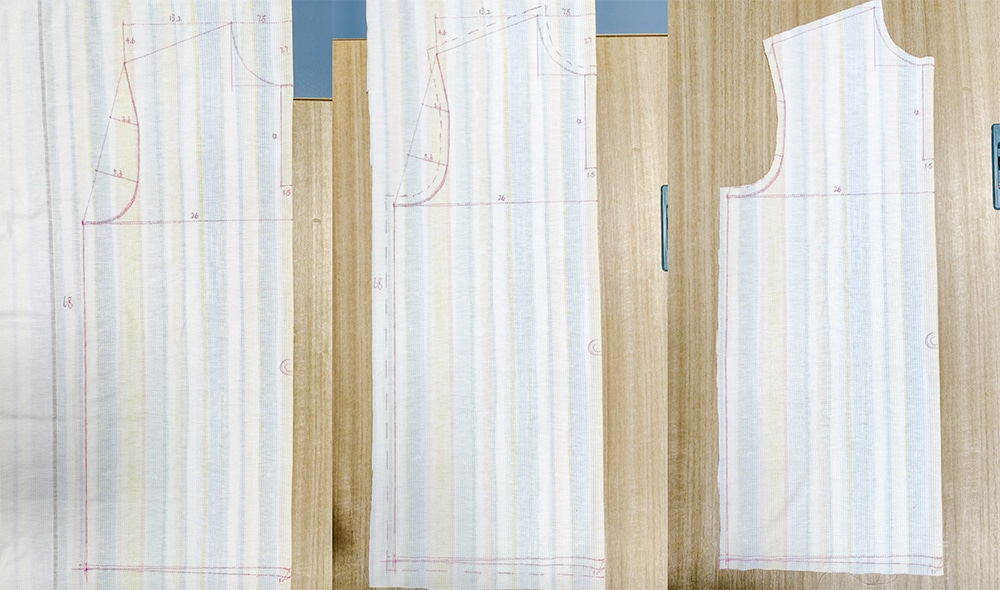
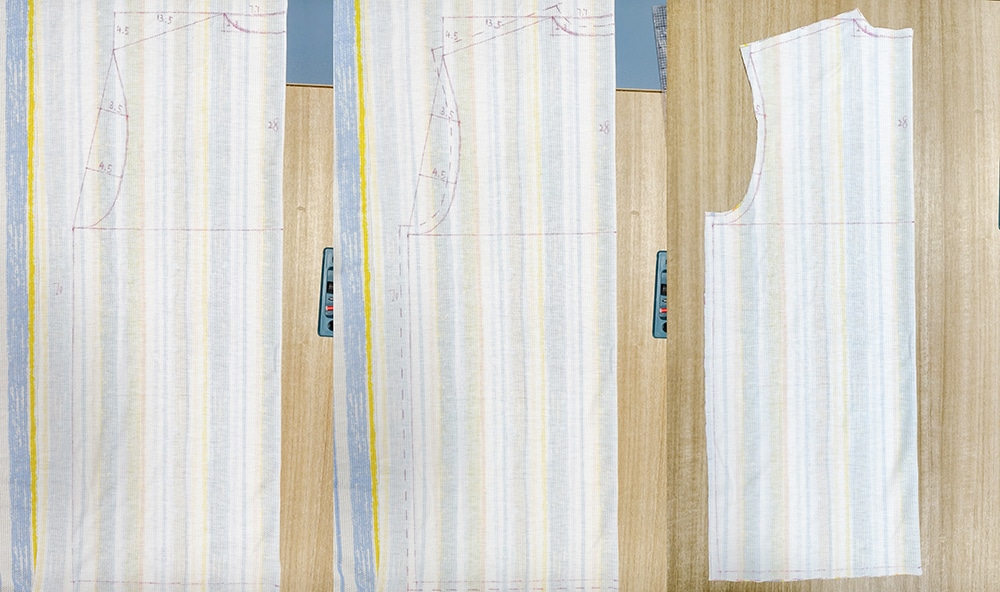
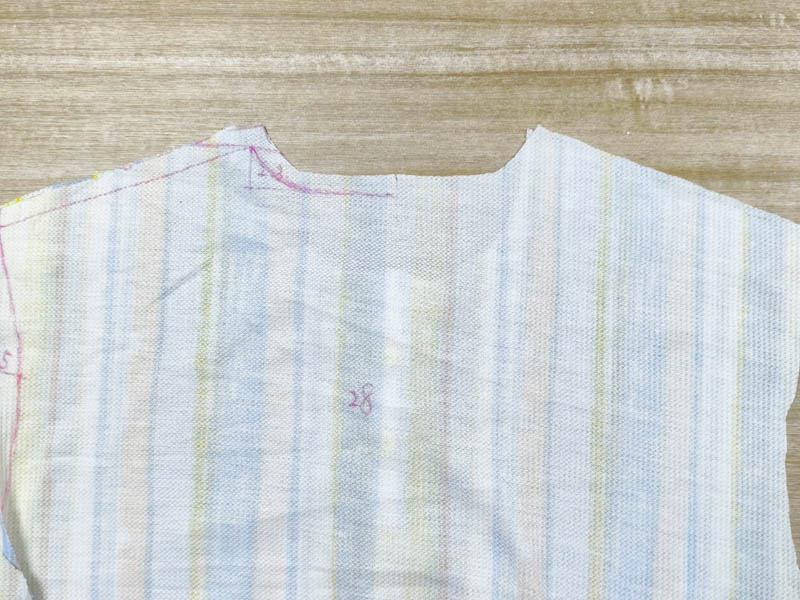
I started by drawing the front and back bodice using the measurements for this shirt.
- Draw the front bodice with the center front placed on the fabric fold.
- Add a 1 cm (0.39″) seam allowance, then cut out the front piece.
- Cut out the front piece.
- Draw the back bodice in the same way, keeping the center back on the fold.
- Add the same 1 cm (0.39″) seam allowance and cut out the back piece.
- Clip small notches at the center front and center back to use as reference marks later.
Step 2: Draft the Sleeves
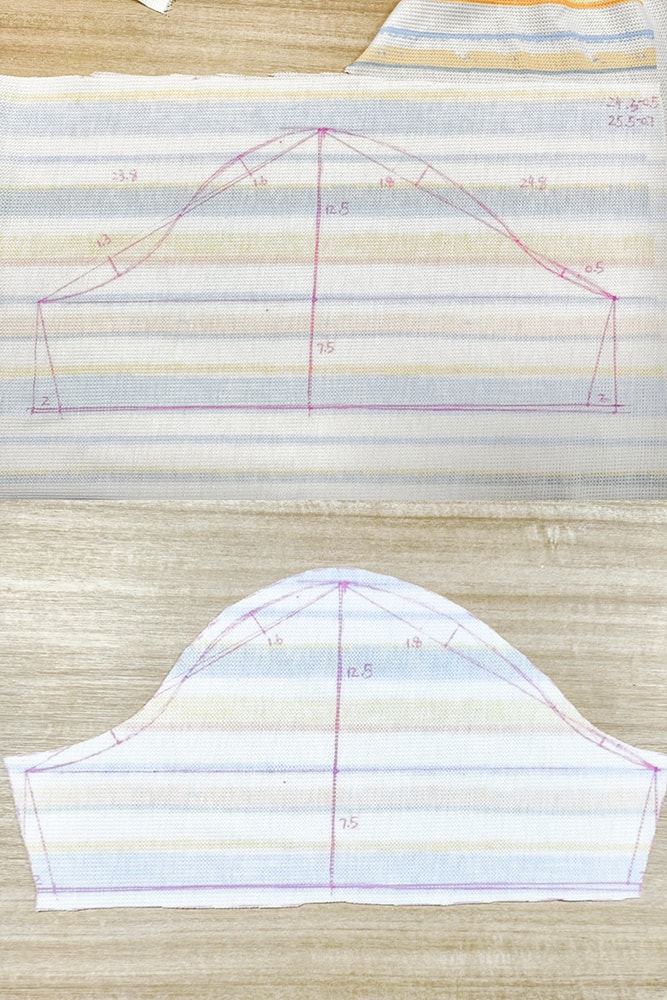
I used the front and back armhole measurements to draft the sleeve.
- Measure the front and back armhole curves.
- For this pattern, I used the front armhole measurement minus 0.5 cm (0.20″) and the back armhole measurement minus 0.7 cm (0.28″) when drafting the sleeve cap.
- Draw a cross axis and mark the sleeve cap height.
- Mark the sleeve cap height on the vertical axis. Then use the diagonal lines and their intersections with the horizontal axis to work out the sleeve width.
- Draw the sleeve cap curve and complete the sleeve pattern.
- Mark a notch at the center of the sleeve cap.
The center notch marks where the sleeve meets the shoulder seam.
Step 3: Draft and Cut the Collar
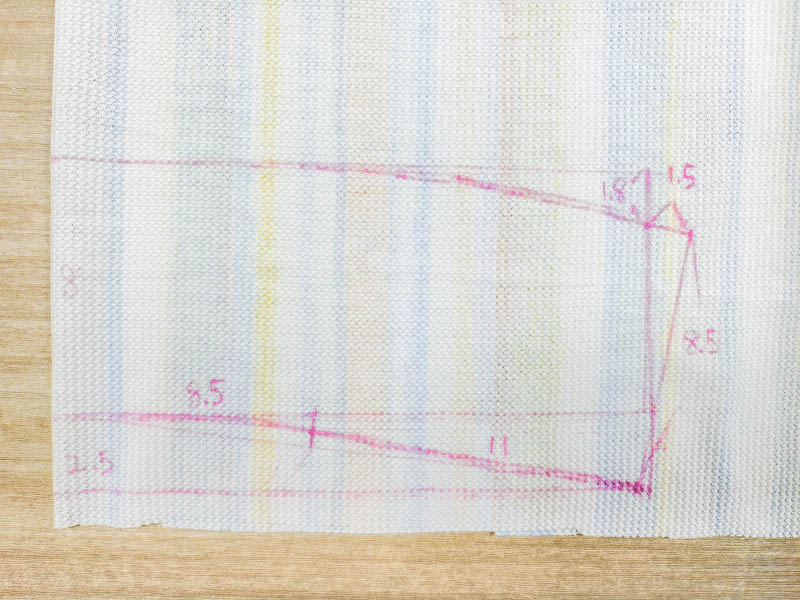
I drafted the collar using the front and back neckline measurements.
- Measure the front neckline and back neckline separately.
- Use these measurements to draw half of the collar.
- Mark the point where the front and back neckline measurements meet, then add a notch there and another at the center back.
- Add a notch at this point and another at the center back.
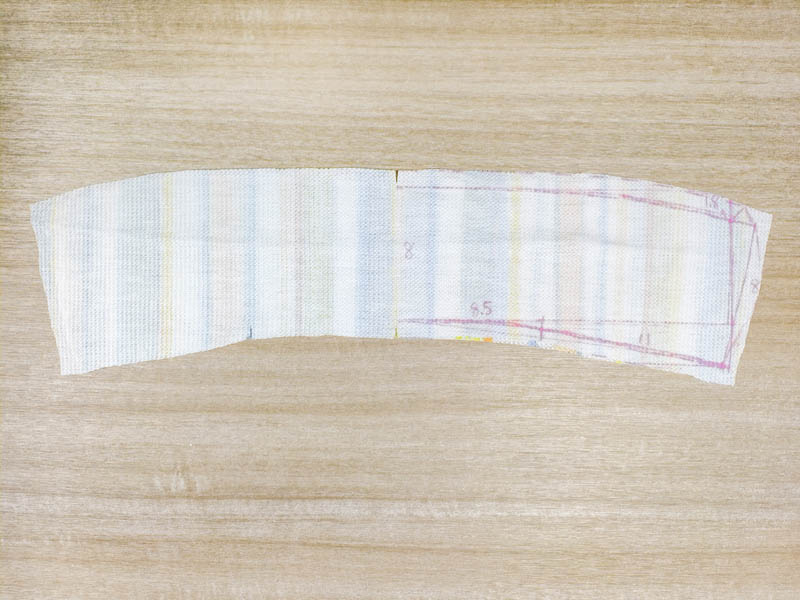
- Place the center of the collar on the fabric fold, add a 1 cm (0.39″) seam allowance, and cut the first piece.
- Cut the first collar piece.
- Use the first collar piece as a template to trace the second piece.
- Trim approximately 0.5 cm (0.20″) from each edge of the second piece.
I set the collar pieces aside and moved on to the front placket.
Step 4: Mark and Prepare the Front Placket
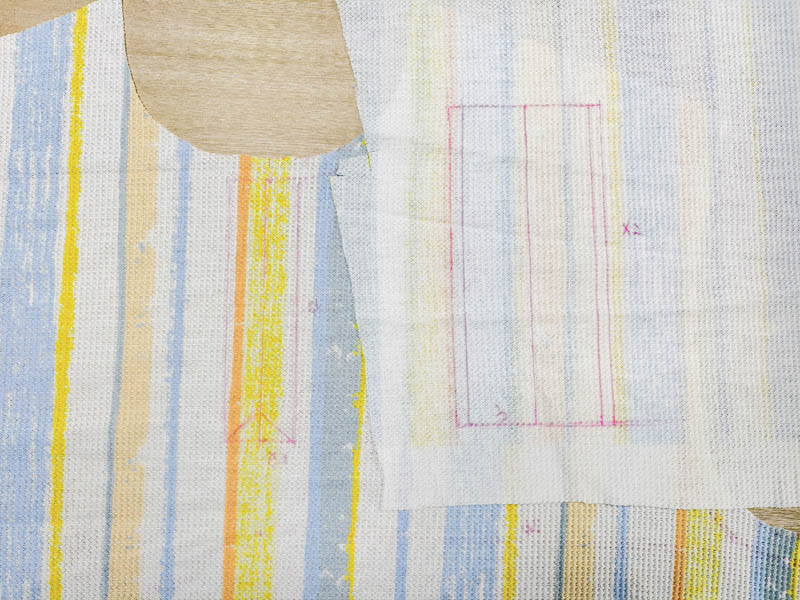
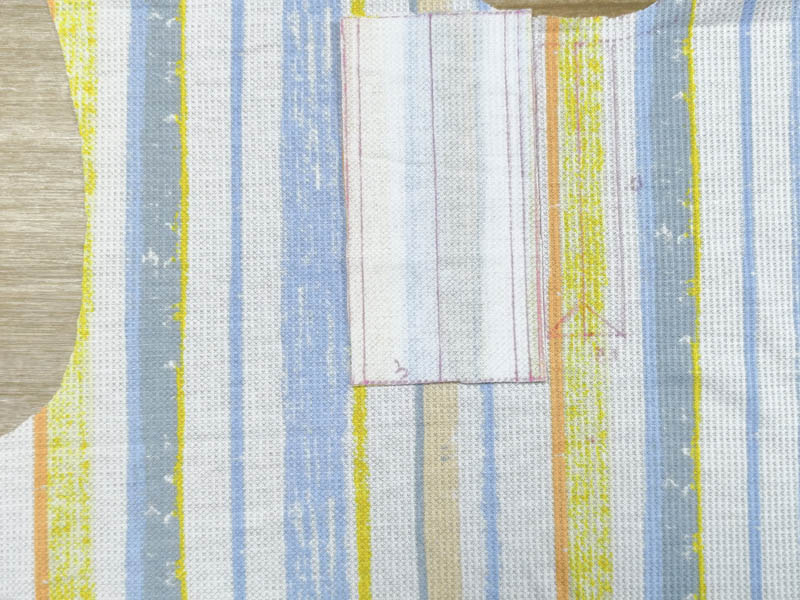
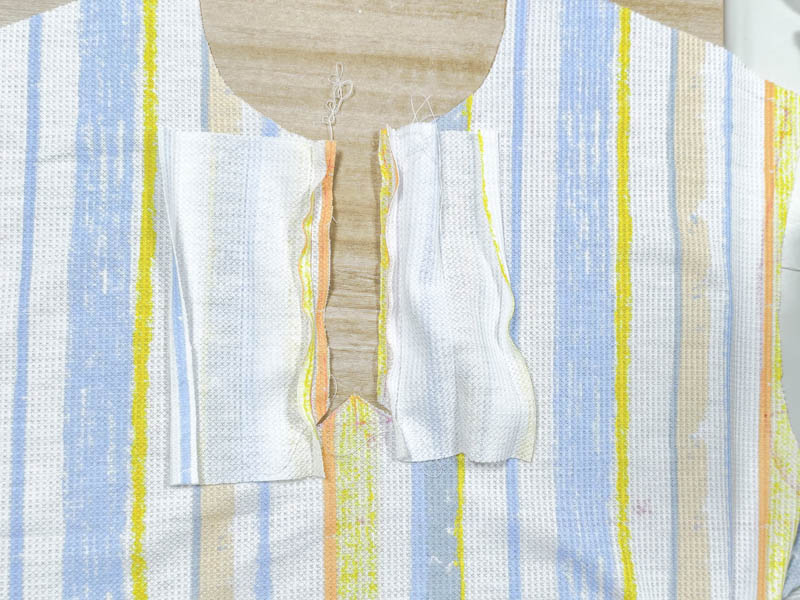
I marked the placket opening at the center front, just below the neckline.
- At the center front neckline, mark an opening measuring 12 × 3 cm (4.7″ × 1.2″).
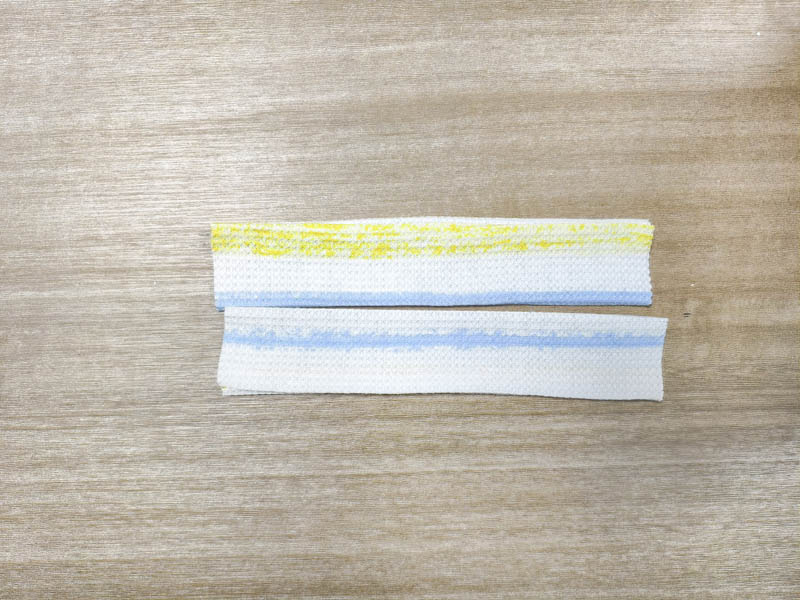
- Cut two placket strips, each about 15 cm (5.9″) long and 7–8 cm (2.8–3.1″) wide.
- Allow 0.5–1 cm (0.20–0.39″) for the edges to be turned inward.
- Cut out both strips.
- Fold each strip and press it to make the 3 cm (1.2″) crease.
Make sure the folded edges are even before sewing.
Step 5: Sew the Placket Opening
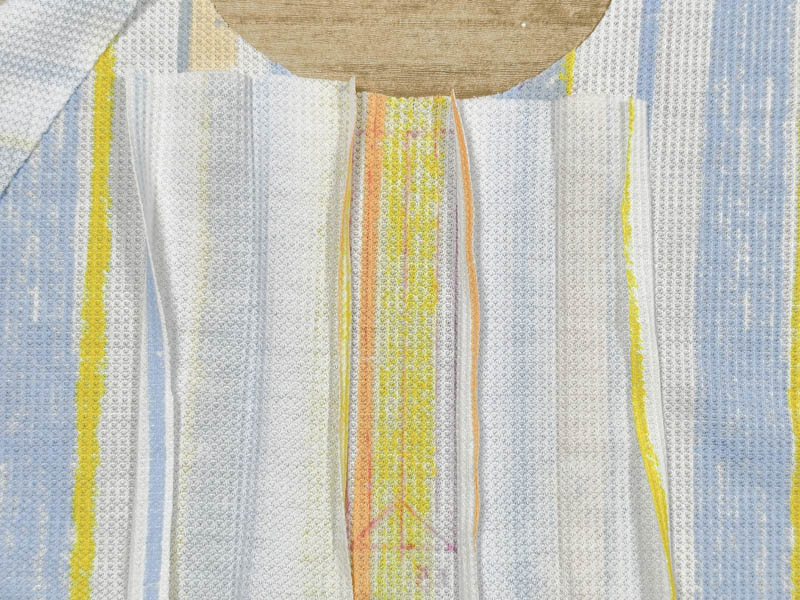
- Line up the 0.5 cm (0.20″) folded edge of each strip with the marked lines on the front bodice.
- Sew along the marked lines using a straight stitch.
- Backstitch at the bottom to secure the stitching.
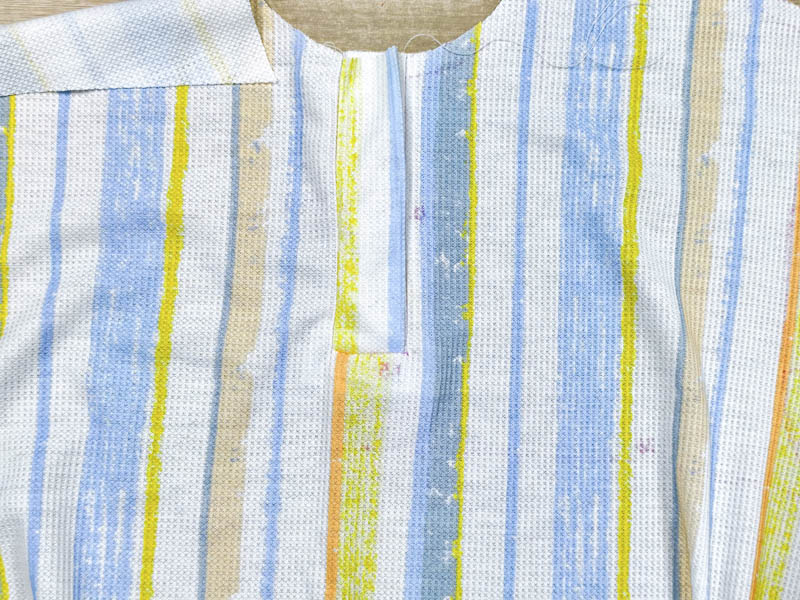
- Cut along the center line of the opening.
- Make a small triangular clip at the bottom, cutting close to the stitching without cutting through it.
Step 6: Finish the Placket and Add the Buttons
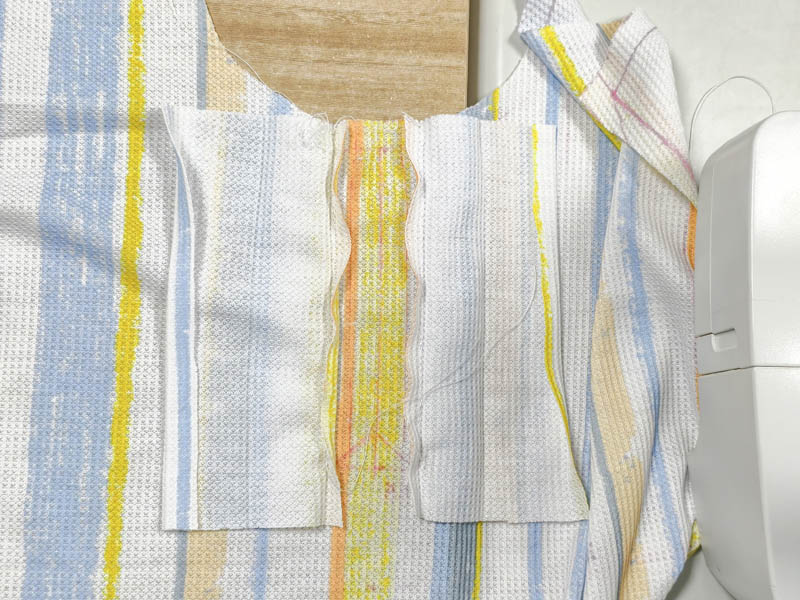
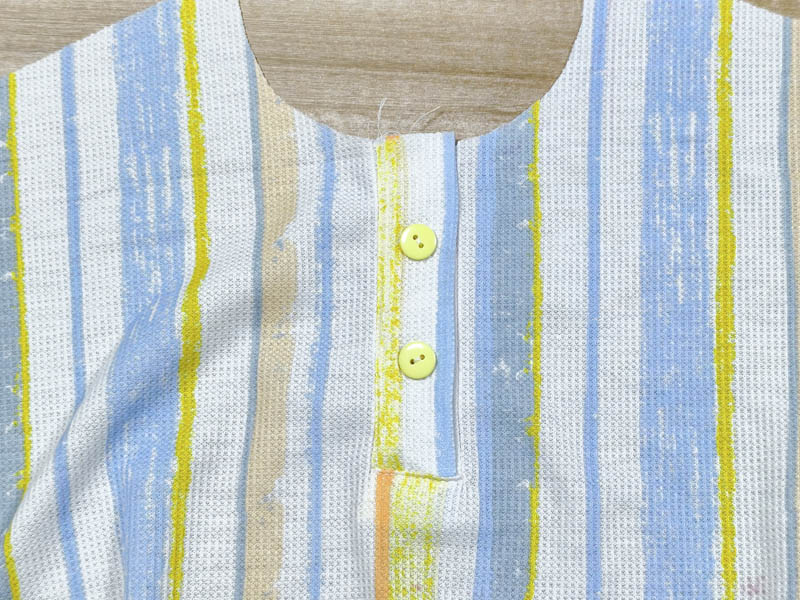
I turned the placket strips to the inside and lined up the folded edges.
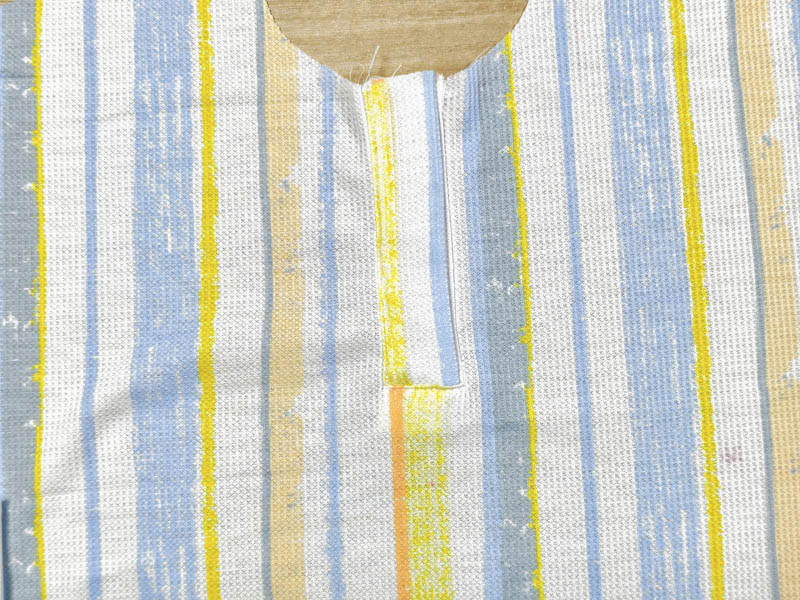
- Turn both placket strips to the wrong side of the front bodice.
- Align and secure the folded edges.
- Fold and secure the bottom of the placket.
- Stitch around the placket edges and across the bottom to hold the strips in place.
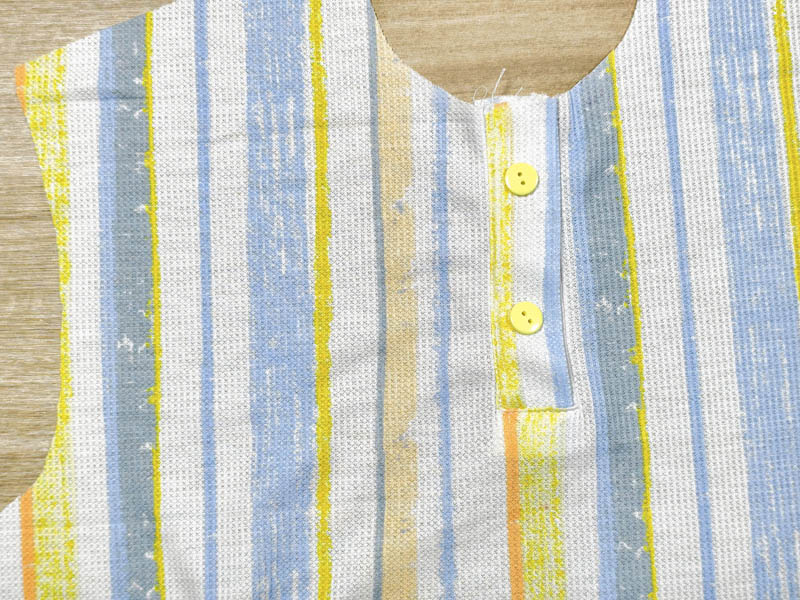
- Hand-sew the buttons onto the placket.
- Mark the buttonhole positions on the opposite side and cut the openings carefully.
If you have a buttonhole function on your machine, you can use it to stitch around the buttonholes for extra reinforcement.
Step 7: Sew the Shoulder and Side Seams
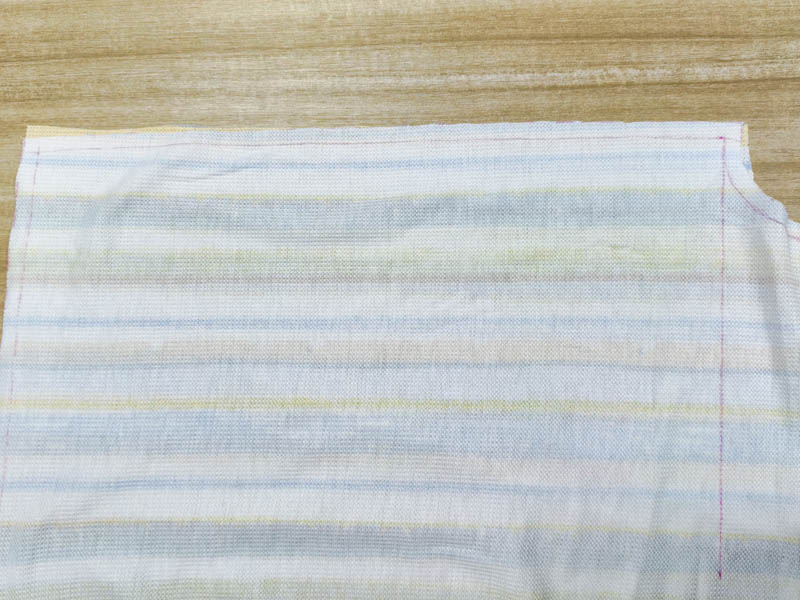
- Place the front and back bodice pieces right sides together.
- Align the shoulder edges and sew both shoulder seams.
- Match the side edges and sew the two side seams.
- Press the seams and remove any marks left by the heat-erasable pen.
I pressed the body before attaching the sleeves and collar. It was easier to reach the seams while the shirt was still flat.
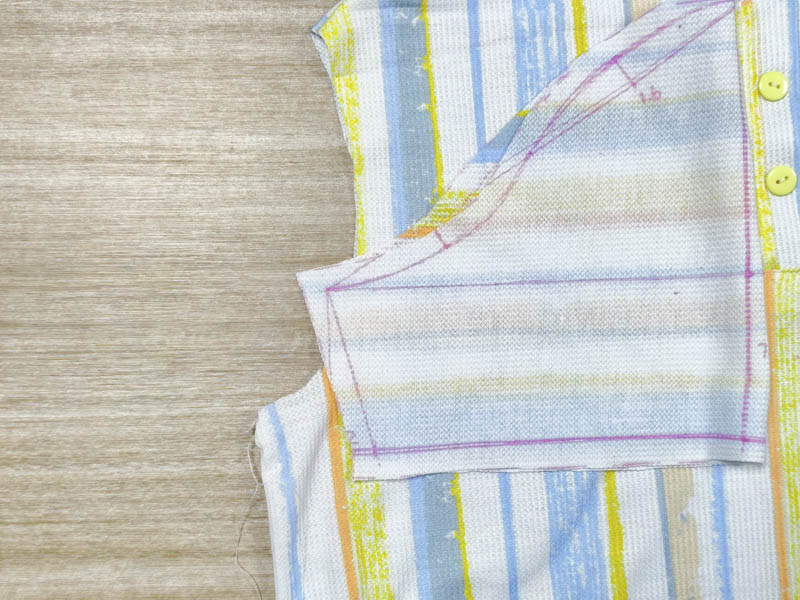
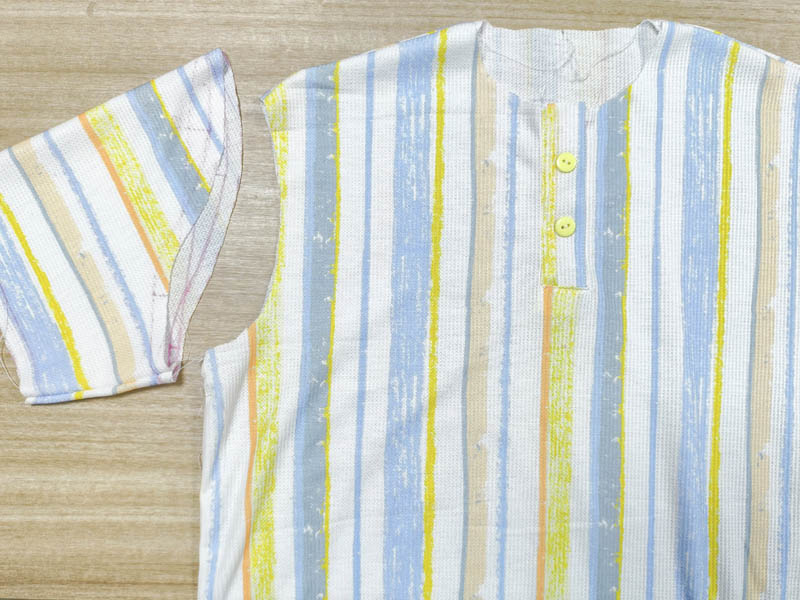
Step 8: Attach the Sleeves
- Match each sleeve to its armhole.
- Start at the underarm, matching the sleeve seam to the side seam of the bodice.
- Match the notch at the center of the sleeve cap to the shoulder seam.
- Pin the remaining sleeve edge around the armhole.
- Sew all the way around the armhole.
- Repeat for the other sleeve.
Step 9: Finish the Sleeve Openings
With both sleeves attached, I moved on to finishing the sleeve openings.
- Finish the raw edges of the sleeve openings with an overlocker.
- Fold the sleeve edge inward by 1 cm (0.39″).
- Fold it inward by another 1 cm (0.39″).
- Secure the fold.
- Stitch along the folded edge using a stretch stitch.
The serged edge is hidden inside the double-fold hem.
Step 10: Sew and Shape the Collar
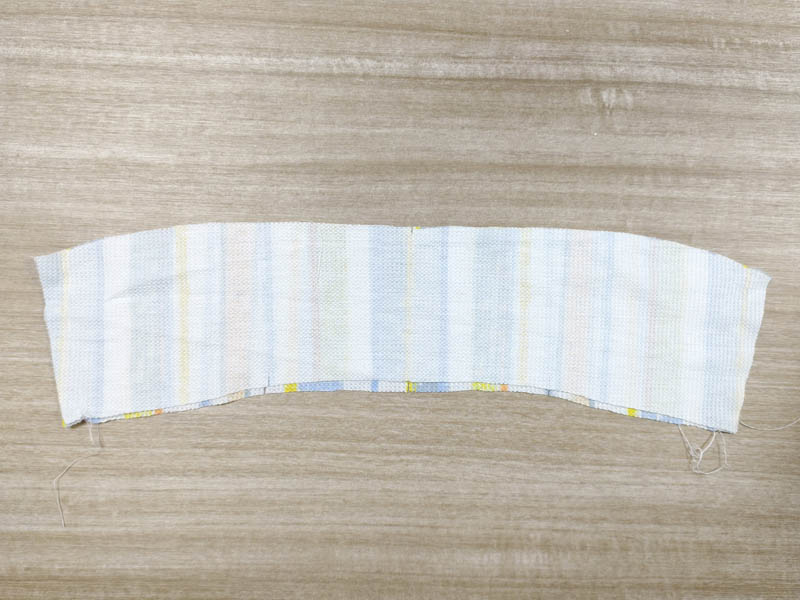
I took the two collar pieces I had cut earlier.
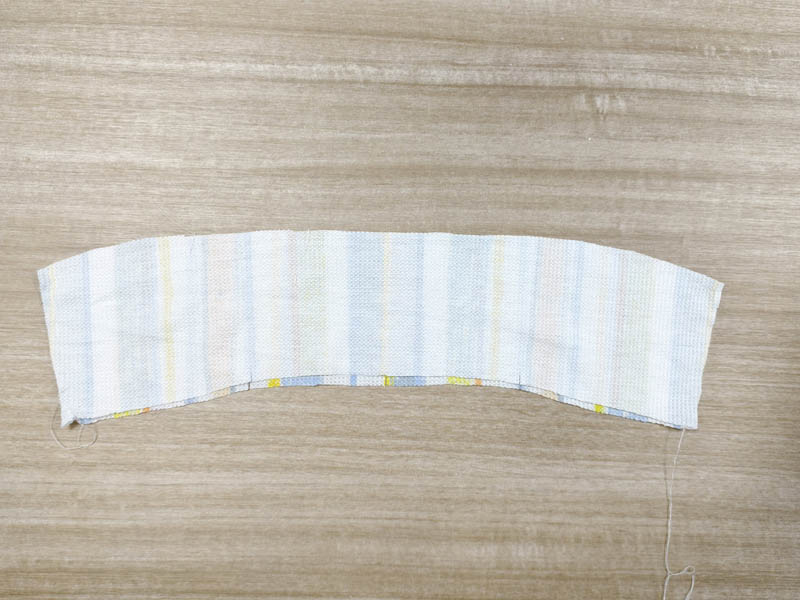
- Place the two collar pieces right sides together and sew along the outer edges, leaving the neckline edge open.
- Trim the seam allowance, especially around the corners.
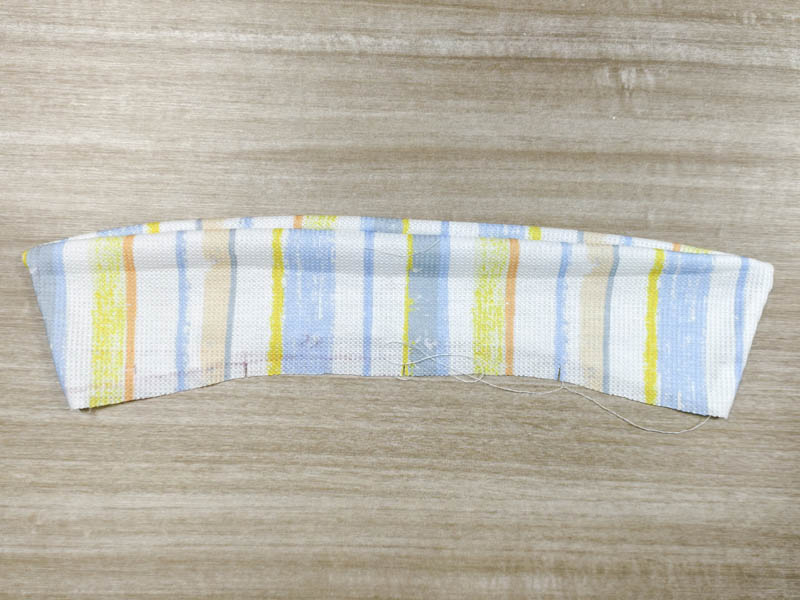
- Turn the collar right side out.
- Turn the collar right side out and use tweezers to shape the corners.
- Topstitch about 0.1 cm (0.04″) from the edge.
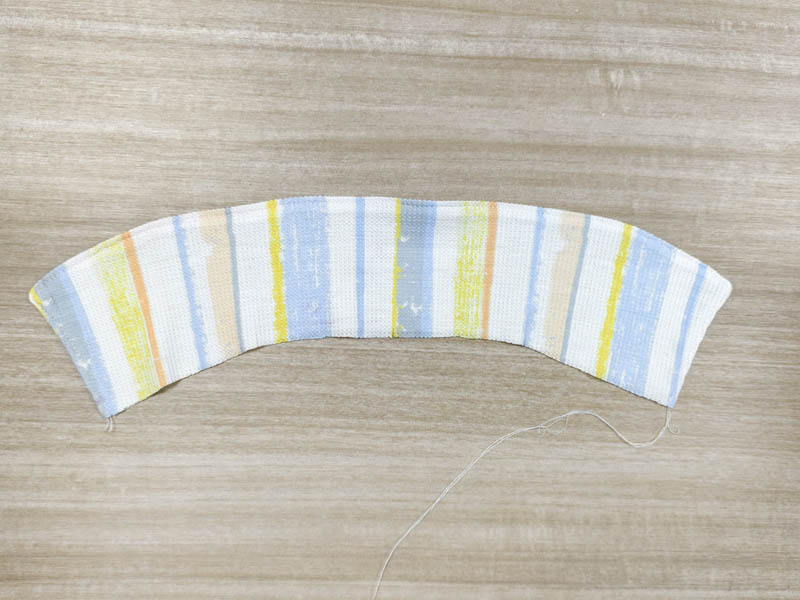
- Press the collar flat.
I used tweezers to bring out the collar points without pulling the fabric.
Step 11: Attach the Collar to the Neckline
- Match the collar notches to the corresponding points on the neckline.
- Match the front and back collar sections to the corresponding neckline notches.
- Depending on the finish you prefer, the neckline edge can also be finished with binding or a serger.
- Finish the neckline seam allowance with the chosen edge-finishing method.
- Stitch about 0.1 cm (0.04″) from the edge to secure the collar.
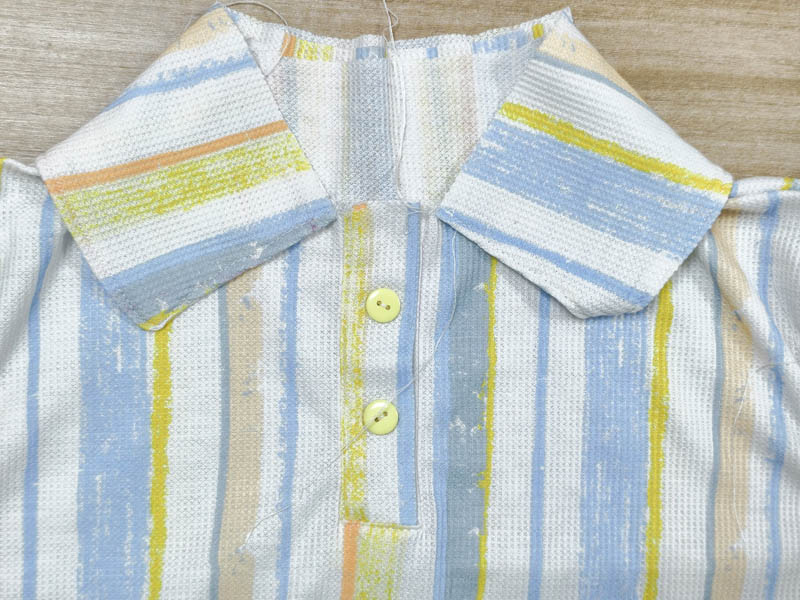
- Fold the collar down into its finished position.
Make sure the collar sits evenly around the neckline before completing the stitching.
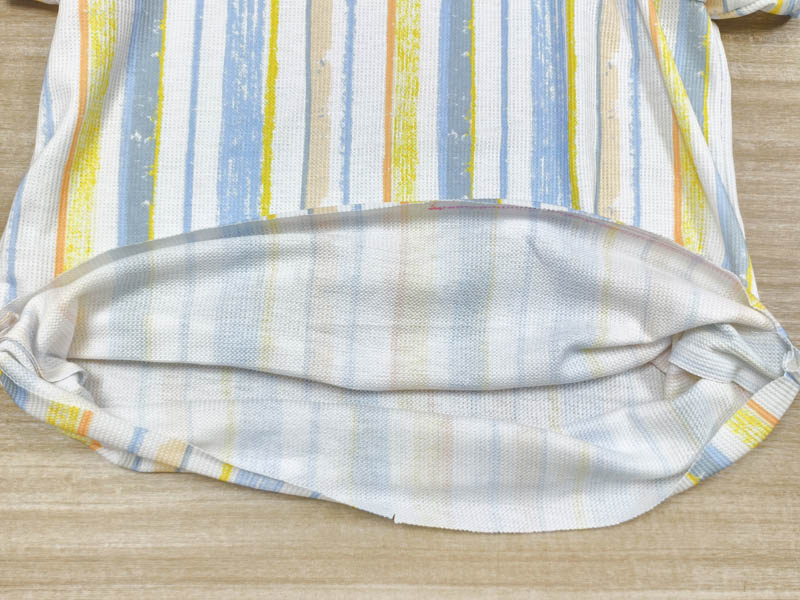
Step 12: Hem the Bottom and Finish the Shirt
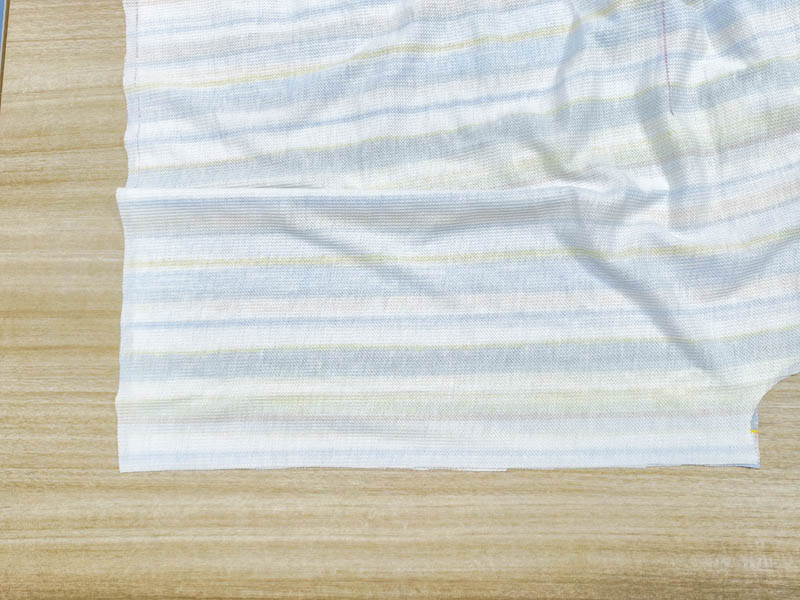
- Fold the bottom edge inward by 1 cm (0.39″).
- Fold it inward by another 1 cm (0.39″).
- Stitch along the folded edge.
- Trim any loose threads.
- Give the finished shirt a final press.
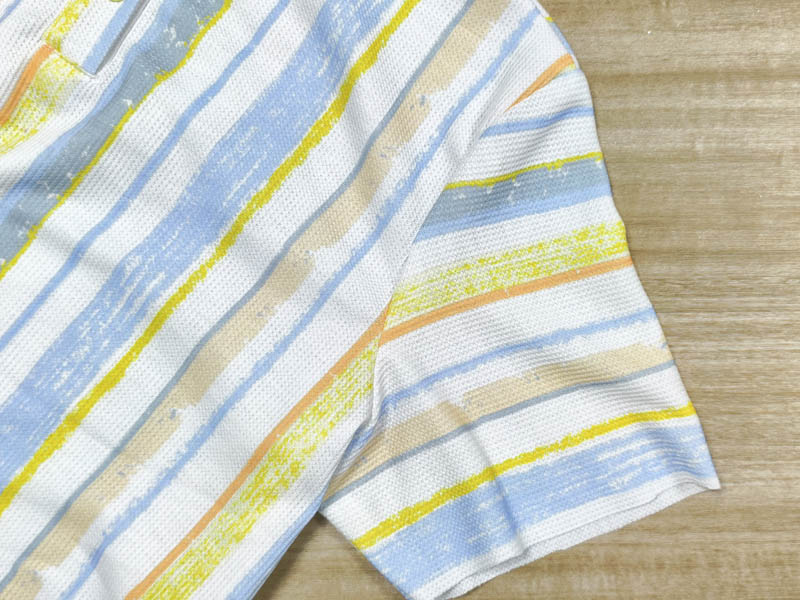
The Finished Poly Waffle Polo Shirt
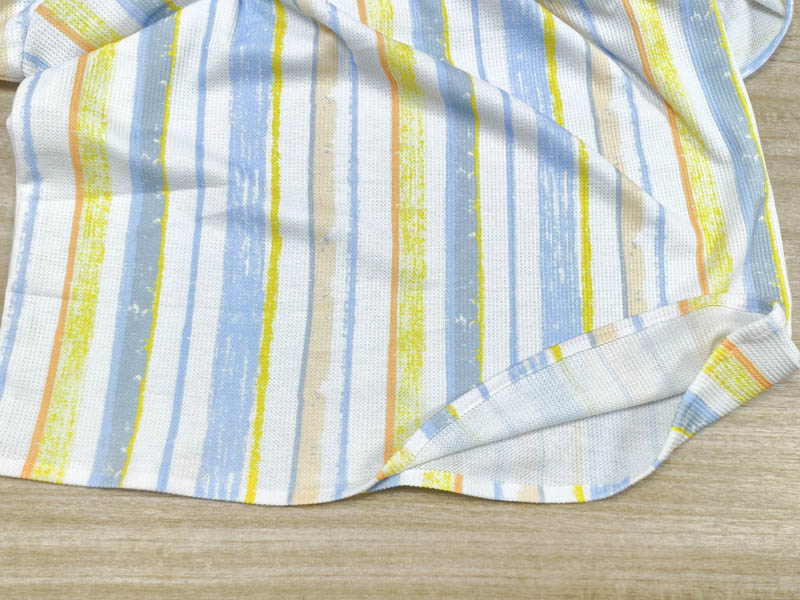
After sewing and pressing, the waffle texture was still clearly visible across the body and sleeves. I liked how it looked on the finished polo, especially with the simple shape and front placket.
The fabric also had enough stretch for the sleeve and neckline construction. It didn’t crease heavily while I was handling it, which was something I noticed during this project.
FAQ