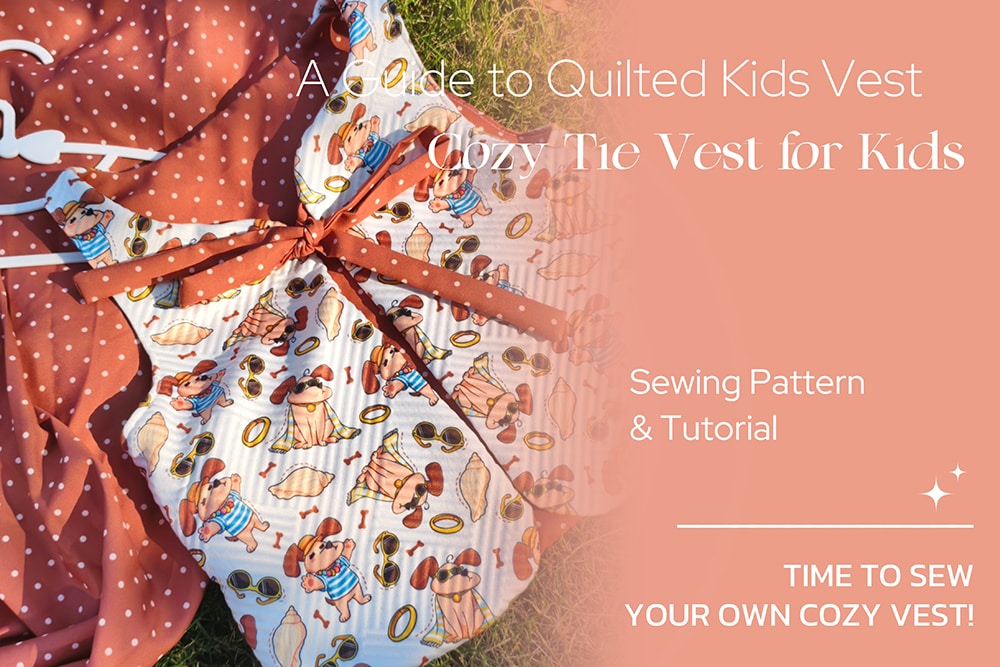
When I designed this little quilted vest, I wanted to keep the silhouette simple and let the fabric do more of the work. It has an open front with two fabric ties at the neckline instead of buttons or snaps. The ties add a small decorative detail without making the vest look too formal, while the sleeveless shape makes it easy to layer over a shirt or lightweight sweater.
For this version, I chose jacquard quilted fabric for the outer layer and poplin for the lining. One reason I like working with this type of quilted fabric is that the cotton wadding is already sandwiched between the fabric layers. This gives the vest a padded look without requiring separate batting or additional quilting.
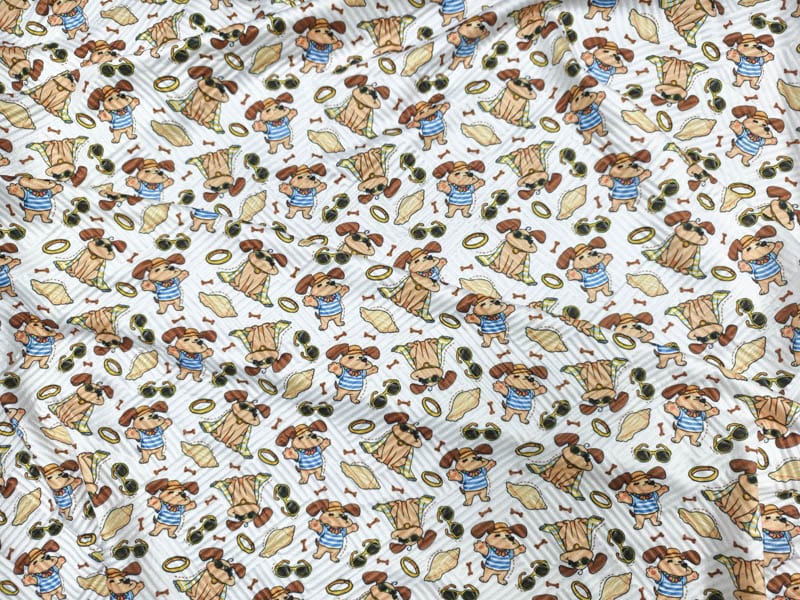
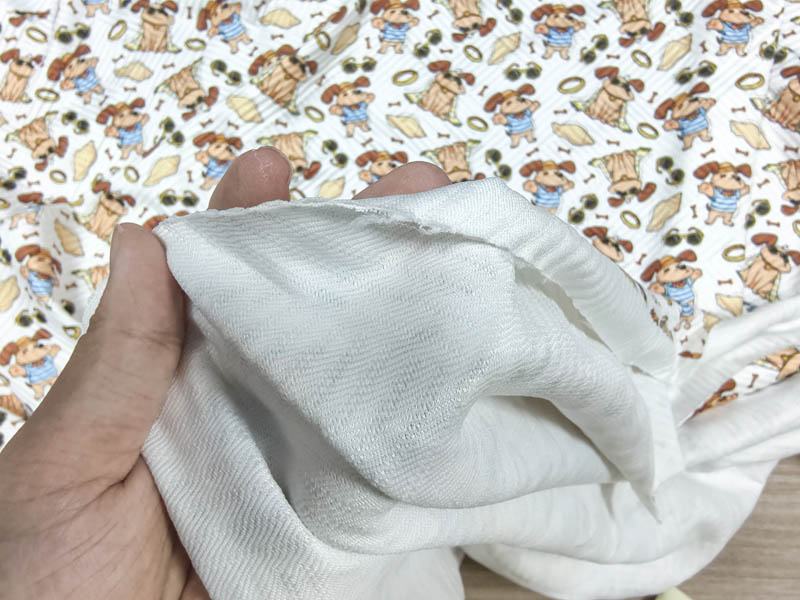
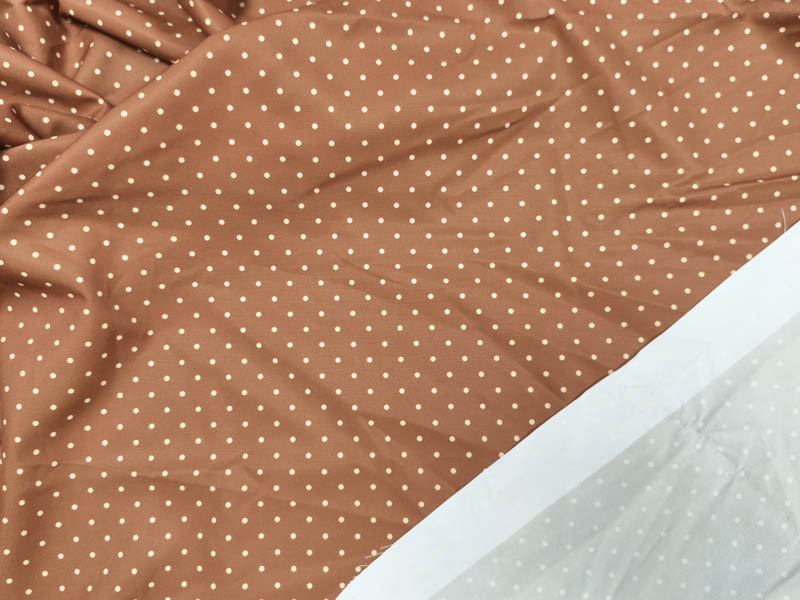
I paired it with poplin because I wanted the inside to feel smooth without making the vest unnecessarily heavy. I also used leftover poplin to make the two neckline ties, keeping the details coordinated with the lining.
The pattern is provided in size 90 and printed across six A4 sheets. In this tutorial, I’ll walk you through the materials I used, how I prepared the pattern and fabric pieces, and the steps I followed to sew the vest from start to finish.
Watch the Kids Quilted Vest Tutorial
Watch the video below to follow the construction process, including pattern assembly, fabric cutting, sewing the outer layer and lining, and finishing the armholes.
Materials and Fabric Requirements
The fabric quantities below are based on the size 90 vest shown in this tutorial. The amount you need may vary depending on your fabric width, pattern direction, and cutting layout, so check the placement of your pattern pieces before cutting.
Materials and Supplies
Fabric
- 1 yard of Jacquard Quilted Fabric for the outer layer
- 1 yard of Poplin Fabric for the lining
- A small amount of matching fabric for the neckline ties (leftover poplin can be used)
Sewing Supplies
- Six A4 sheets of the sewing pattern
- Sewing machine
- Matching sewing thread
- Fabric scissors
- Measuring tape
- Pins or sewing clips
- Fabric marking pen or tailor’s chalk
- Iron
- Tape for assembling the printed pattern
Size and Fit Reference
This tutorial uses a size 90 sewing pattern. The sample vest was tried on a child approximately 83–90 cm (32.7–35.4 in) tall and weighing 12–14 kg (26.5–30.9 lb).
These measurements offer a practical reference for how the size 90 vest looks when worn, but they are not a guarantee of fit for every child with similar height and weight. Children’s body proportions can vary, so I recommend comparing the pattern with the child’s actual measurements before cutting.
Also consider what the vest will be worn over. If you plan to layer it over a shirt or lightweight sweater, make sure there is enough room for comfortable movement. You can hold the assembled pattern against the child’s body to check the approximate width and length.
Fabric Choices
Jacquard Quilted Fabric – Outer Layer
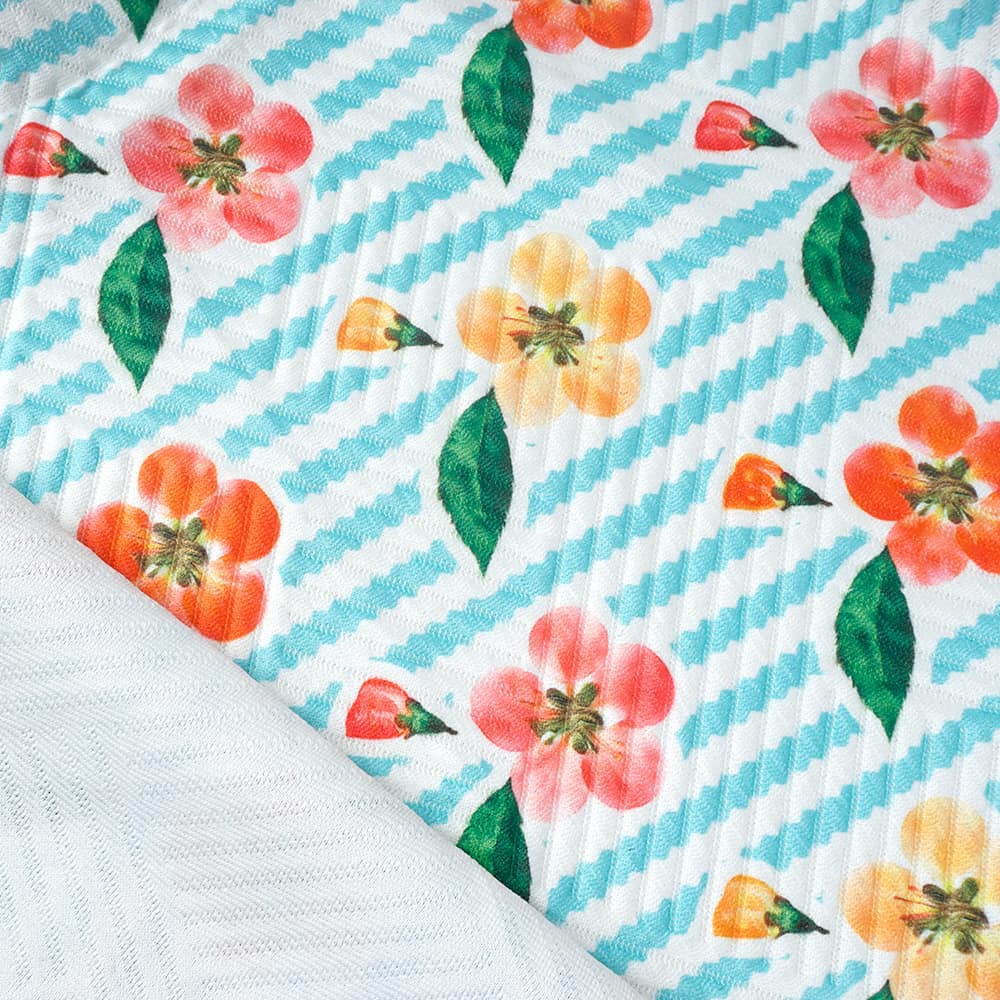
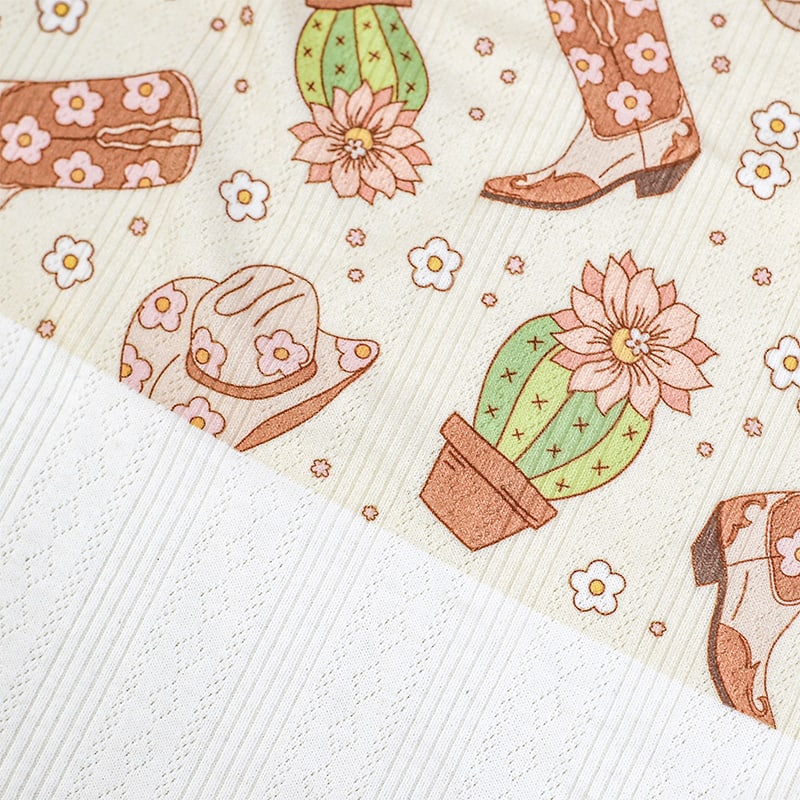
I chose jacquard quilted fabric for the outer layer because it combines texture and padding in one material. The cotton wadding is already enclosed between the fabric layers, so there is no need to add separate batting or stitch a quilting pattern yourself.
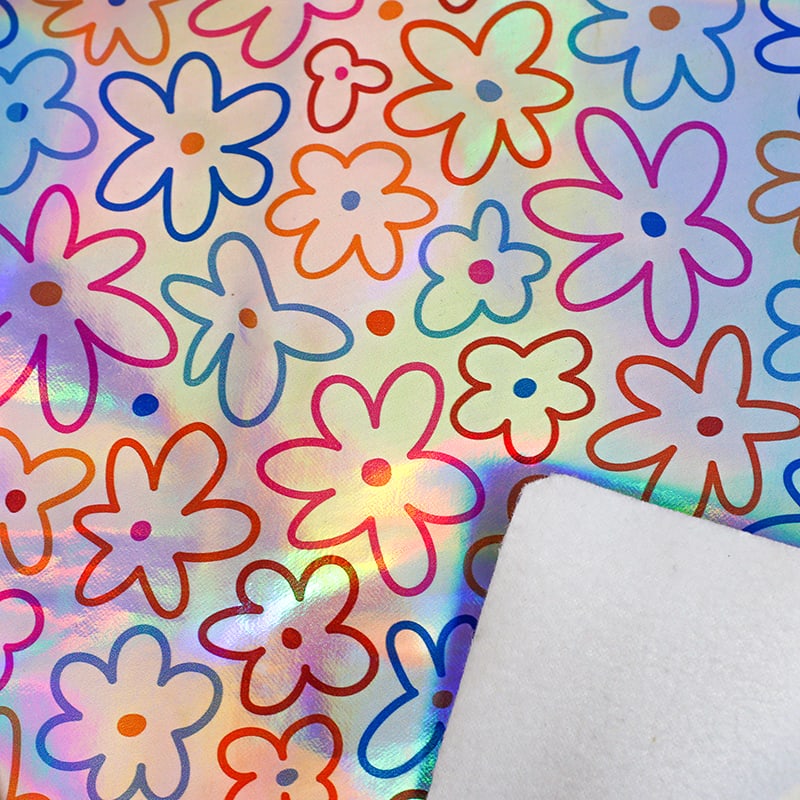
The jacquard pattern also gives the vest its visual character. Since the silhouette is simple, the fabric becomes an important part of the finished design. A bold pattern creates a more noticeable look, while a smaller or more subtle pattern gives the vest a quieter appearance.
If you’d like to make a similar version, take a look at the
Custom Jacquard Quilted Fabric collection at Doris Fabric.
One practical point to keep in mind is the thickness of quilted fabric. The shoulder seams, side seams, and areas where several layers meet can become bulky. Before sewing the vest, test your machine on a scrap of the same fabric to check that it feeds smoothly and produces even stitches.
Poplin – Lining
For the lining, I used poplin because it is lightweight and has a smooth surface. It gives the inside of the vest a neat finish without adding too much weight.
Poplin was also a convenient choice for the neckline ties. I made them from leftover lining fabric, so the details coordinate with the inside of the vest without requiring another material.
When choosing an alternative lining, look for a fabric that is light enough to work comfortably with the quilted outer layer. A lining that is too thick can make the neckline and armholes harder to finish neatly.
3 Sewing Tips Before You Start
A few small checks before sewing can make the process easier, especially when working with quilted fabric.
1. Check the pattern size before cutting
This tutorial uses size 90, and the sample was tried on a child approximately 83–90 cm (32.7–35.4 in) tall and weighing 12–14 kg (26.5–30.9 lb). Use these measurements as a reference rather than relying on them alone.
Pay attention to the finished length and the width across the chest. Also consider whether the vest will be worn over a shirt or a lightweight sweater.
2. Test your stitching on a fabric scrap
Quilted fabric is thicker than ordinary poplin, and the difference becomes more noticeable where several seam allowances overlap. Test your needle, stitch length, and thread tension on a leftover scrap before sewing the garment.
If your machine struggles at thicker intersections, check that you are using a suitable needle and guide the fabric through steadily. Avoid pulling the fabric, as this can affect the seam.
3. Press gently
The raised jacquard texture can flatten under excessive heat or pressure. Test your iron on a scrap first and follow the fabric’s care instructions.
Use gentle pressure when pressing the seams, particularly on the quilted outer layer, to help preserve its texture.
Pattern Pieces & Fabric Cuts Needed
Printing and Assembling the A4 Pattern
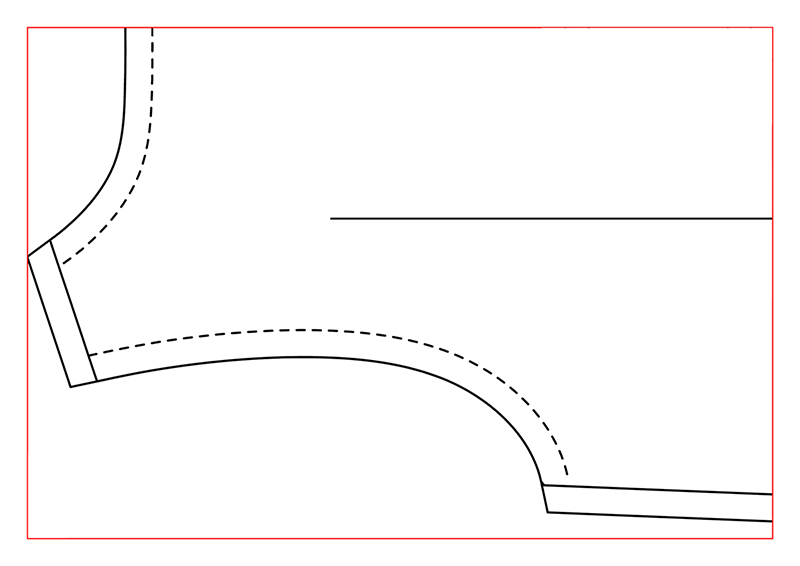
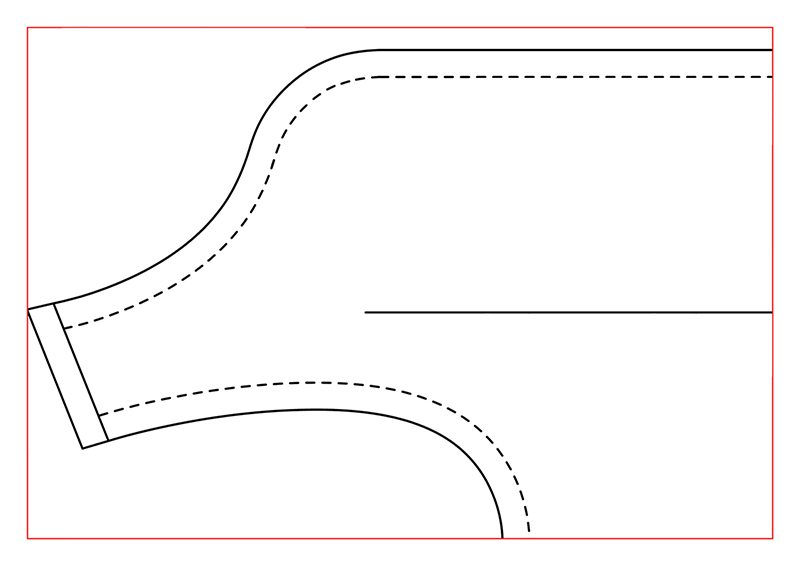
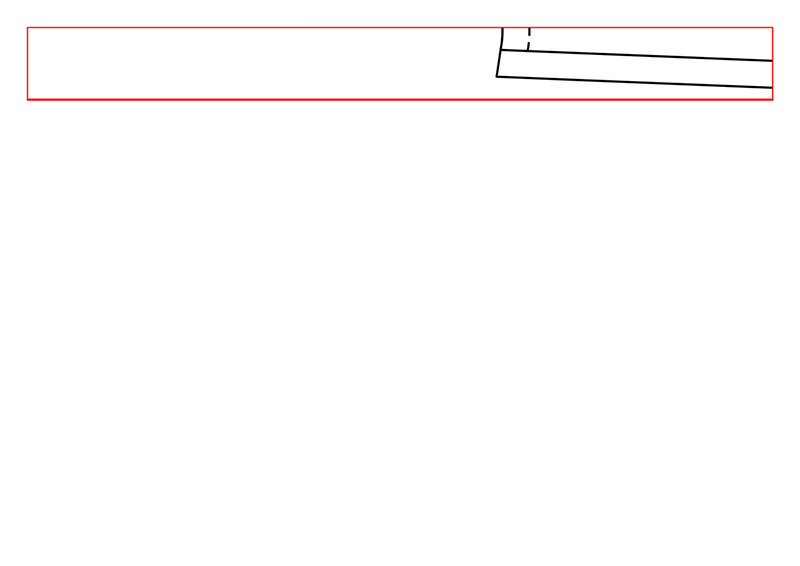
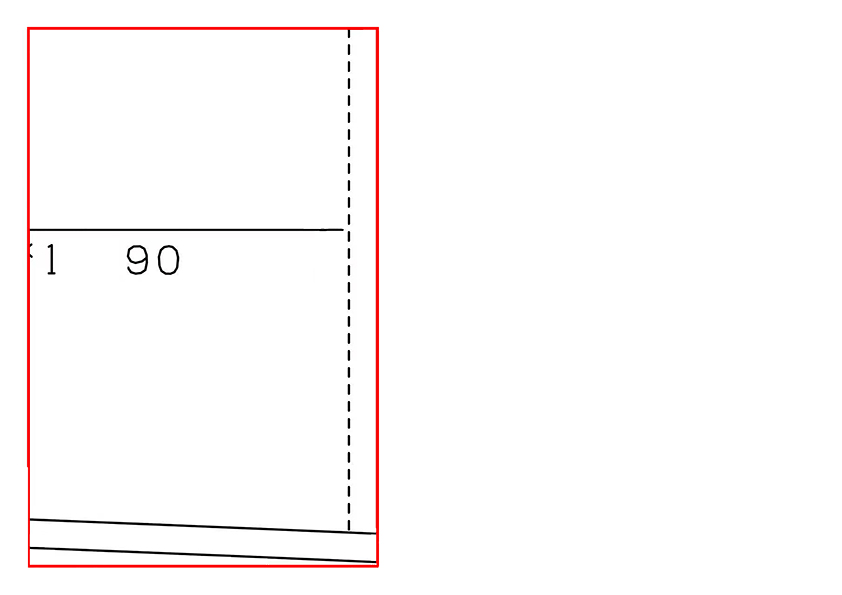
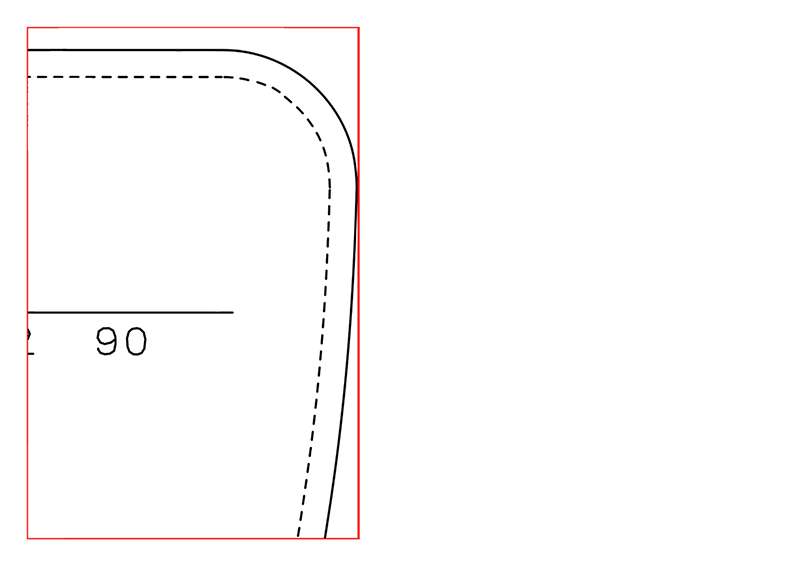
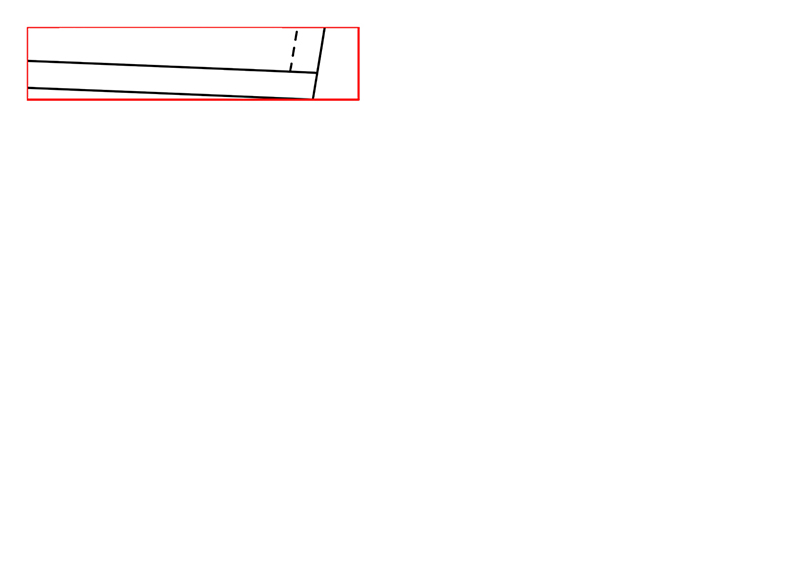
The sewing pattern is divided into six A4 pages. Print and assemble all six pages before placing the pattern pieces on your fabric.
- Print all six pages using 100% Actual Size. Do not select “Fit to Page” or any setting that automatically resizes the document.
- Find the red guide lines along the edges of the printed pages.
- Match the red lines and align the pattern sections carefully.
- Tape the sheets together from the back to keep the paper flat.
Once all six pages are joined, you’ll have the complete pattern ready for cutting.
Fabric Cutting Guide
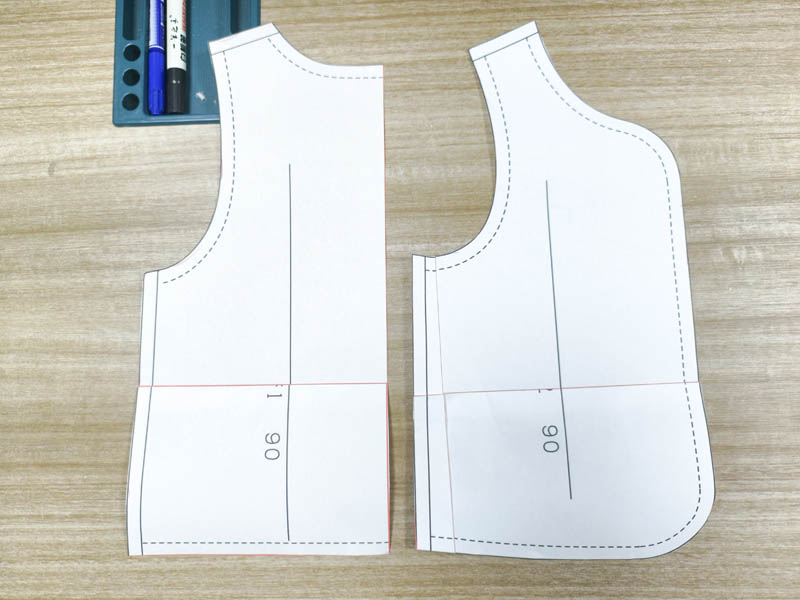
The vest consists of three main pattern pieces: one back piece and two front pieces.
Pattern piece | Jacquard Quilted Fabric | Poplin Lining |
Back | Cut 1 on the fold | Cut 1 on the fold |
Front | Cut 2 | Cut 2 |
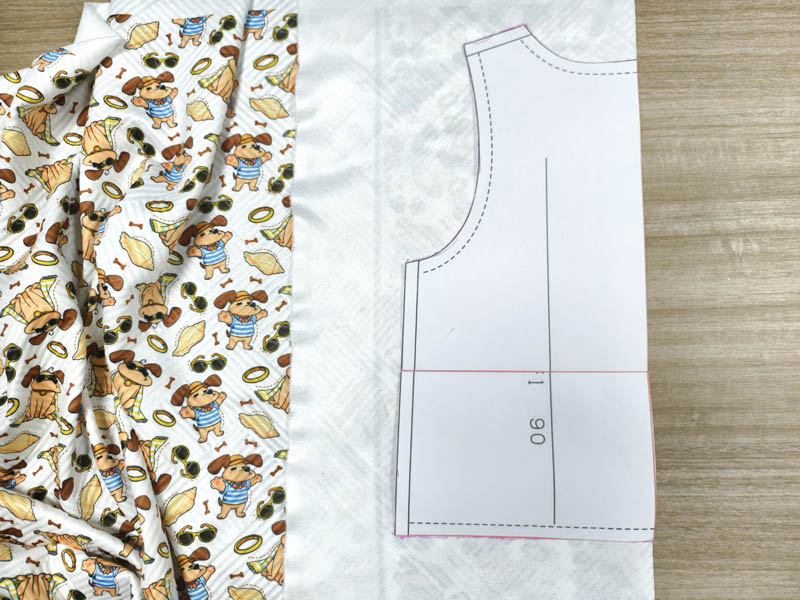
The back piece is placed along the fabric fold, so the finished vest has no center-back seam. The two front pieces are cut separately to create the open front.
Seam Allowance: The pattern includes seam allowances, so there is no need to add extra allowance before cutting. Follow the cutting lines provided on the pattern.
If your jacquard fabric has a directional pattern, make sure both front pieces face the same way. It is also worth checking the placement of the design across the back so the pattern looks balanced on the finished garment.
Pattern pieces ready for cutting
Placing the back piece from the jacquard outer fabric
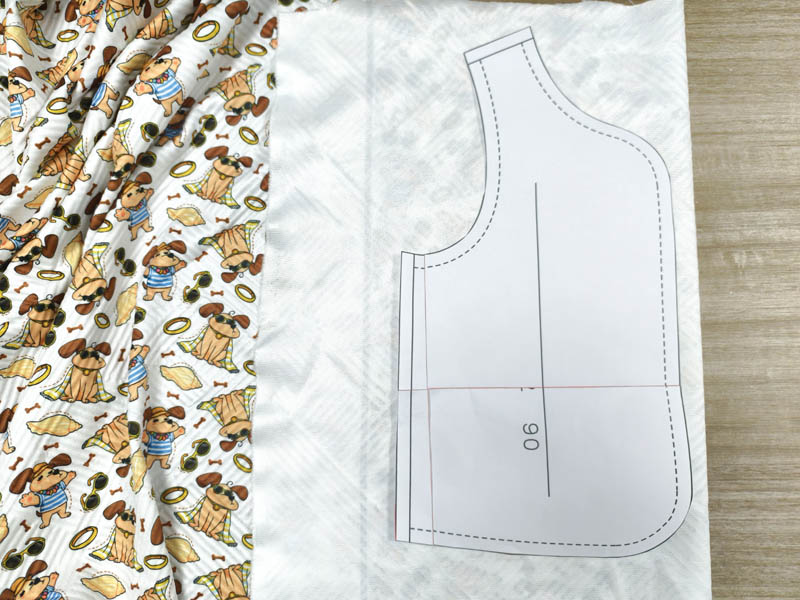
Placing the front piece from the jacquard outer fabric
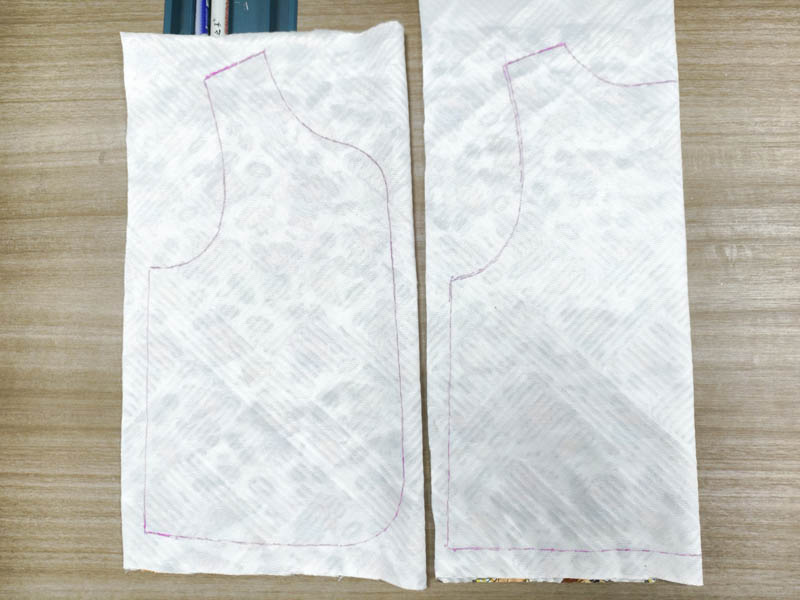
Tracing the pattern outline on the jacquard quilted fabric
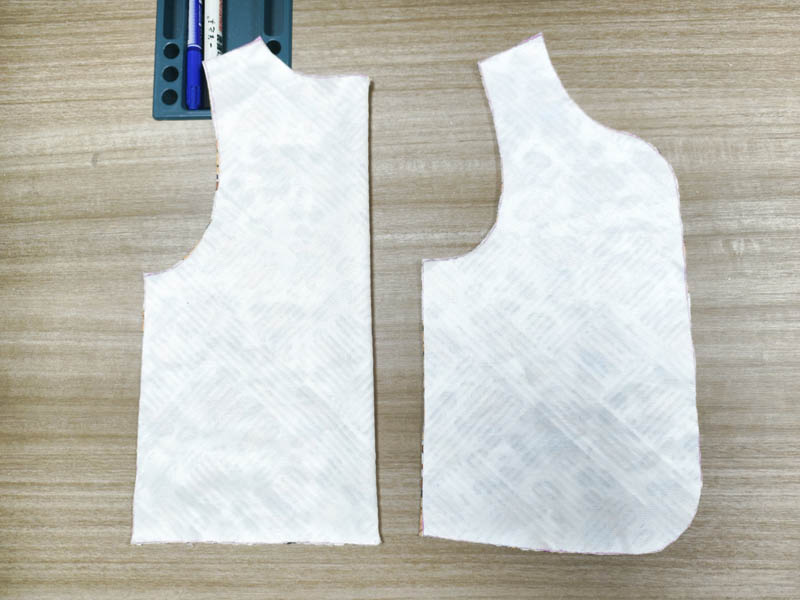
The cut jacquard outer fabric pieces
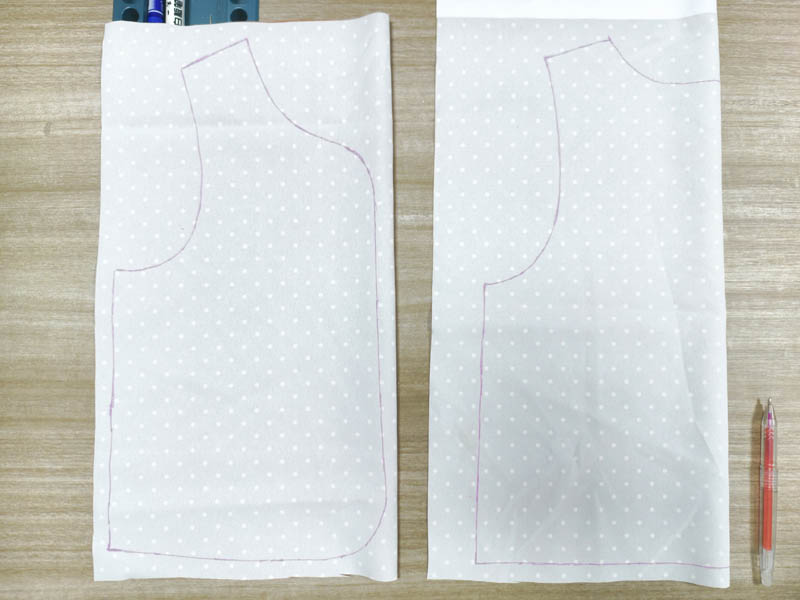
Tracing the pattern outline on the poplin linning fabric
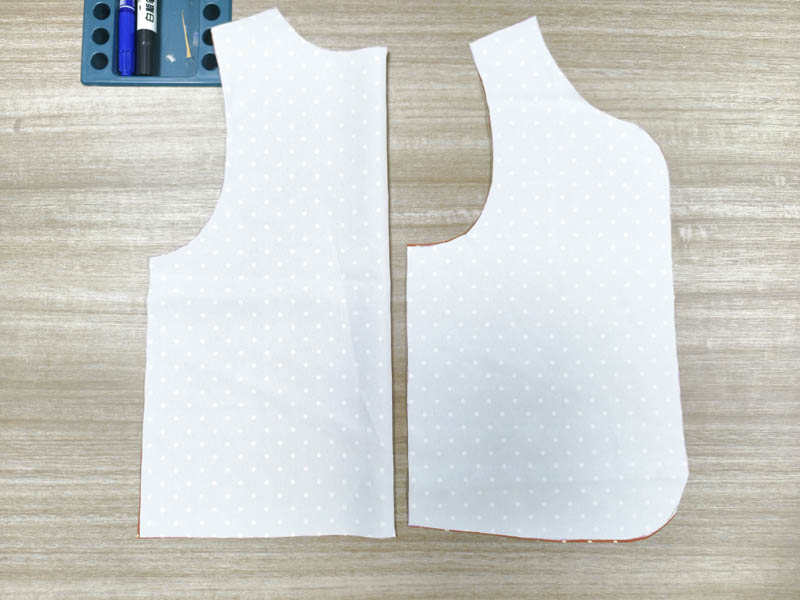
Cut poplin lining pieces
How to Sew the Kids Quilted Vest
I’ll sew the outer layer and lining separately first. After preparing the neckline ties, I’ll join the two layers and finish the armholes.
Step 1: Sew the Outer Layer and Lining
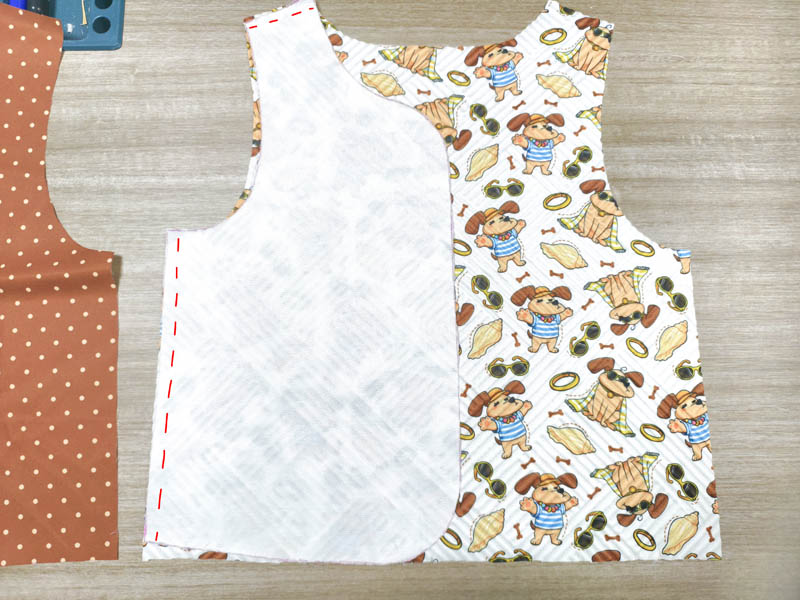
Placing the front and back outer pieces right sides together
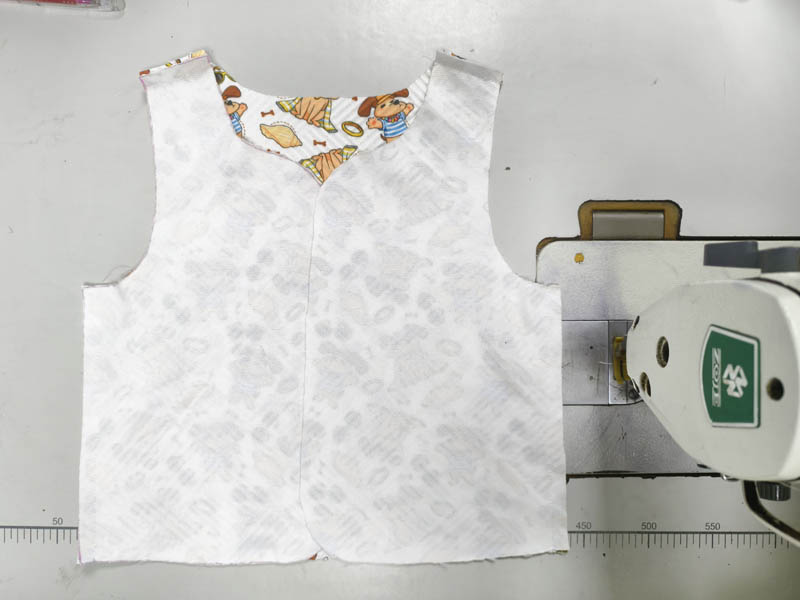
The outer vest turned right side out
Start with the jacquard quilted fabric. Place the two front pieces against the back piece, with the right sides facing each other. Match the shoulder edges and side seams, then pin or clip them in place.
The pattern includes seam allowances, so you do not need to add extra allowance before cutting. When sewing, follow the seam allowance marked or specified on the pattern.
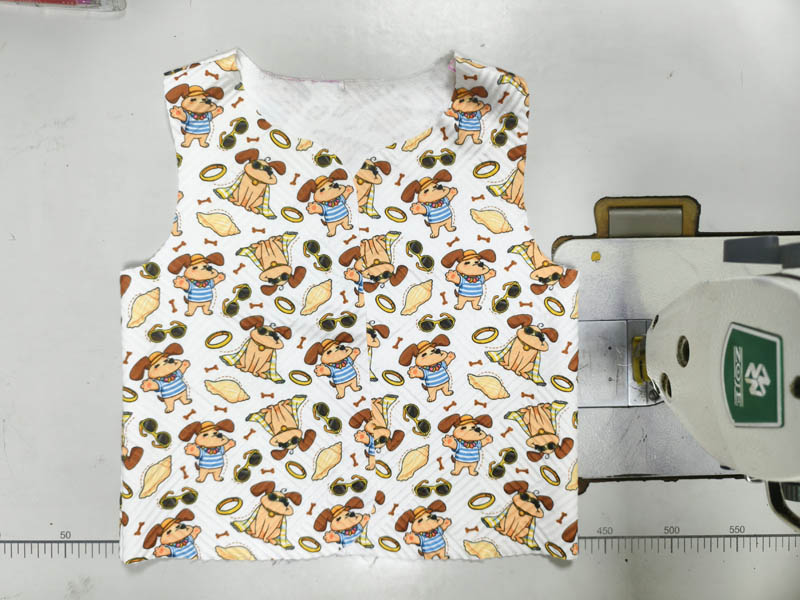
The completed outer fabric layer
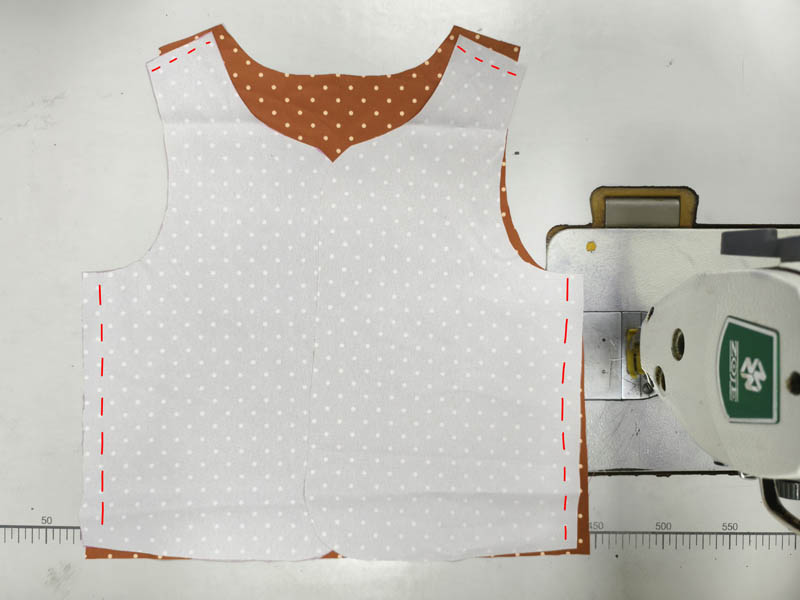
Sewing the lining shoulder and side seams
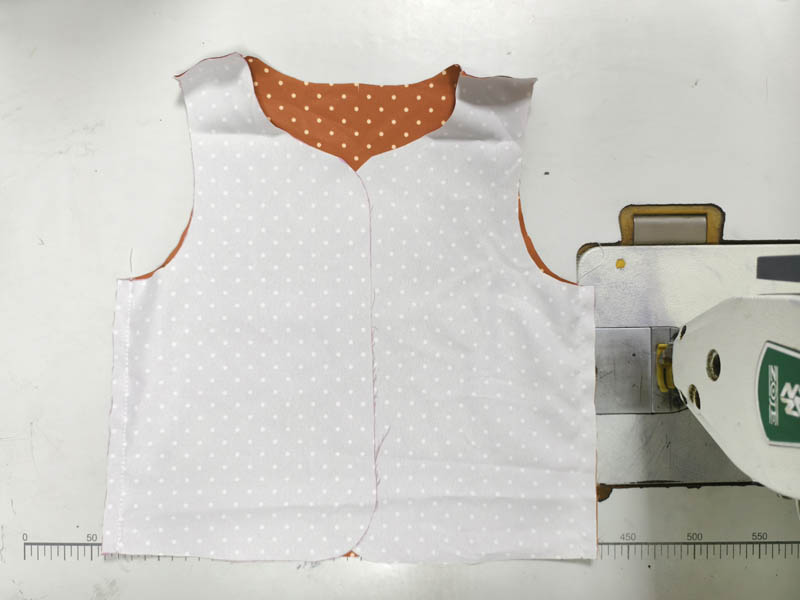
The lining turned right side out
Repeat the same process with the poplin lining. Place the front and back pieces right sides together, then sew the shoulder seams and side seams.
You should now have two separate vest shapes: one made from the quilted outer fabric and one from the poplin lining.
Check that the shoulder and side seams are secure before moving on. If necessary, trim excess bulk from the seam allowances carefully without cutting through the stitching.
Step 2: Make the Neckline Ties
Cut two strips of matching fabric for the neckline ties. I used leftover poplin, but another lightweight coordinating fabric will work too.
You can adjust the length and width of the strips depending on how prominent you want the bow to look. Just make sure both ties are the same size.
Before cutting the fabric strips, consider how long you want the finished ties to be and allow extra length for the seam and turning process.
- Fold each strip in half lengthwise, with the right sides together.
- Sew along the long raw edge.
- Turn each strip right side out.
- Straighten the seams and give the ties a light press.
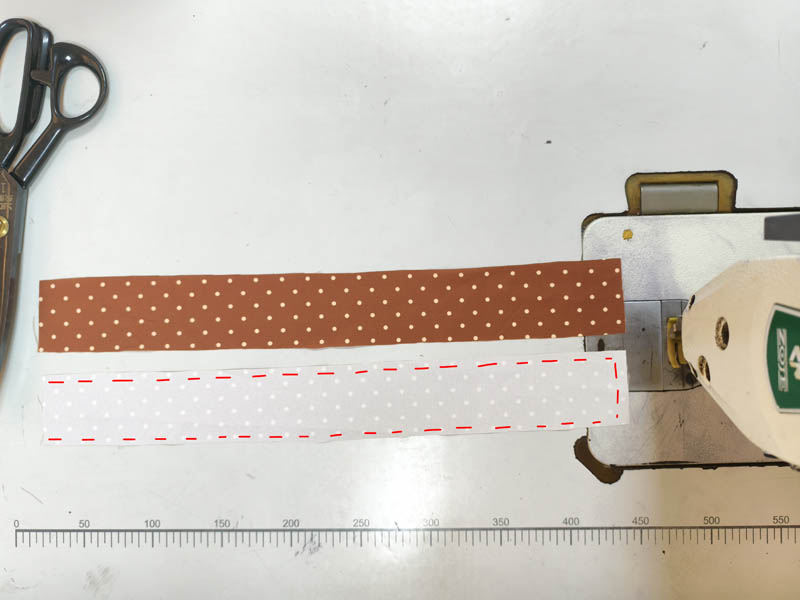
Cutting the fabric strips for the neckline ties
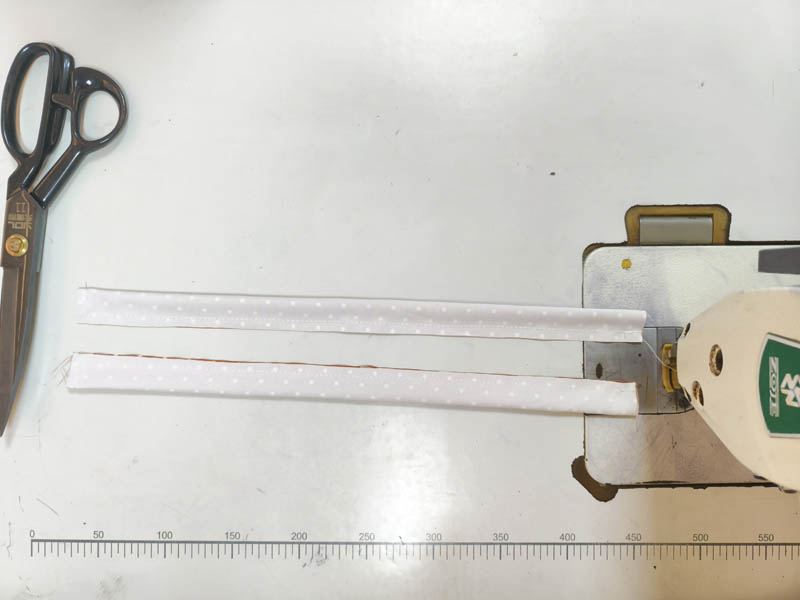
Sewing along the folded edge of the tie
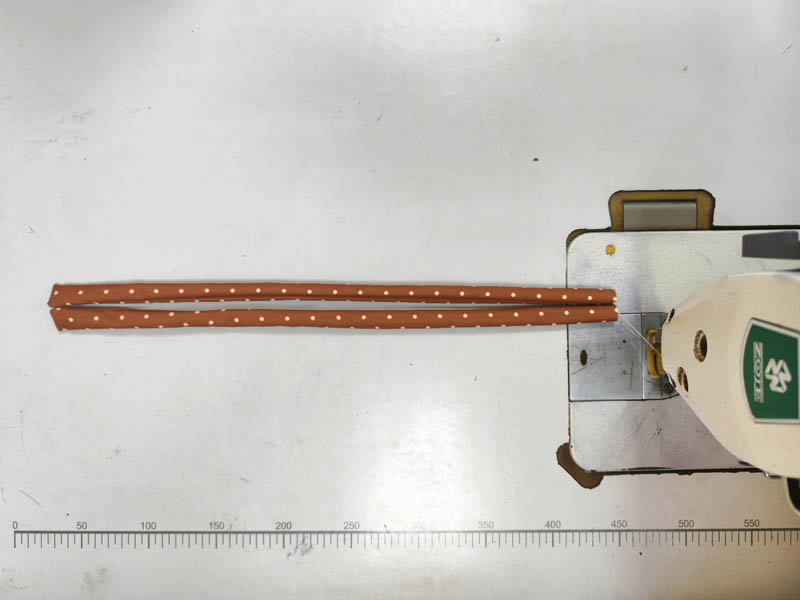
Turning the ties right side out and pressing them flat
Set the finished ties aside while you prepare the outer layer.
Step 3: Attach the Ties and Join the Two Layers
Place the outer vest right side out in front of you. Position one tie on each side of the front neckline, checking that they sit at matching positions.
Place the raw end of each tie against the neckline edge of the outer vest. The finished length of each tie should extend towards the center front. Secure the raw ends with a few temporary stitches so they stay in place while you sew the layers together.
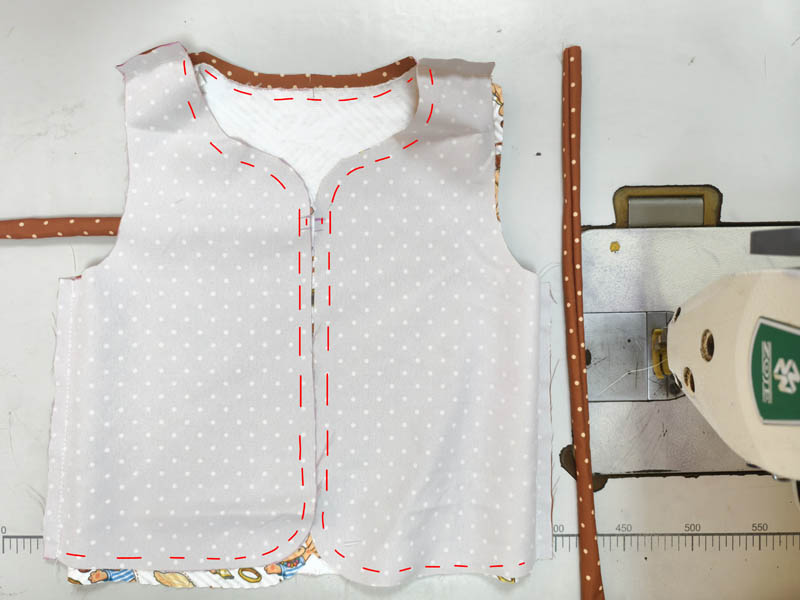
Securing the ties to the inside of the front neckline
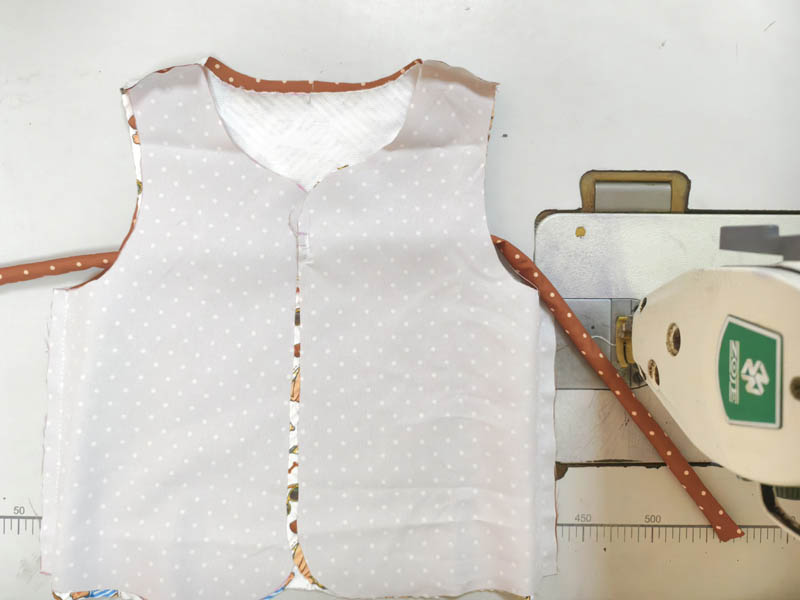
Aligning the outer layer and lining with right sides together
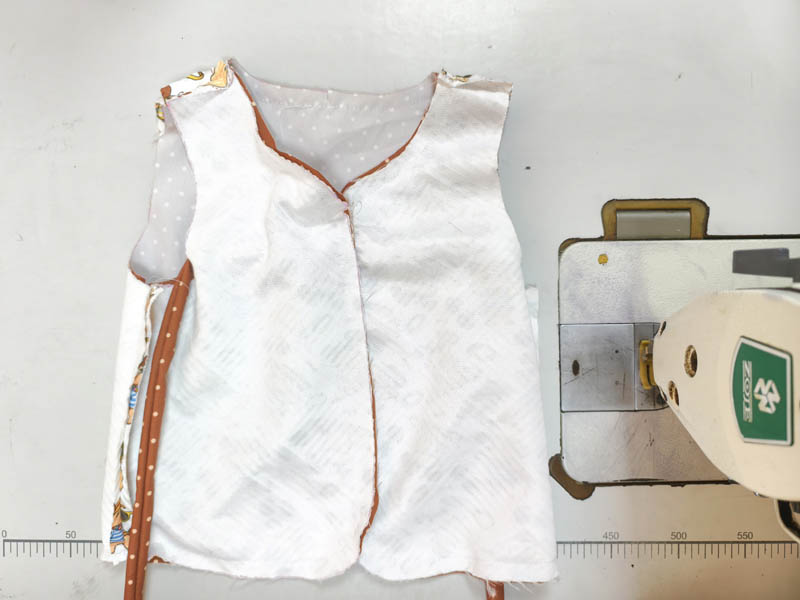
Sewing around the neckline, front opening,and bottom edge
Next, turn the poplin lining wrong side out and place it over the outer vest. The right sides of the outer fabric and lining should now be facing each other.
Match the neckline, front opening, and bottom edges. Check that the shoulder seams line up and that both ties are positioned correctly between the two layers.
Sew around the neckline, down both sides of the front opening, and along the bottom edge. Leave both armholes open.
Take care when sewing around the neckline so the tie ends are caught securely in the seam.
Step 4: Turn the Vest and Finish the Armholes
With the neckline, front opening, and bottom edge sewn, turn the vest right side out through one of the open armholes.
Aligning the outer layer and lining with right sides together
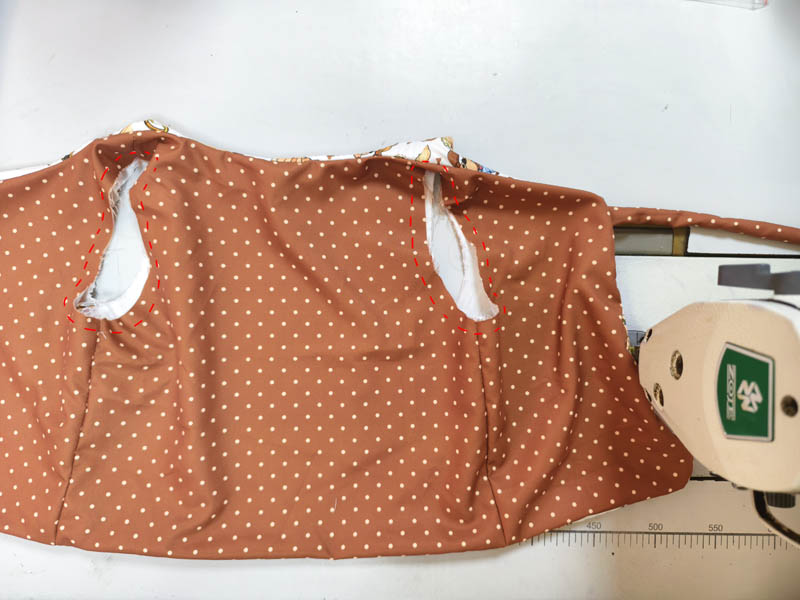
The vest turned right side out and smoothed flat
Gently pull the fabric through, then smooth the neckline and front edges into shape. Check that the poplin lining sits neatly inside the vest and that the ties are positioned correctly.
Now finish the armholes. Fold the raw edges of the outer fabric and lining towards the inside, making sure both layers are tucked in evenly. Pin or clip around each opening to hold the folds in place.
Sew a line of topstitching close to the folded edge to secure the layers. Repeat for the other armhole.
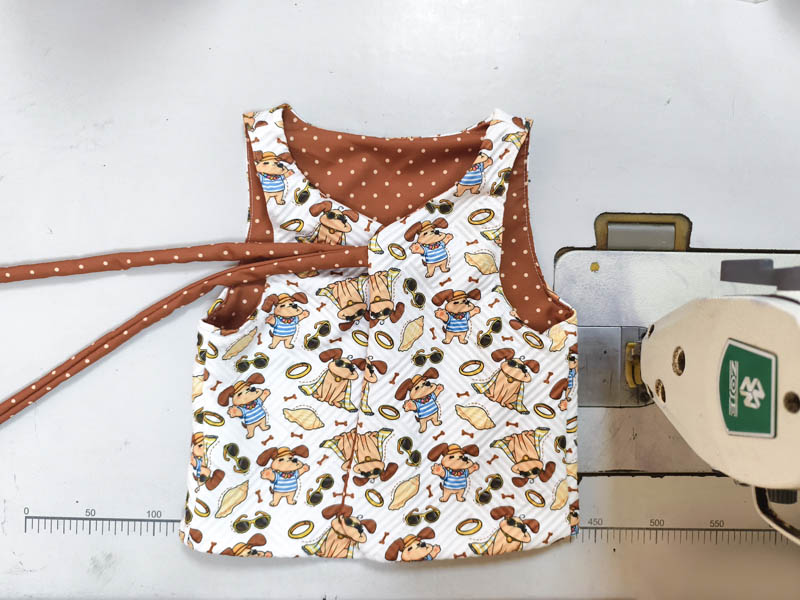
Folding the armhole edges inward and topstitching
This creates a clean finish without needing to add separate armhole binding.
Finally, check the neckline, front opening, and hem. Trim any loose threads and press where needed, using gentle heat on the quilted fabric.
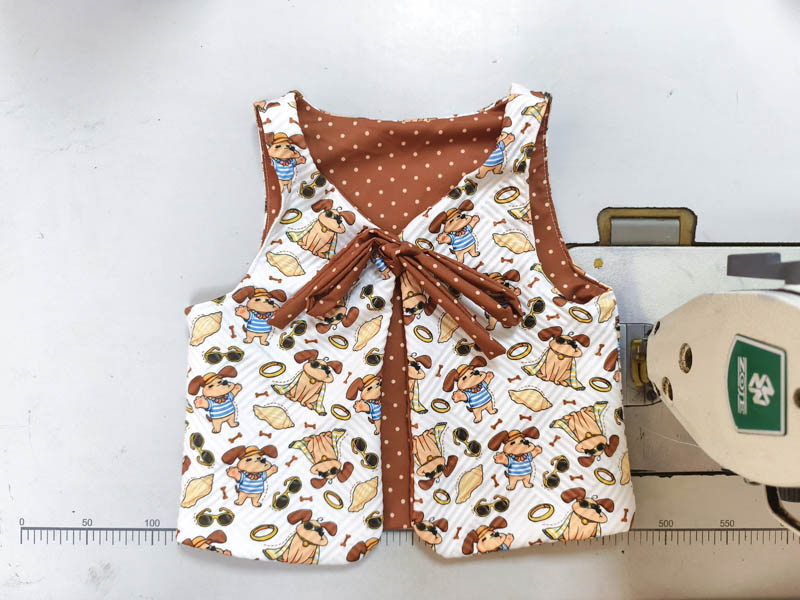
The finished vest with a cute bow tied at the front
The Finished Quilted Vest
The finished vest combines a textured jacquard outer layer with a smooth poplin lining. The open front keeps the design simple, while the two fabric ties add a small bow detail at the neckline.
I also like that the back is cut on the fold. It avoids a center-back seam and allows the jacquard pattern to remain uninterrupted across the back. The armholes are finished with folded edges and topstitching, keeping the inside neat without adding separate binding.
For another version, you could change the jacquard pattern or choose a contrasting lining. Even with the same basic shape, different fabric combinations can give the vest a noticeably different look.
Kids Quilted Vest FAQ
1. Can I use a different fabric for the outer layer?
Yes. You can use other fabrics with suitable weight and structure. However, if your chosen fabric is not already quilted, it will not provide the same padded effect as the fabric used in this project. You may need to add a separate batting layer and adjust the construction accordingly.
2. Can I use a different fabric for the lining?
Yes. Lightweight fabrics with a smooth surface are suitable alternatives. Choose a lining that works comfortably with the thickness of your outer fabric, especially around the neckline and armholes.
3. Can I make this vest without fabric ties?
Yes. The ties are a design detail rather than an essential part of the vest’s basic construction. You can adapt the front closure to suit your preferred style, but any alternative fastening may require changes to the pattern or construction.
4. Can I make this vest in another size?
The pattern featured in this tutorial is size 90. To make a different size, you’ll need a suitable pattern in that size rather than simply enlarging or reducing the printed pages, as doing so may affect the proportions and fit.
5. Is This Quilted Vest Suitable for Beginners?
Yes. This project has a relatively simple shape and straightforward construction, making it suitable for sewists with basic sewing experience. However, working with quilted fabric requires some care, especially when sewing through multiple layers.
6. Should I Prewash the Fabric Before Sewing?
Check the care instructions for both fabrics before prewashing. If they are suitable for washing, prewashing before cutting can help reduce the risk of shrinkage after the vest is made. Make sure the fabrics are completely dry before cutting.

Fashion Designer | Fabric Specialist at Doris Fabric
Hi, I'm Cora.
I'm a fashion designer at Doris Fabric and a lifelong sewing enthusiast. Every week, I work with different knit fabrics—from testing new materials to turning them into wearable garments.
Instead of simply reading fabric specifications, I believe the best way to understand a fabric is to sew with it.
Through this blog, I share my real sewing experiences, fabric comparisons, and practical tips to help fellow sewists confidently choose the right fabric for every project.