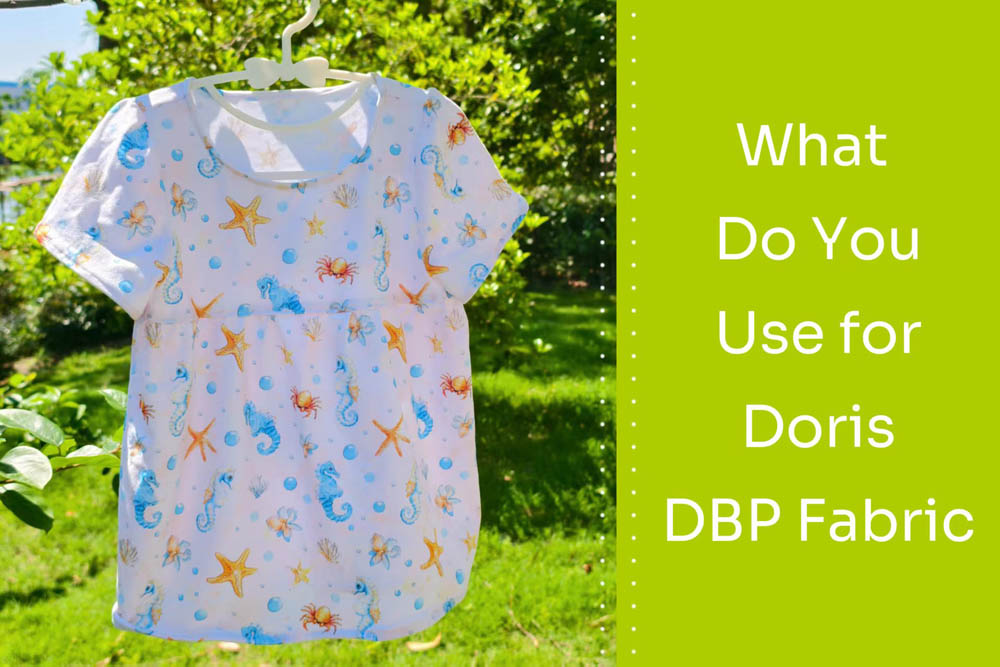
When I receive a new fabric, the first thing I want to know is not only its specifications, but how it actually performs in a finished garment. A fabric may look beautiful online, but the real test starts when you cut, sew, stretch, and wear the finished garment.
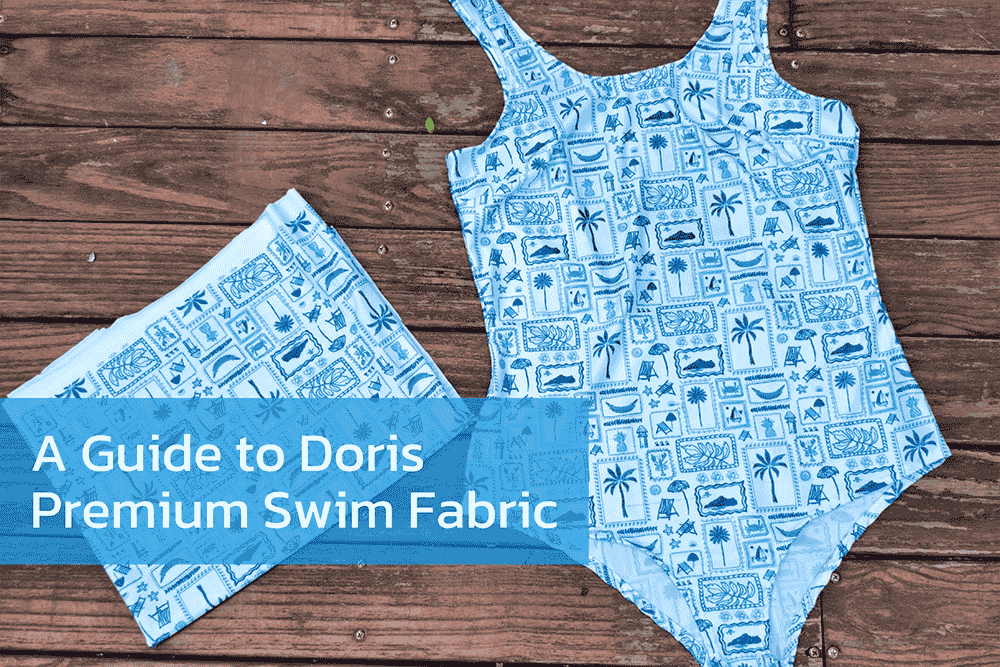
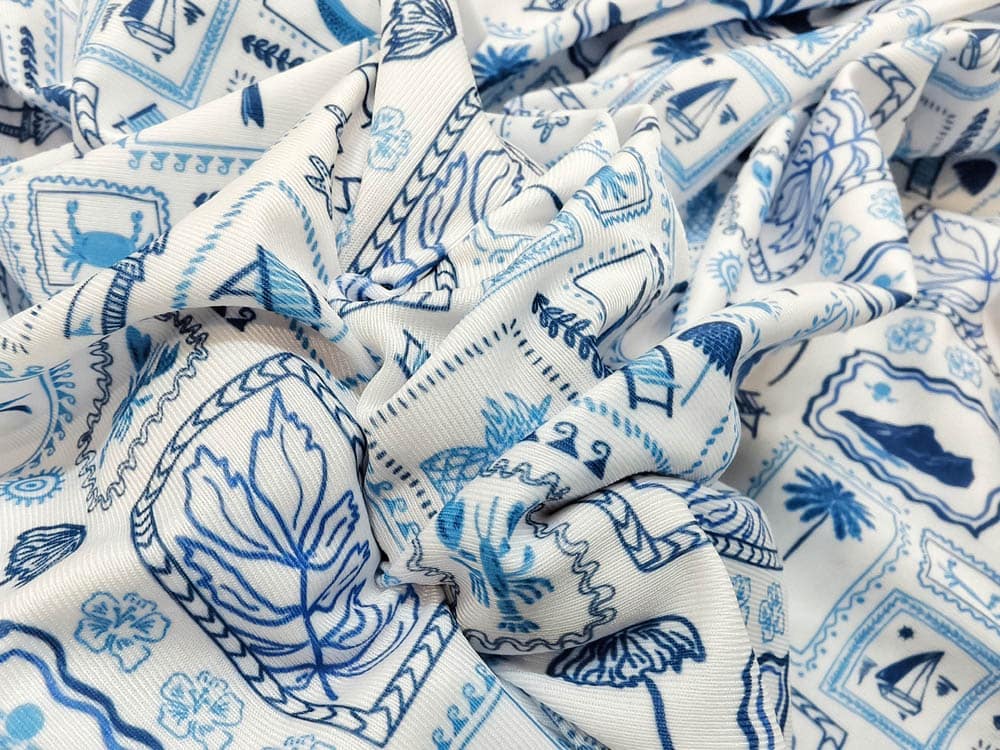
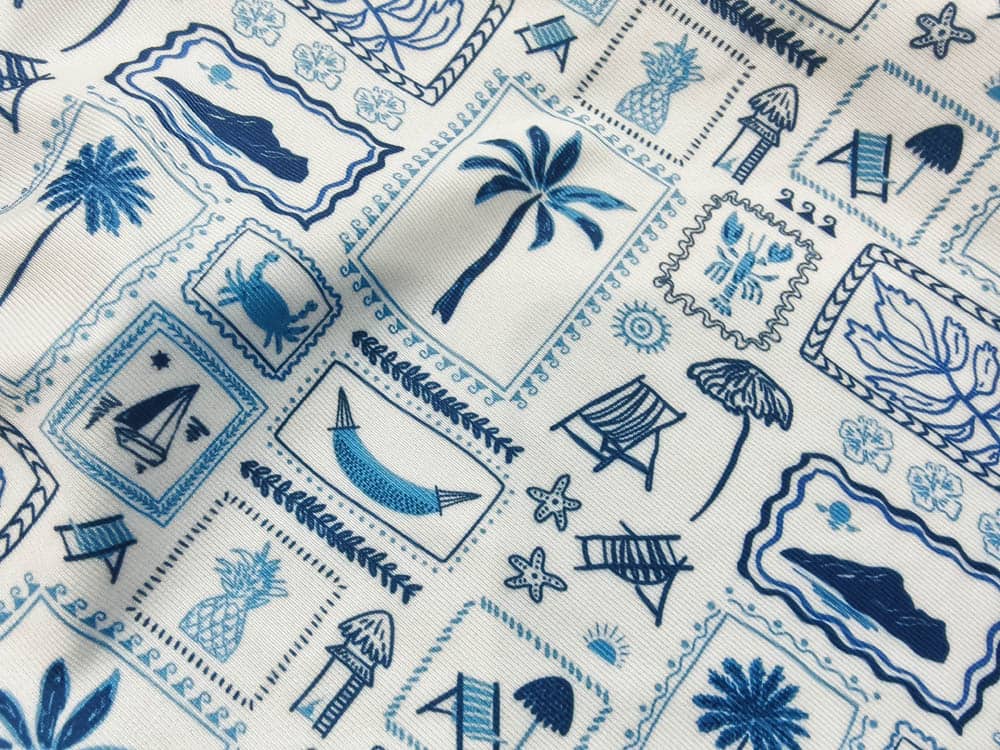
I chose this fabric because swimwear is one of the projects where fabric performance matters the most. This time, I tested Doris Premium Swim Fabric (UPF50+), a 190g warp knit fabric designed for swimwear.
I wanted to answer a few practical questions:
- Is 190g enough for making a swimsuit?
- Does the fabric provide enough coverage after stretching?
- Is warp knit construction easier to work with compared with other stretch fabrics?
- How does the finished swimsuit feel after wearing?
So I decided to make a simple adult swimsuit top and record the entire process.
First Impression of Doris Premium Swim Fabric (UPF50+)
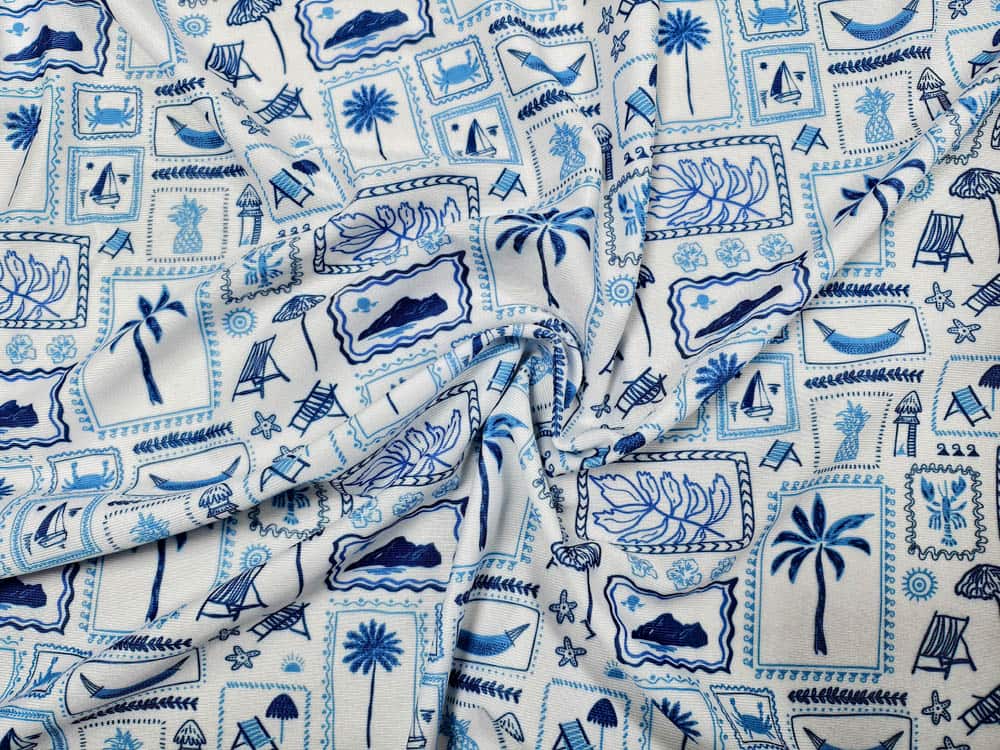
When I first unfolded the fabric, the first thing I noticed was the surface.
It felt smooth against the skin, with a slightly firm hand feel compared with regular jersey knit fabrics.
The fabric was lightweight in my hands, but it did not feel thin or fragile.
The 190g weight gave it enough body, which is important for fitted swimwear designs that need both comfort and shape retention.
Understanding the Warp Knit Structure Through My Test
Why Does the Fabric Feel Different?
Before sewing, I compared this fabric with some regular stretch knits I have used before.
The biggest difference I noticed was stability.
When I pulled the fabric from different directions, it stretched smoothly but did not feel loose or unstable.
This stability comes from the warp knit construction combined with stretch fibers such as spandex. Unlike some loose jersey knits, this structure helps the fabric maintain its shape while still providing the elasticity needed for swimwear.
For swimwear, this structure is helpful because the garment needs to:
- stretch with body movement
- recover after stretching
- maintain its shape after repeated wear
Instead of feeling like a regular everyday jersey, this fabric has a more structured feel that is suitable for swimwear.
Fabric Testing Before Sewing
Stretch Test
I started with the stretch test because elasticity is the most important feature for swimwear.
I stretched the fabric horizontally, vertically, and diagonally.
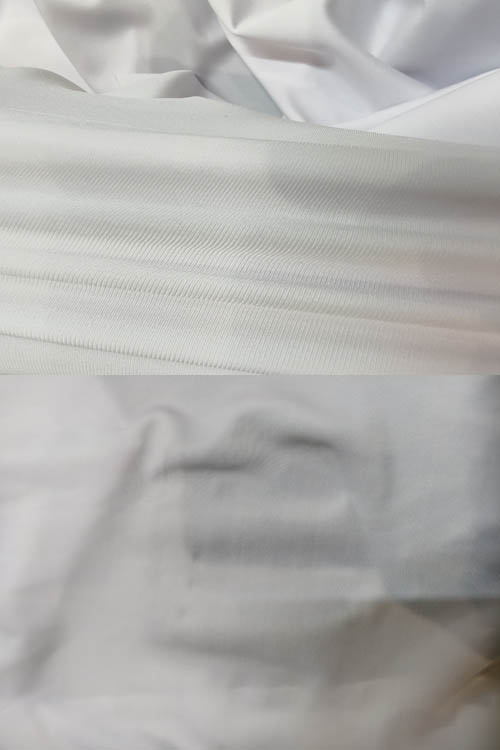
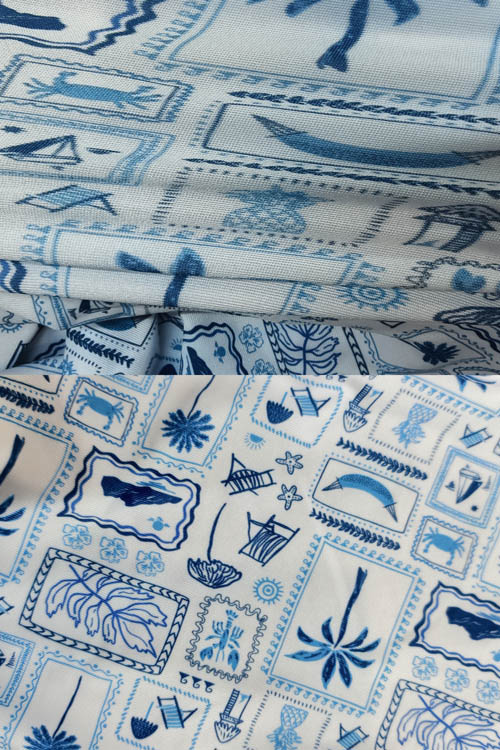
What impressed me was that the fabric had enough stretch without feeling overly thin.The fabric stretched comfortably in both directions, which is important for swimwear because the garment needs to move with the body.
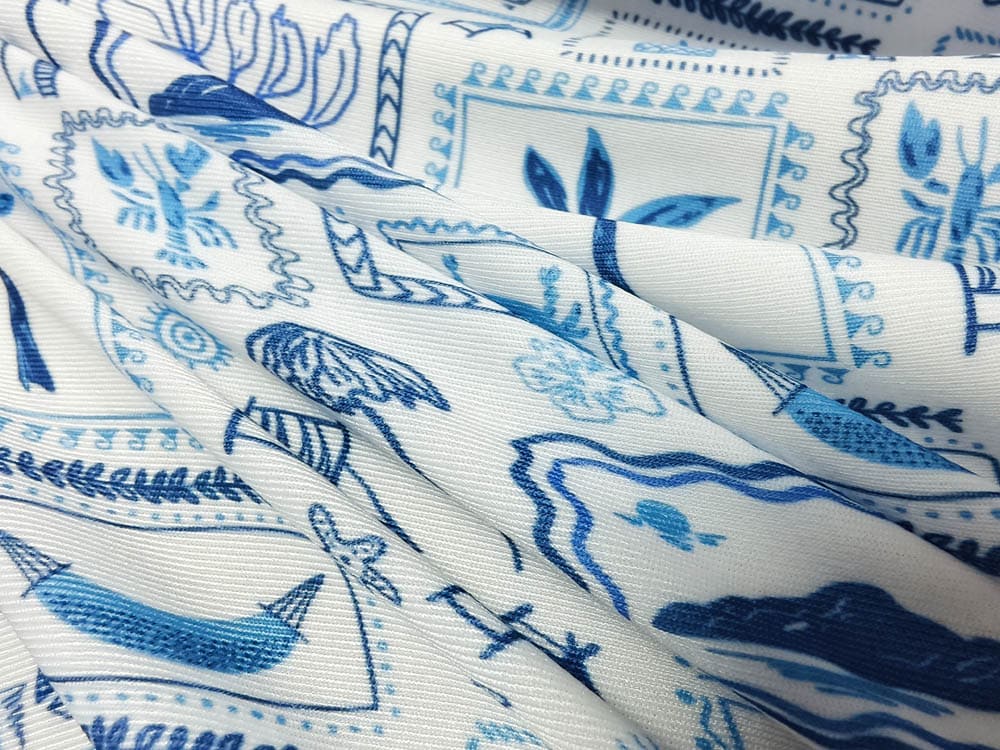
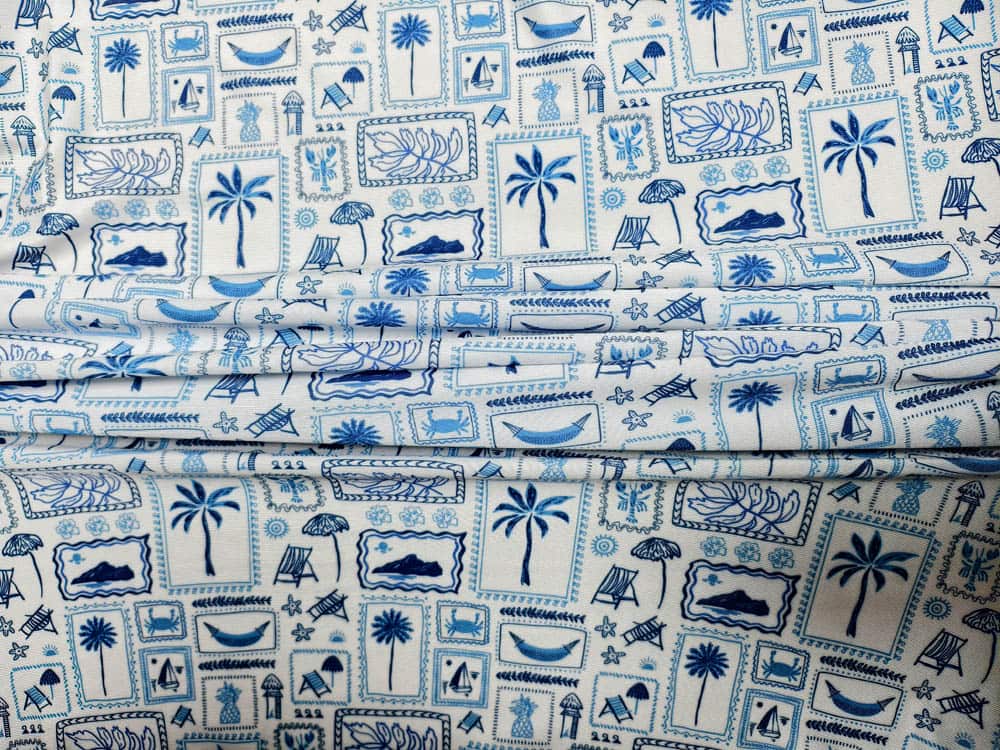
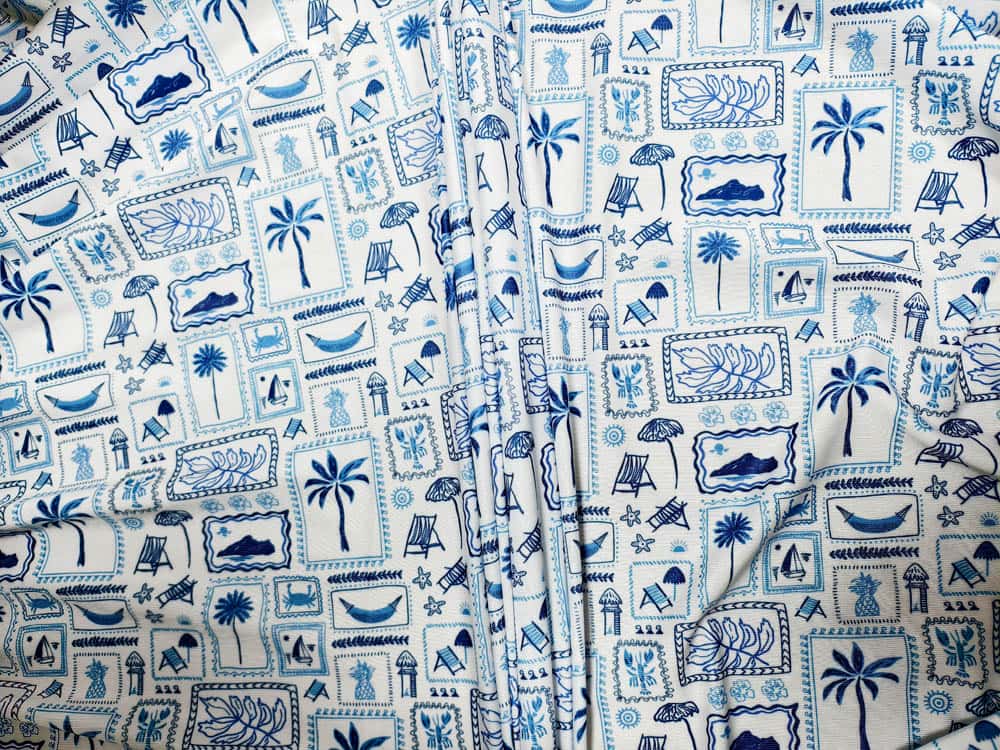
Compared with some very lightweight swim fabrics I have worked with before, this fabric felt more stable and maintained better recovery after stretching.
UV Protection Test: Checking the Fabric Under Sunlight
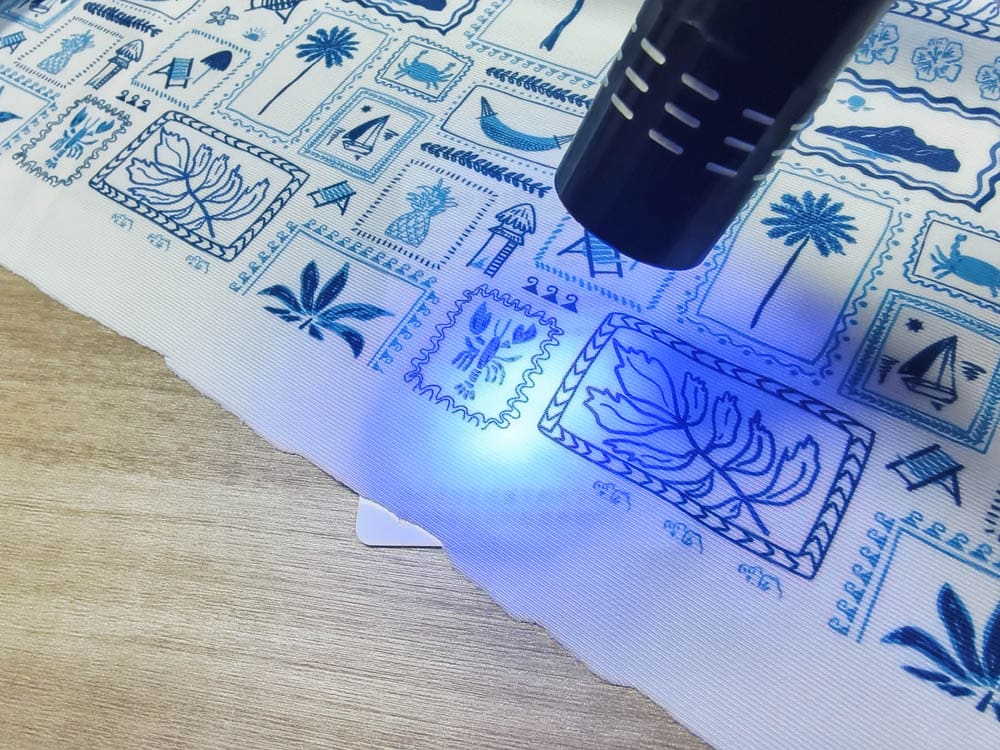
Since this fabric is designed for swimwear and outdoor activities, UV protection was another feature I wanted to test before starting my sewing project.
A swimsuit is often worn in direct sunlight, whether at the beach, poolside, or during outdoor water activities. So besides stretch and comfort, I also wanted to understand how the fabric performs when exposed to UV light.
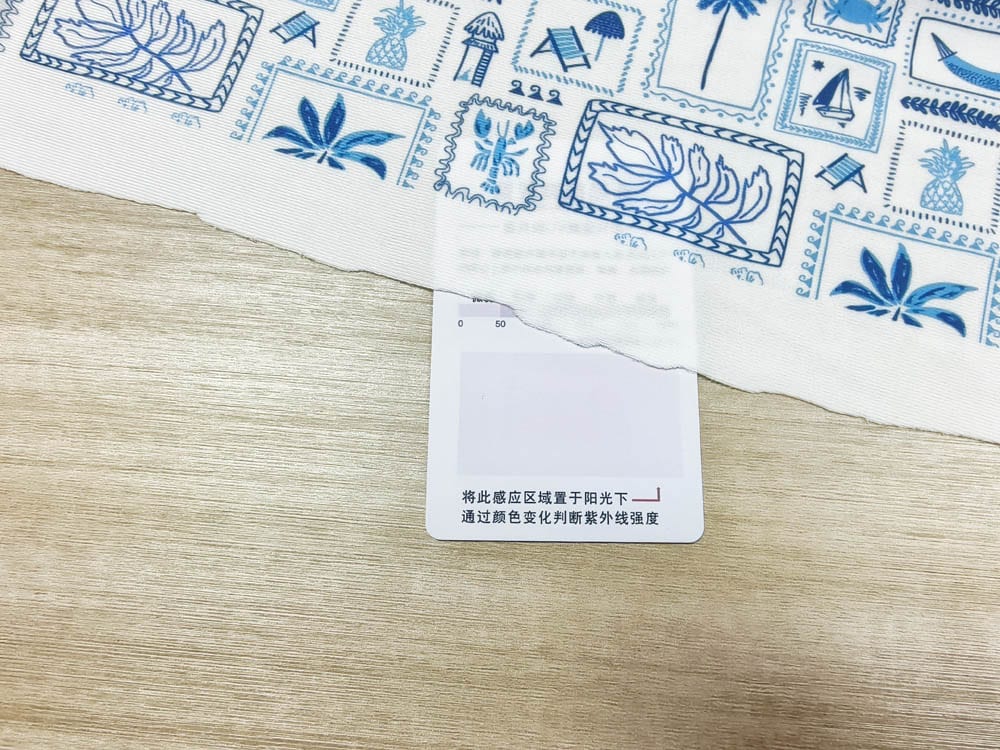
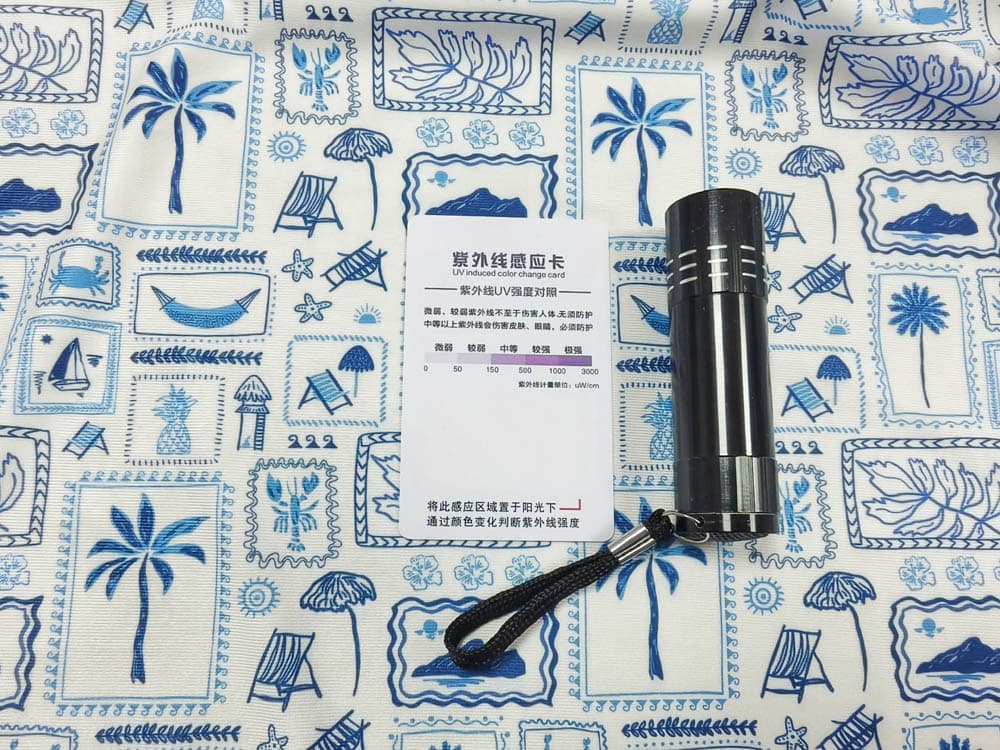
For this test, I used a UV test card.
I placed the fabric over part of the test card and exposed it to sunlight together with the uncovered area.
After the test, I compared the color change between the covered and uncovered sections.
The area protected by the fabric showed noticeably less color change. The result suggested that the fabric could reduce UV exposure compared with the uncovered area.
Since Doris Premium Swim Fabric (UPF50+) is designed for outdoor swimwear, this result matched my expectation, while official UPF ratings require standardized laboratory testing.
When choosing swim fabric, I think UV protection is one of those features that is easy to overlook. A fabric may look beautiful, but for a swimsuit that will be worn outdoors, performance details like UV protection, drying speed, and shape recovery are equally important.
Coverage Test
For swimwear, one question I always check is:
“Will it become transparent when stretched?”
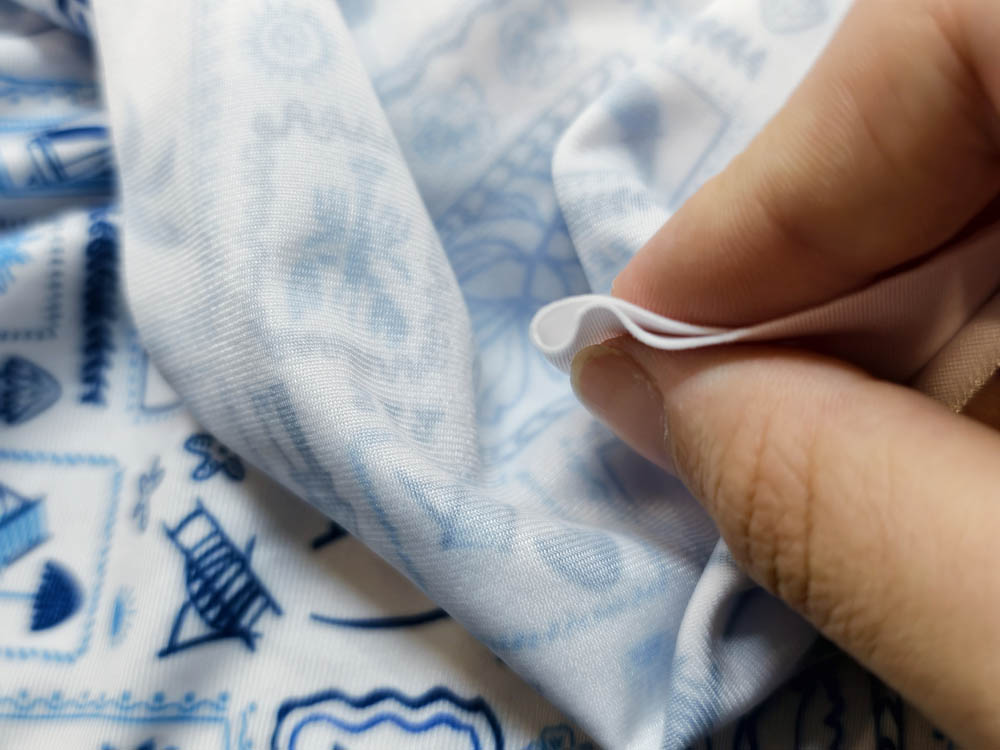
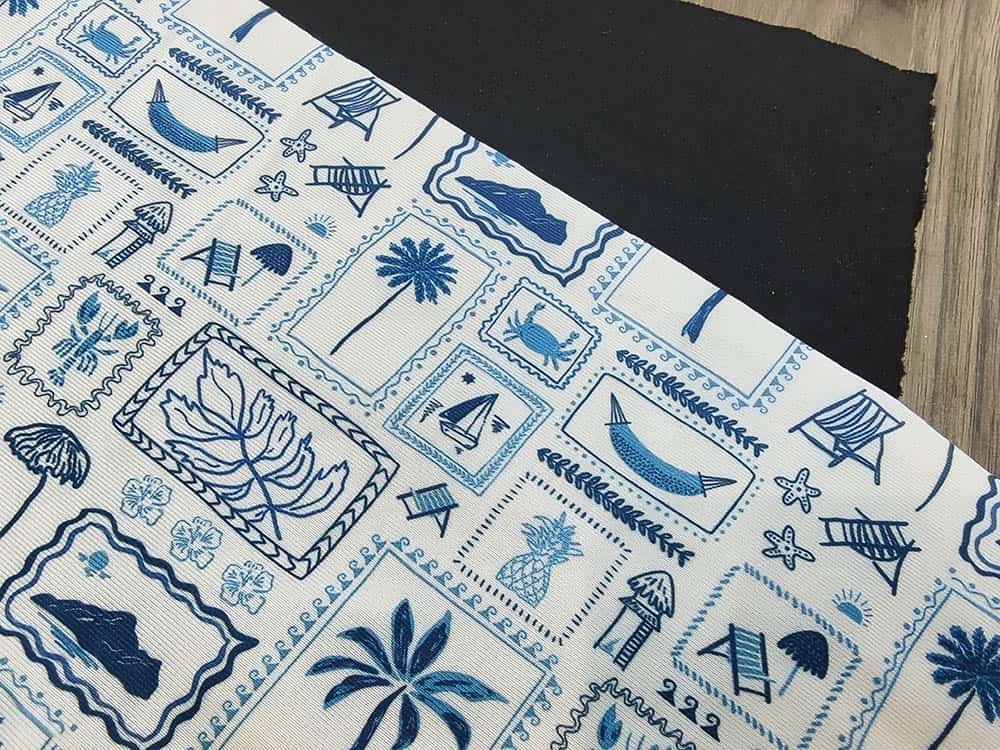
I tested the fabric under strong light and while stretched.
The 190g weight provided a good balance of coverage and flexibility compared with lighter swim fabrics.
For very light colors, I would still recommend adding lining depending on the design.
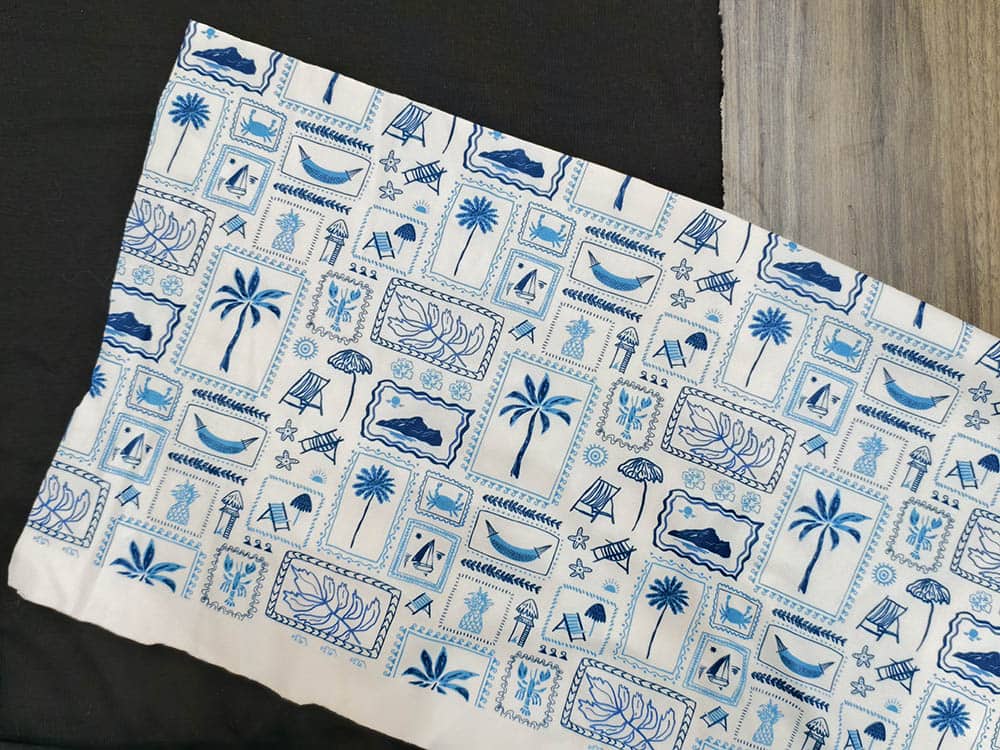
Water Test
I also tested how the fabric behaves with water.
The fabric absorbed water slowly and still felt lightweight after getting wet. After soaking, it felt lighter than some heavier fabrics and dried within a reasonable time during my observation.
This is exactly what I look for in swimwear fabric because nobody wants a swimsuit that feels heavy after leaving the water.
Surface Friction Test: Checking for Visible Pilling
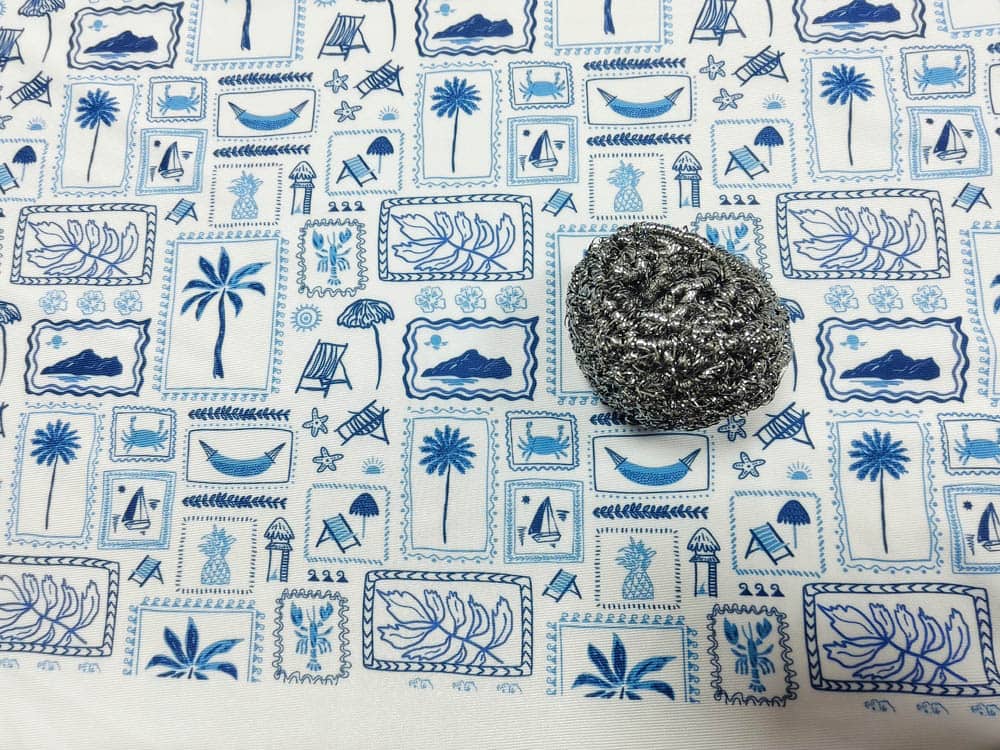
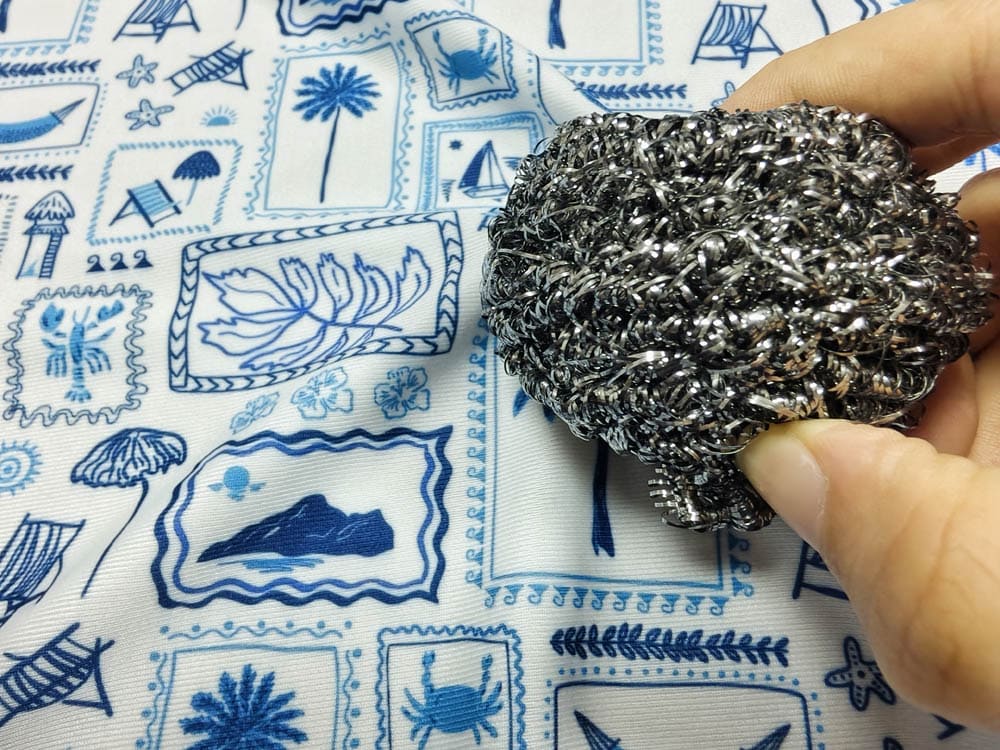
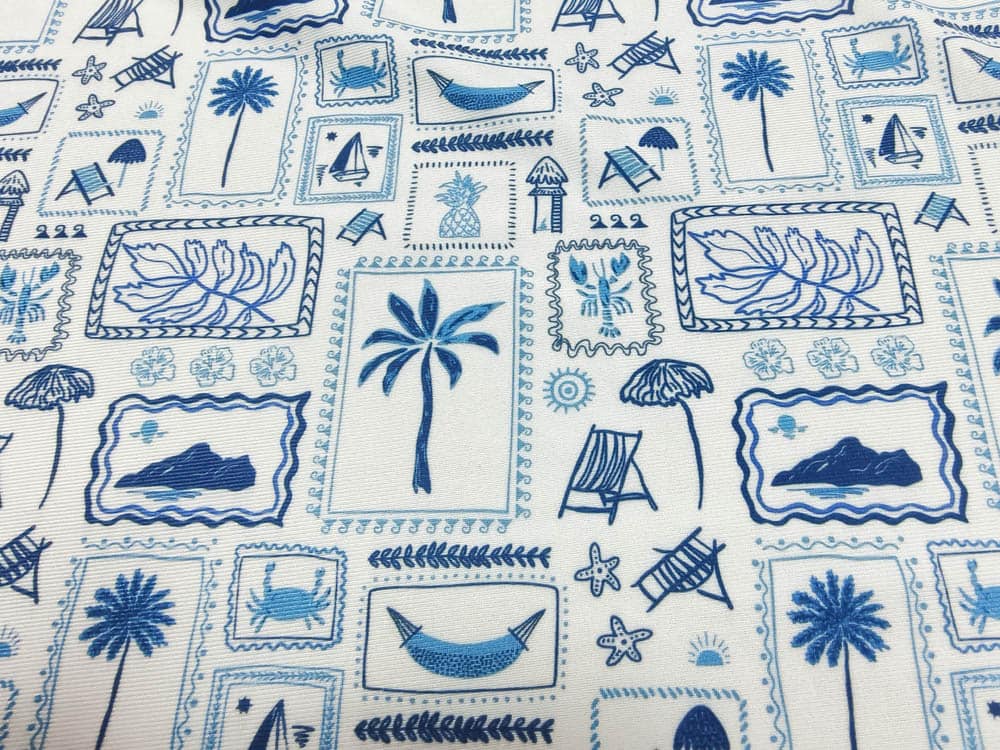
Before making the swimsuit, I also wanted to check how the fabric surface would perform after repeated friction.
Although swimwear is usually made for water activities, the fabric still experiences friction from:
- body movement
- sitting on pool chairs
- washing and drying
- contact with other fabrics
For this test, I rubbed the fabric surface repeatedly to observe whether small fiber balls appeared.
After testing, I did not notice obvious pilling or surface damage.
The smooth surface remained consistent, which is important because swimwear usually has a close fit and the fabric surface is highly visible.
One thing I pay attention to with swim fabrics is not only how they look when new, but also how they will perform after repeated use. A smooth surface helps the finished garment maintain a cleaner appearance over time.
Folding Recovery Test: Checking Shape Retention
Another simple test I performed was checking how the fabric reacted after being folded and compressed.
This is important because swimwear is often:
- packed in a beach bag
- folded after washing
- stored during travel
For the test, I folded the fabric for a period of time and then checked whether visible wrinkles remained after unfolding.
The fabric recovered quickly and did not show deep permanent creases.
Sewing an Adult Swimsuit Top
Materials
For this project, I used:
- Doris Premium Swim Fabric (UPF50+) 190g
- Stretch needle
- Polyester thread
- Swimsuit pattern
- Removable cups
- Sewing machine
Step 1: Preparing the Pattern and Cutting the Fabric
Before cutting, I first checked the stretch direction of the fabric.
For swimwear, the direction of stretch is very important. The greatest stretch should usually go around the body rather than vertically, allowing the swimsuit to move comfortably with the body while maintaining a secure fit.
I then placed the swimsuit pattern pieces on the fabric and adjusted the position according to the stretch direction.
Because warp knit swimwear fabric has good stretch and recovery, swimsuit patterns usually use negative ease. This means the finished garment is slightly smaller than the body measurement, allowing the fabric to stretch and create a close, supportive fit.
The exact amount of negative ease depends on the pattern design and fabric stretch, so I followed the pattern instructions rather than applying a fixed percentage reduction.
For this project, I marked the main pieces before cutting:


- Front piece


- Back piece
- Notches for matching curved areas
I marked a 1cm seam allowance along all edges. This width provides enough space for sewing while keeping the seams comfortable against the skin.
I also made small clips along curved areas such as the armholes and neckline. These marks helped me align the pieces more accurately during sewing. I was careful not to cut into the seam allowance.
Finally, I cut the fabric with sharp fabric scissors and arranged all pieces neatly before moving on to the sewing process.
Step 2: Sewing the Darts, Shoulder Seams, and Side Seams
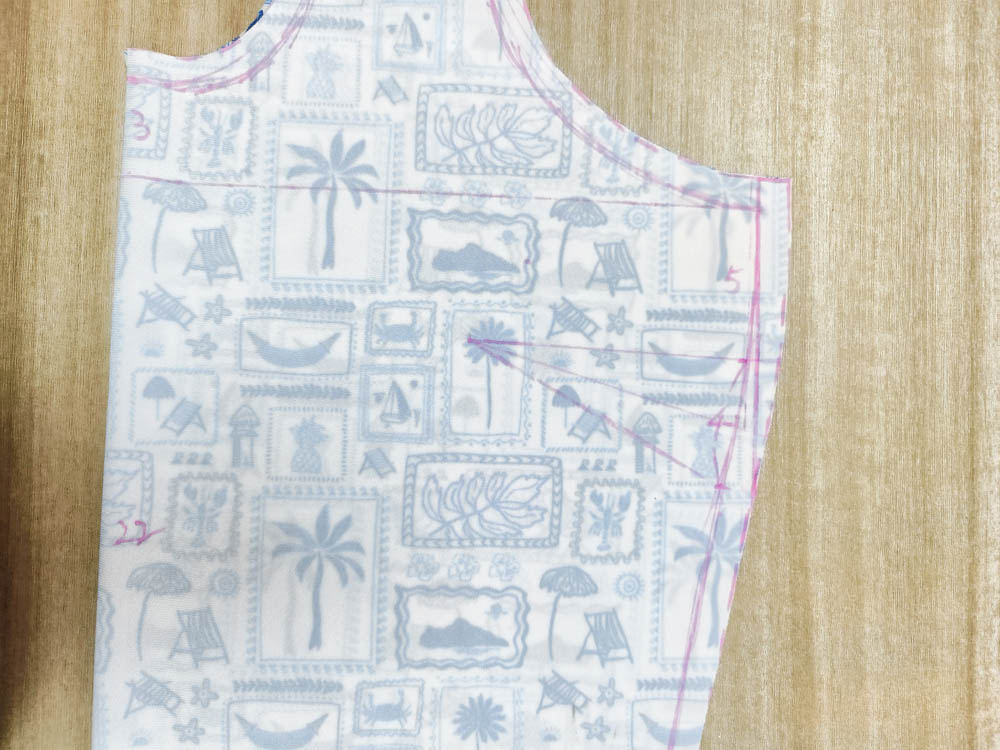
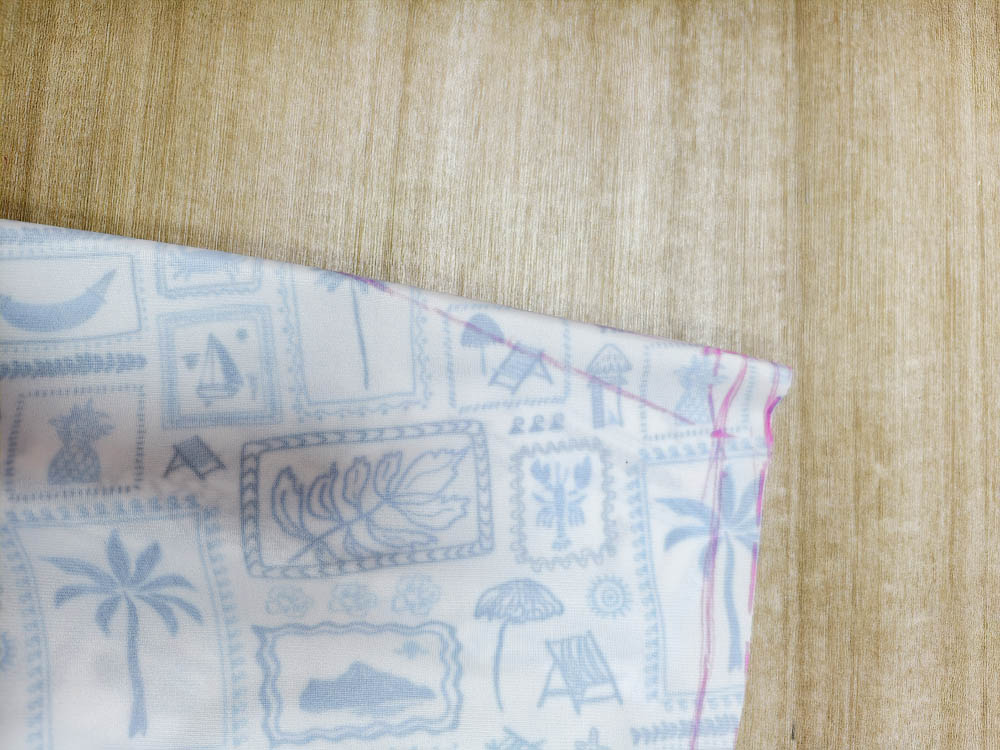
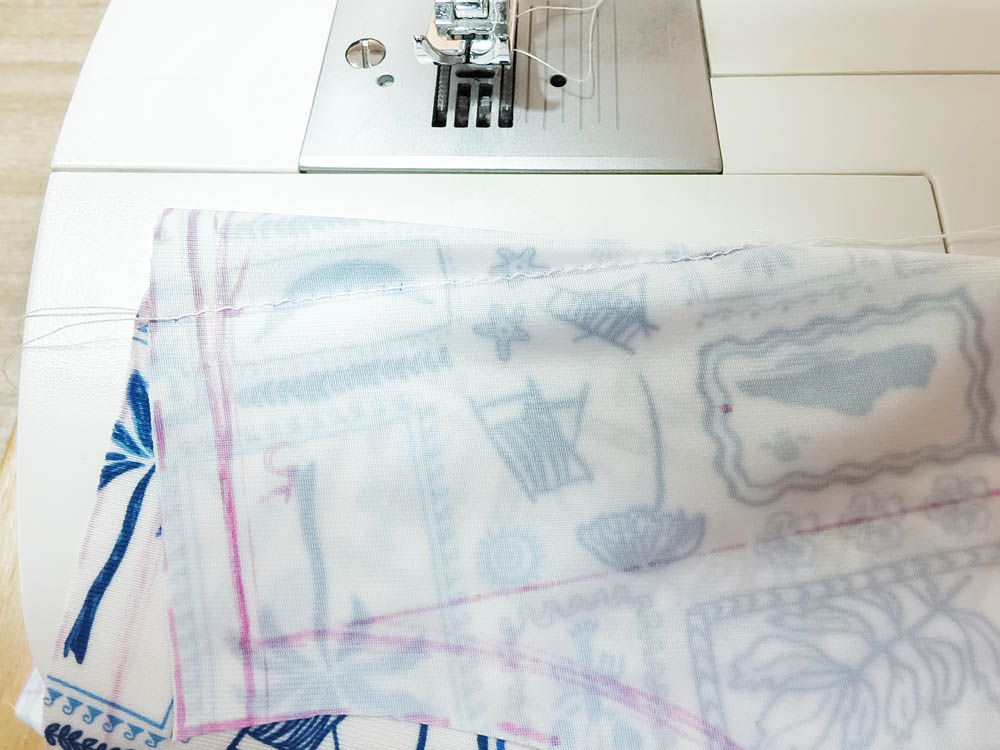
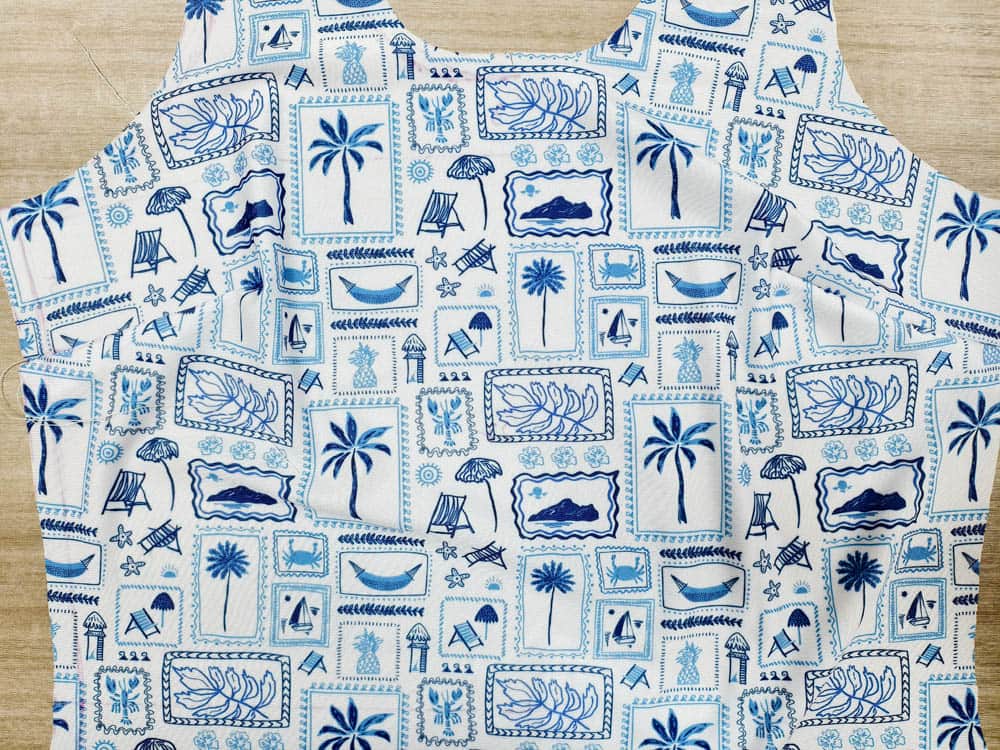
If your swimsuit pattern includes bust or waist darts, these should be completed first.
I marked the dart lines with a heat-erasable pen and sewed from the wider end toward the tip.
Darts help shape the swimsuit and create a better fit around the body curves.
After sewing the darts, I moved on to the shoulder seams.
I placed the front and back pieces right sides together and aligned the shoulder edges.
For swimwear, I avoided using a regular straight stitch because it does not stretch enough with the fabric. Instead, I used a stretch stitch, narrow zigzag stitch, or stretch straight stitch depending on the sewing machine.
While sewing, I guided the fabric gently and avoided pulling it manually. Stretch fabrics can become wavy if they are stretched during sewing, so allowing the machine to feed the fabric naturally helps create smoother seams.
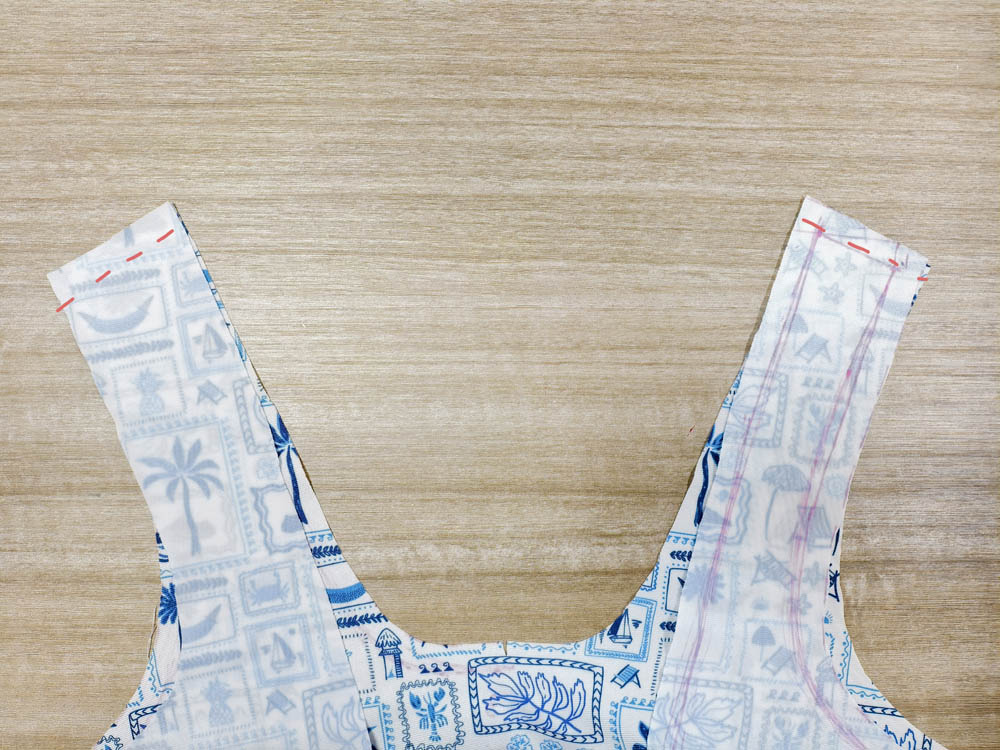
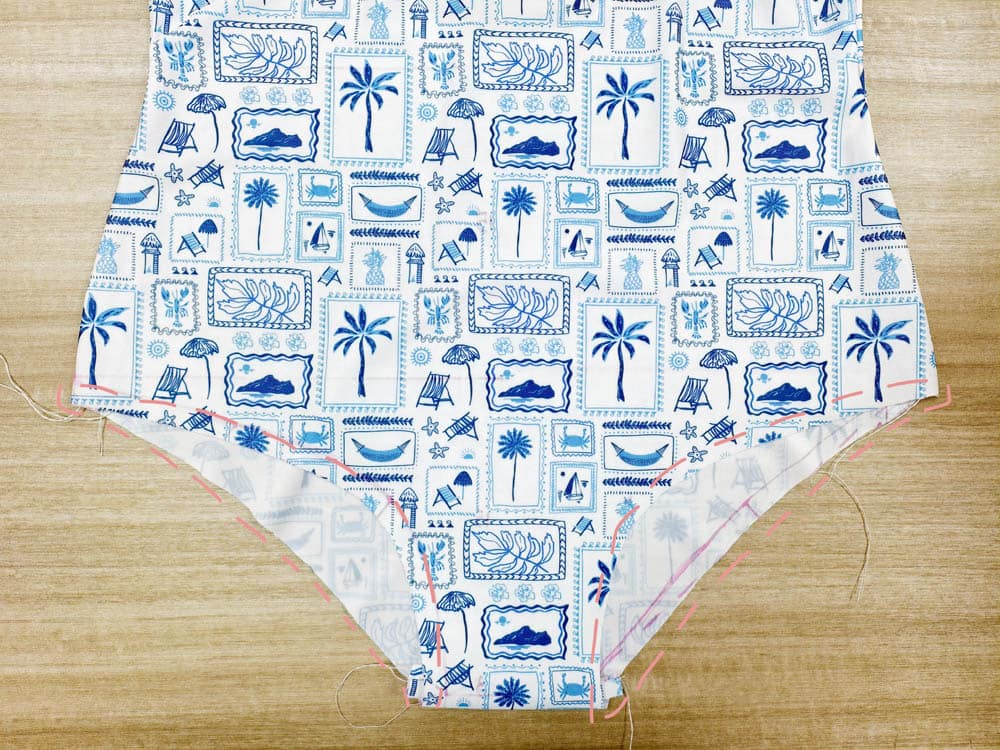
After finishing the shoulder seams, I aligned the side edges of the front and back pieces and sewed from the underarm down to the hem.
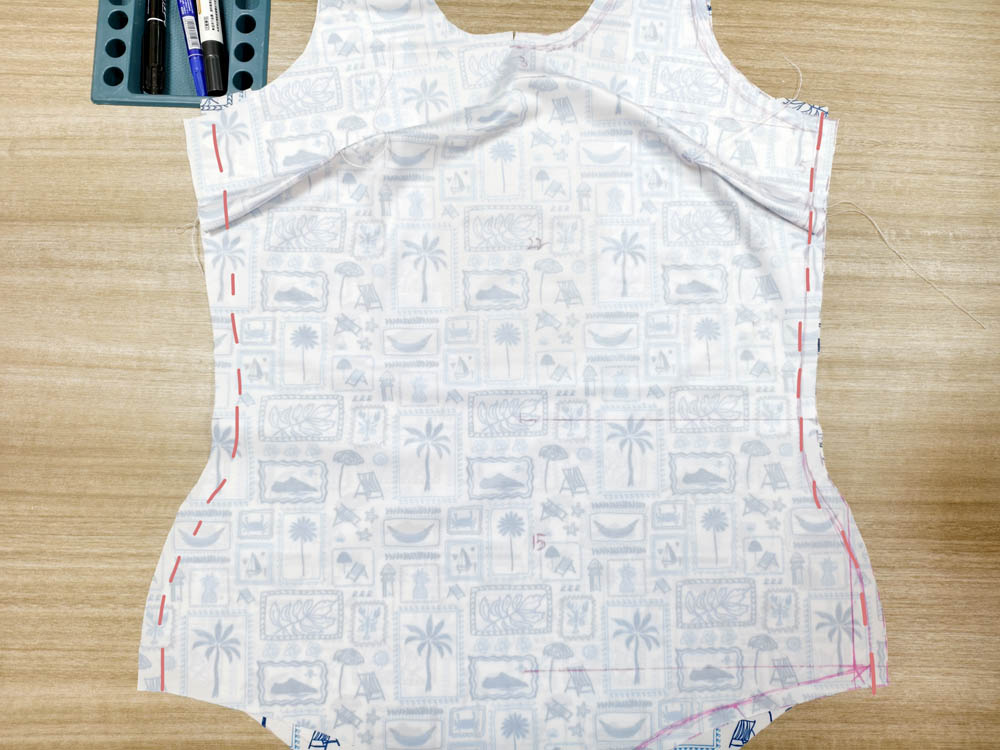
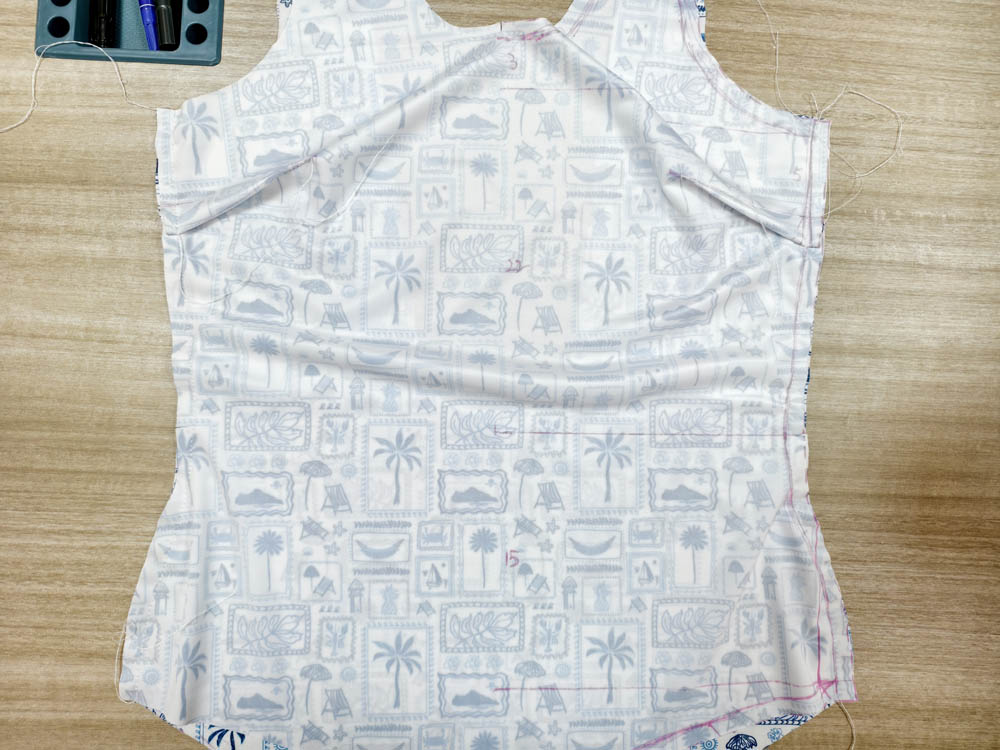
I reinforced the beginning and end points with backstitching because side seams experience more tension during wearing.Finally, sew the crotch area.
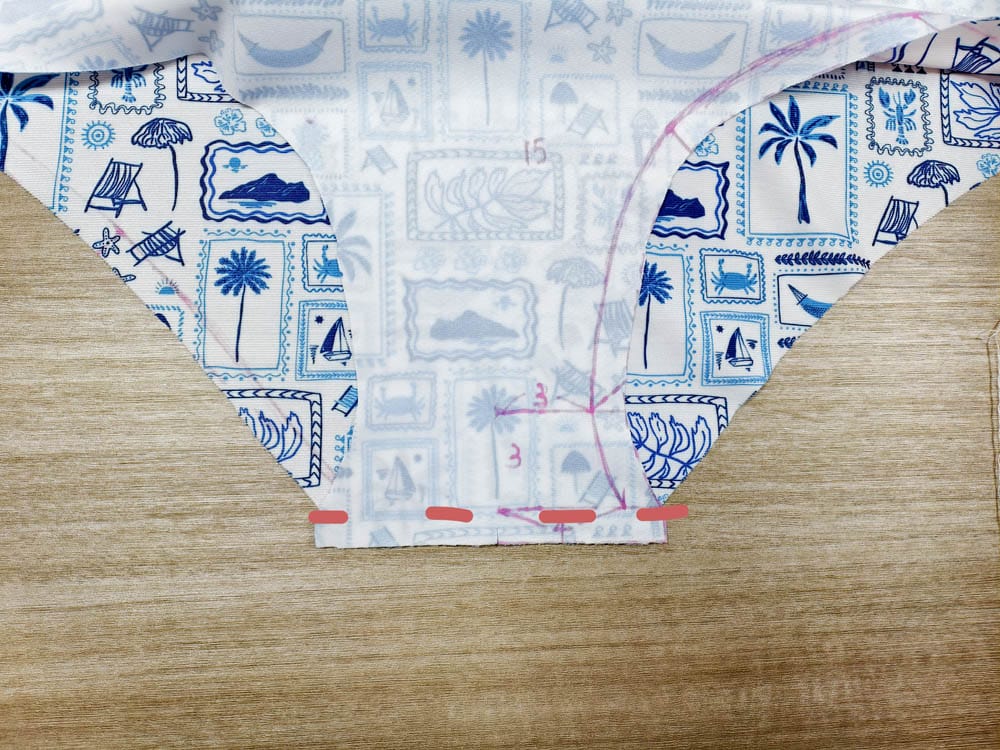
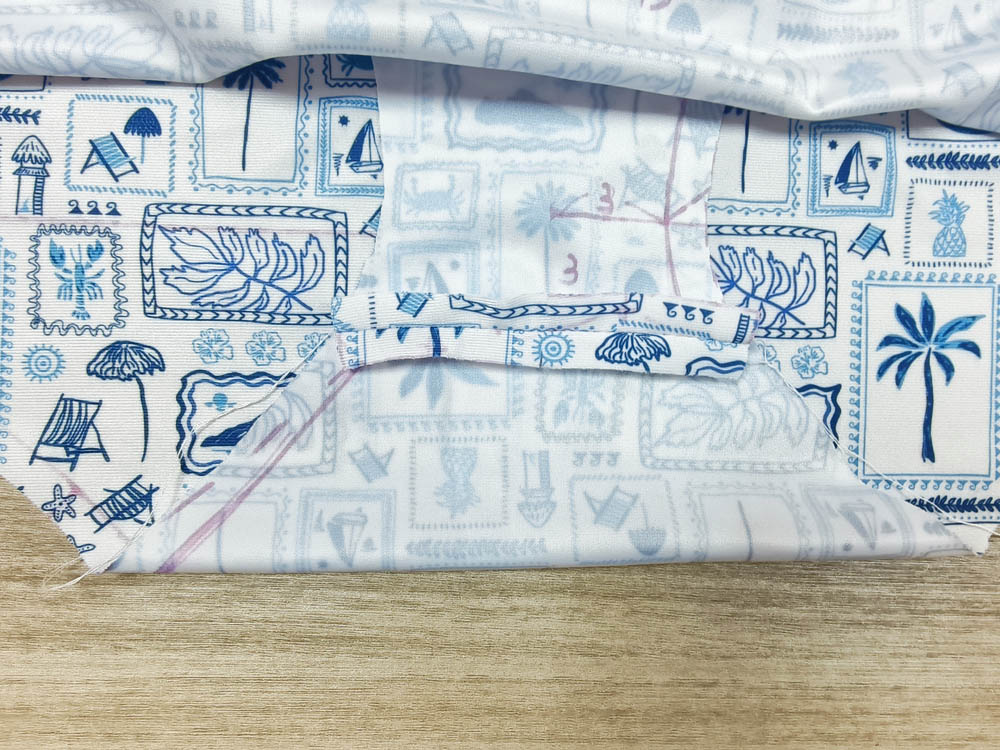
After sewing, I checked the inside finishing to make sure the seam allowance remained comfortable against the skin.
Step 3: Finishing the Neckline and Armholes
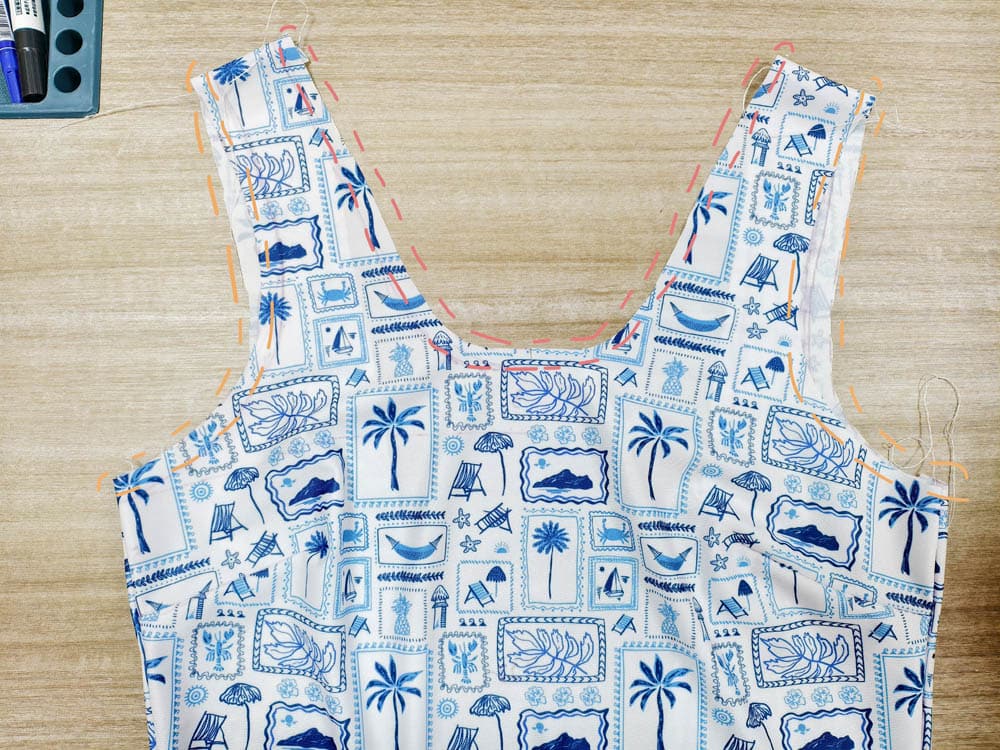
For this swimsuit, I finished the neckline and armholes with a folded hem method.
I folded the raw edge inward twice:
- First fold: 0.5cm
- Second fold: 0.7cm
Then I stitched close to the inner folded edge from the right side.
When sewing curved areas, I paid extra attention to fabric tension. Pulling the fabric during stitching can create uneven or wavy edges.
I guided the fabric slowly to keep the neckline and armholes smooth.
This method creates a simple and clean finish suitable for a DIY swimsuit project.
Step 4: Adding Bra Cups (Optional)
For additional comfort and shaping, removable bra cups can be added.
I cut two pocket pieces slightly smaller than the front pattern and sewed them inside the front piece around the bust area.
The top edge was left open so the cups could be inserted and removed easily.
I prefer this removable design because it makes washing easier and allows the cups to be adjusted or replaced when needed.
Step 5: Hemming the Bottom Edge
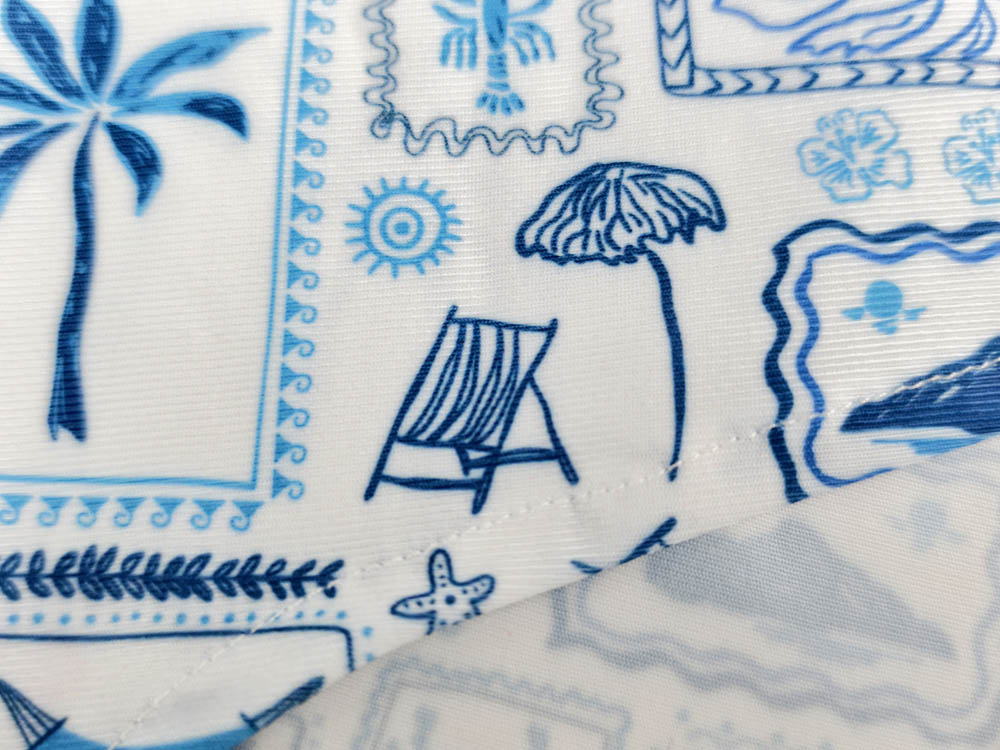
For the bottom edge, I used a double-fold hem method.
I folded the raw edge inward twice:
- First fold: 0.5cm
- Second fold: 1cm
Then I stitched close to the inner folded edge while keeping the fabric relaxed.
A twin needle or stretch stitch can be used for a cleaner finish.
This method creates a flat and durable hem that moves naturally with the body.
Step 6: Final Finishing
After finishing all sewing steps, I trimmed the loose threads and checked that all seams were secure.
I gently stretched the swimsuit in different directions to make sure the stitches moved together with the fabric.
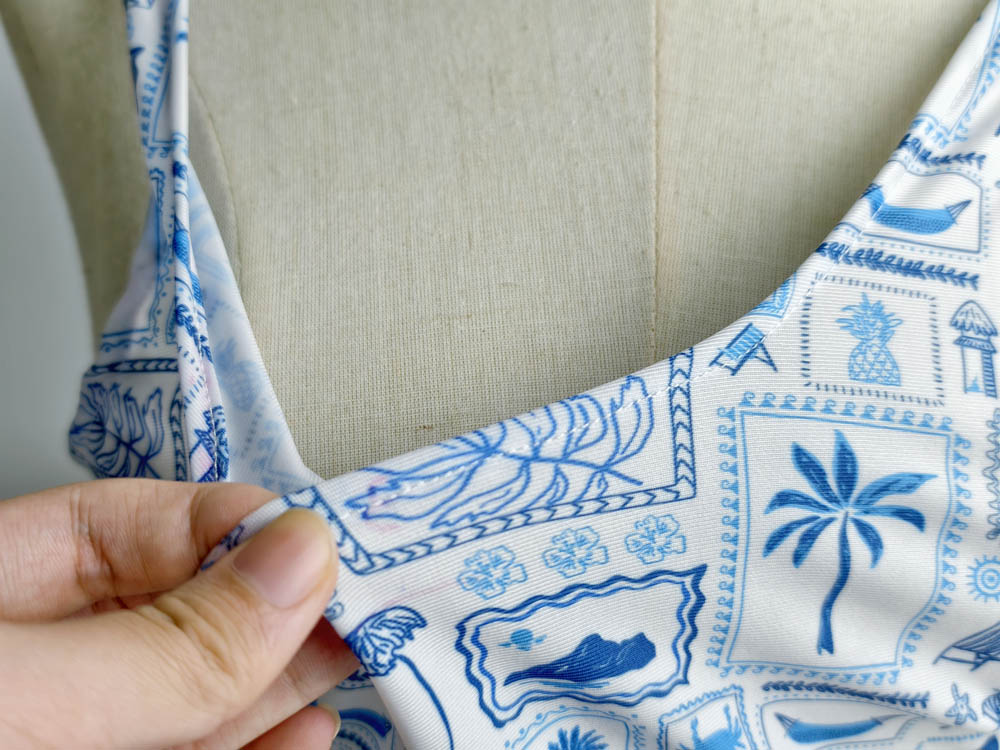
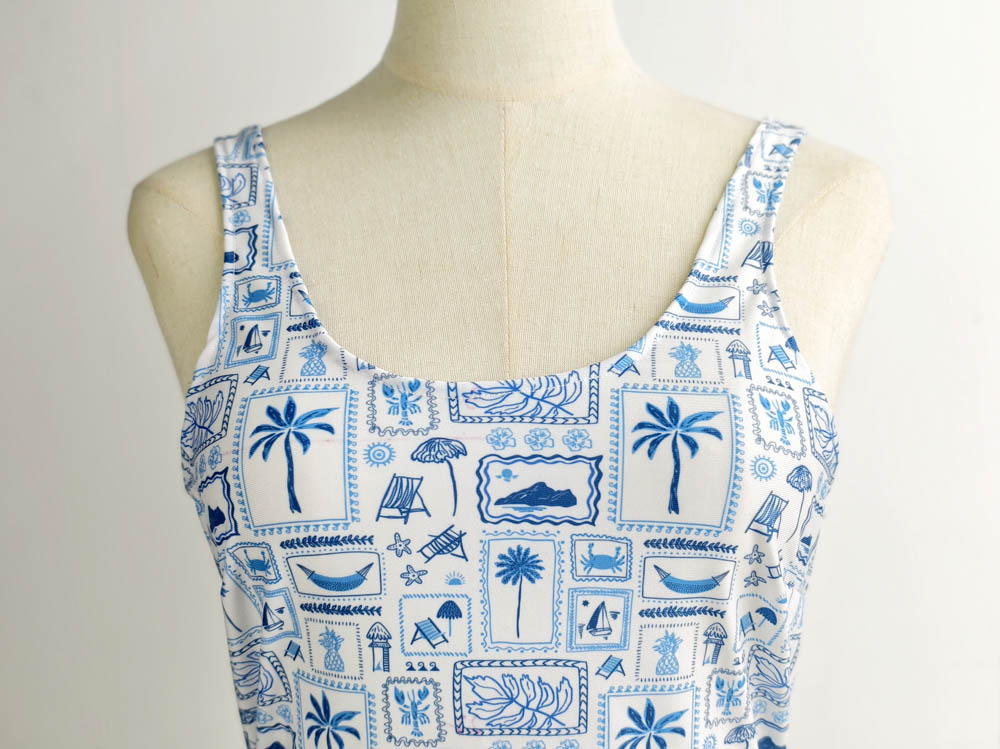
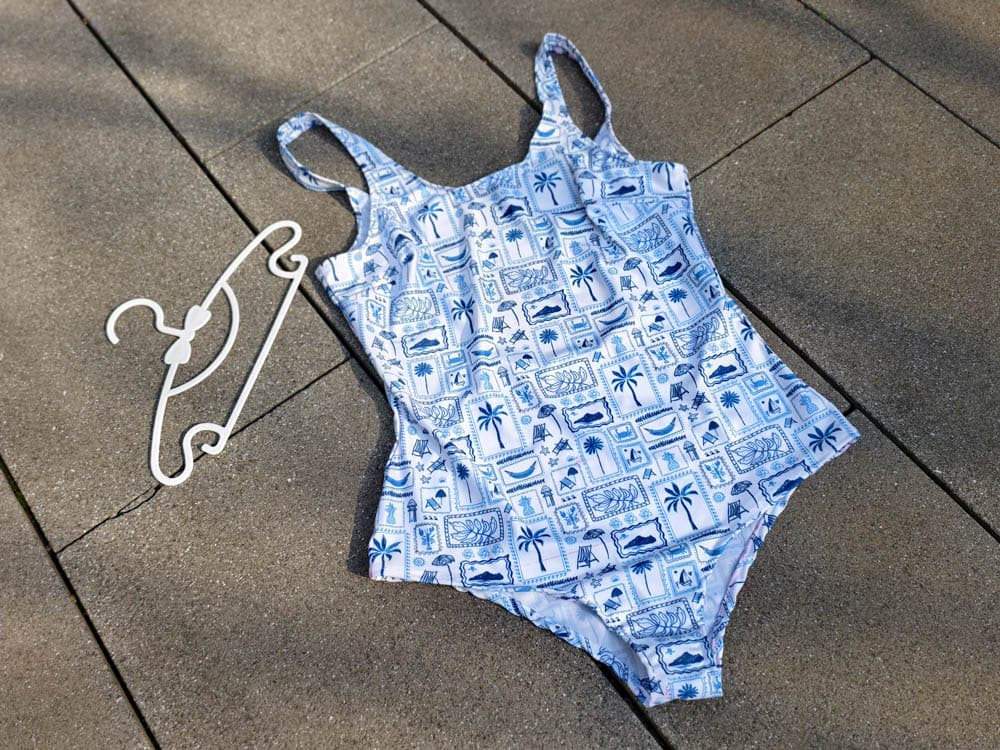
The adult swimsuit made from Doris Premium Swim Fabric (UPF50+) was now complete.
Through this project, I was able to experience how the 190g warp knit swimwear fabric performed from cutting, sewing, and fitting to the final garment.
What Can You Make with 190g Premium Swim Fabric?
Project | Suitability |
One-piece swimsuit | Excellent |
Bikini | Excellent |
Rash guard | Good |
Sports bra | Good |
Dancewear | Good |
Finished Garment Review
After testing the fabric before sewing and wearing the finished swimsuit, I found that the most noticeable advantages of this 190g warp knit swim fabric are its stability, recovery, and smooth surface.
During the sewing process, I already noticed that the 190g warp knit structure was easier to handle compared with very lightweight swim fabrics. But the real test was how it felt when worn.
Here are my thoughts after completing the project.
Fit
The swimsuit stayed close to the body without feeling restrictive.
Comfort
The smooth surface felt comfortable against the skin, especially during movement.
Shape Retention
After stretching during wear, the fabric recovered well and maintained the overall shape.
My Recommendation
I would recommend Doris Premium Swim Fabric (UPF50+) for:
- DIY swimsuit makers
- Small swimwear brands
- Activewear designers
It is especially suitable for makers who want a fabric that is easier to handle than lightweight swim fabrics but still comfortable for movement.
If you are looking for a swim fabric that is not too thin, not too heavy, and easy to work with, 190g warp knit fabric is a great option.
FAQ
Can beginners sew with 190g swim fabric?
Yes. Compared with very lightweight swim fabrics, the 190g weight provides more structure, which makes cutting and sewing easier. Beginners still need to use stretch stitches and avoid stretching the fabric while sewing.Like many stretch fabrics, warp knit swim fabrics can move during sewing, so using clips, a walking foot, or careful fabric handling can help beginners achieve better results.
Is 190g swim fabric thick enough?
Yes. 190g is a medium-weight swim fabric that provides a good balance between coverage and flexibility.However, very light colors or highly fitted designs may still require lining depending on the final garment design.
Is warp knit fabric suitable for swimsuits?
Warp knit construction is commonly used in swimwear because it provides good dimensional stability and recovery when combined with stretch fibers.
Do I need lining with 190g swim fabric?
It depends on the color, design, and personal preference. Light colors or highly fitted styles may benefit from lining.
Can I use 190g swim fabric for leggings?
Yes. Its stretch and recovery make it suitable for some fitted activewear designs.
Is warp knit swim fabric difficult to sew?
Compared with very lightweight swim fabrics, the 190g weight provides more structure, making it easier for beginners to handle.

Fashion Designer | Fabric Specialist at Doris Fabric
Hi, I'm Cora.
I'm a fashion designer at Doris Fabric and a lifelong sewing enthusiast. Every week, I work with different knit fabrics—from testing new materials to turning them into wearable garments.
Instead of simply reading fabric specifications, I believe the best way to understand a fabric is to sew with it.
Through this blog, I share my real sewing experiences, fabric comparisons, and practical tips to help fellow sewists confidently choose the right fabric for every project.